 "GenuineAlexReid - The Reidus" (genuinealexreid)
11/16/2015 at 17:51 • Filed to: Datsun
 9
9
 11
11|
"GenuineAlexReid - The Reidus" (genuinealexreid)
11/16/2015 at 17:51 • Filed to: Datsun | 9
| 11 |
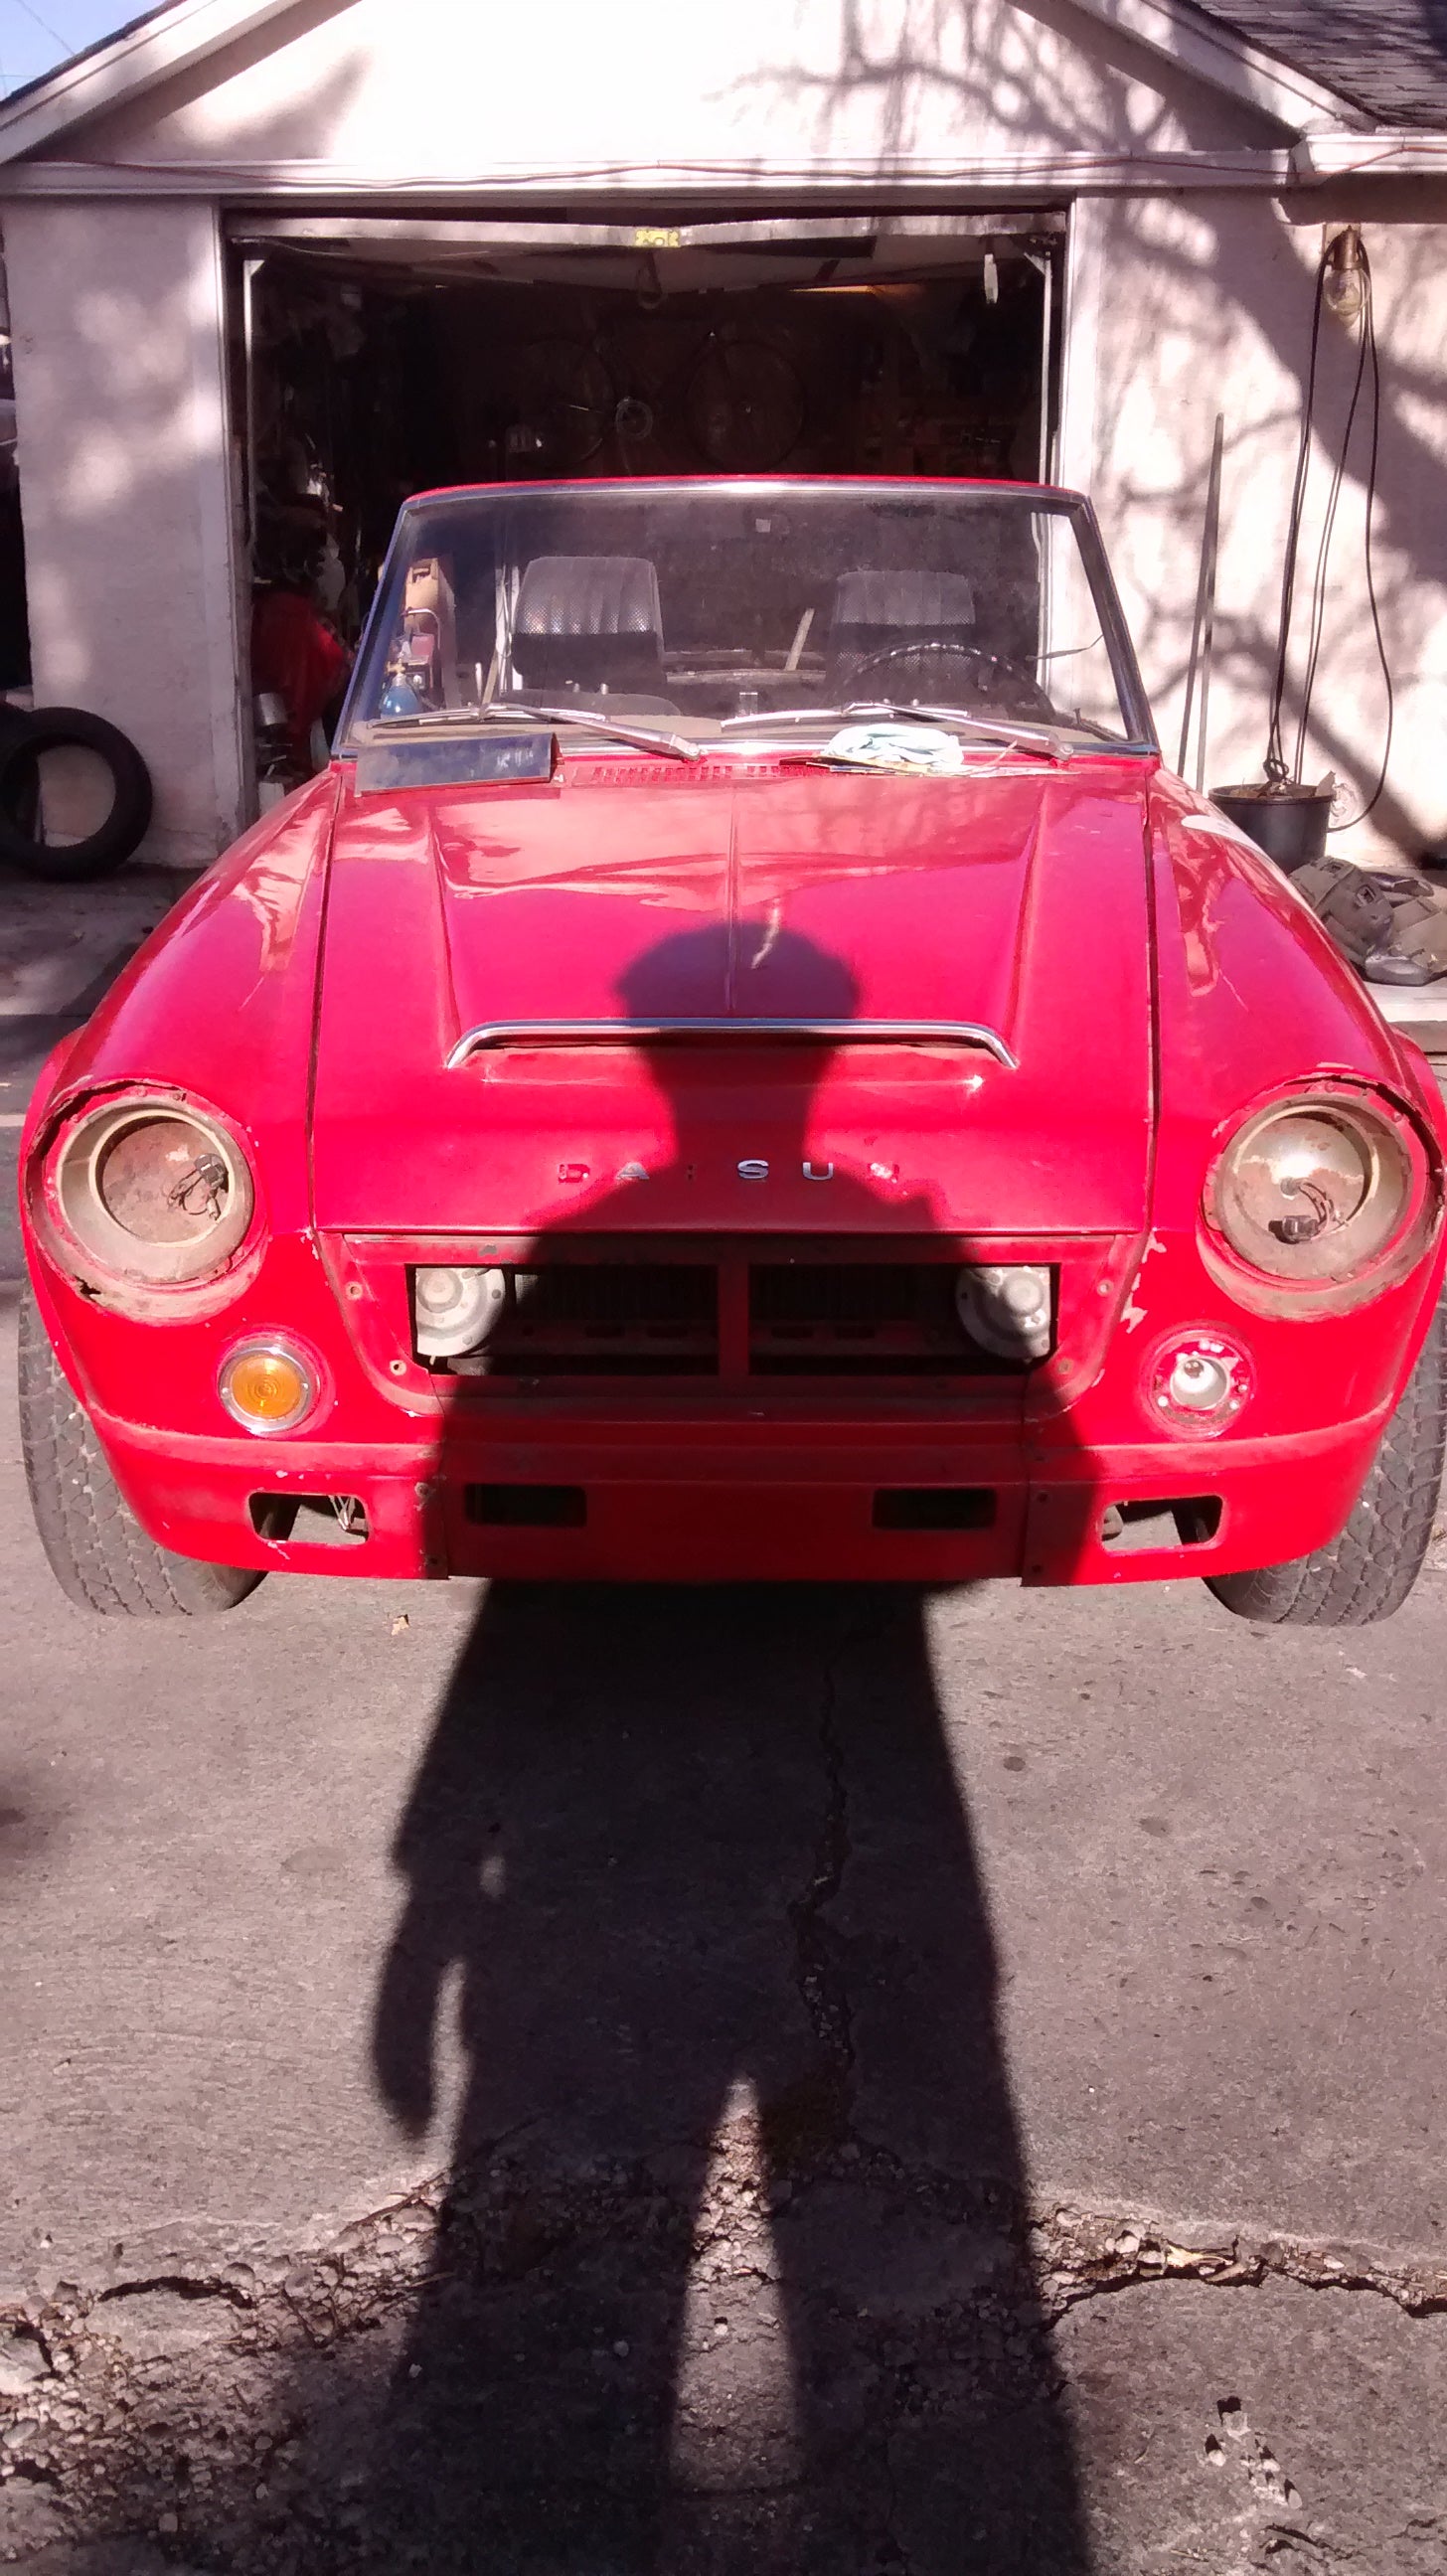
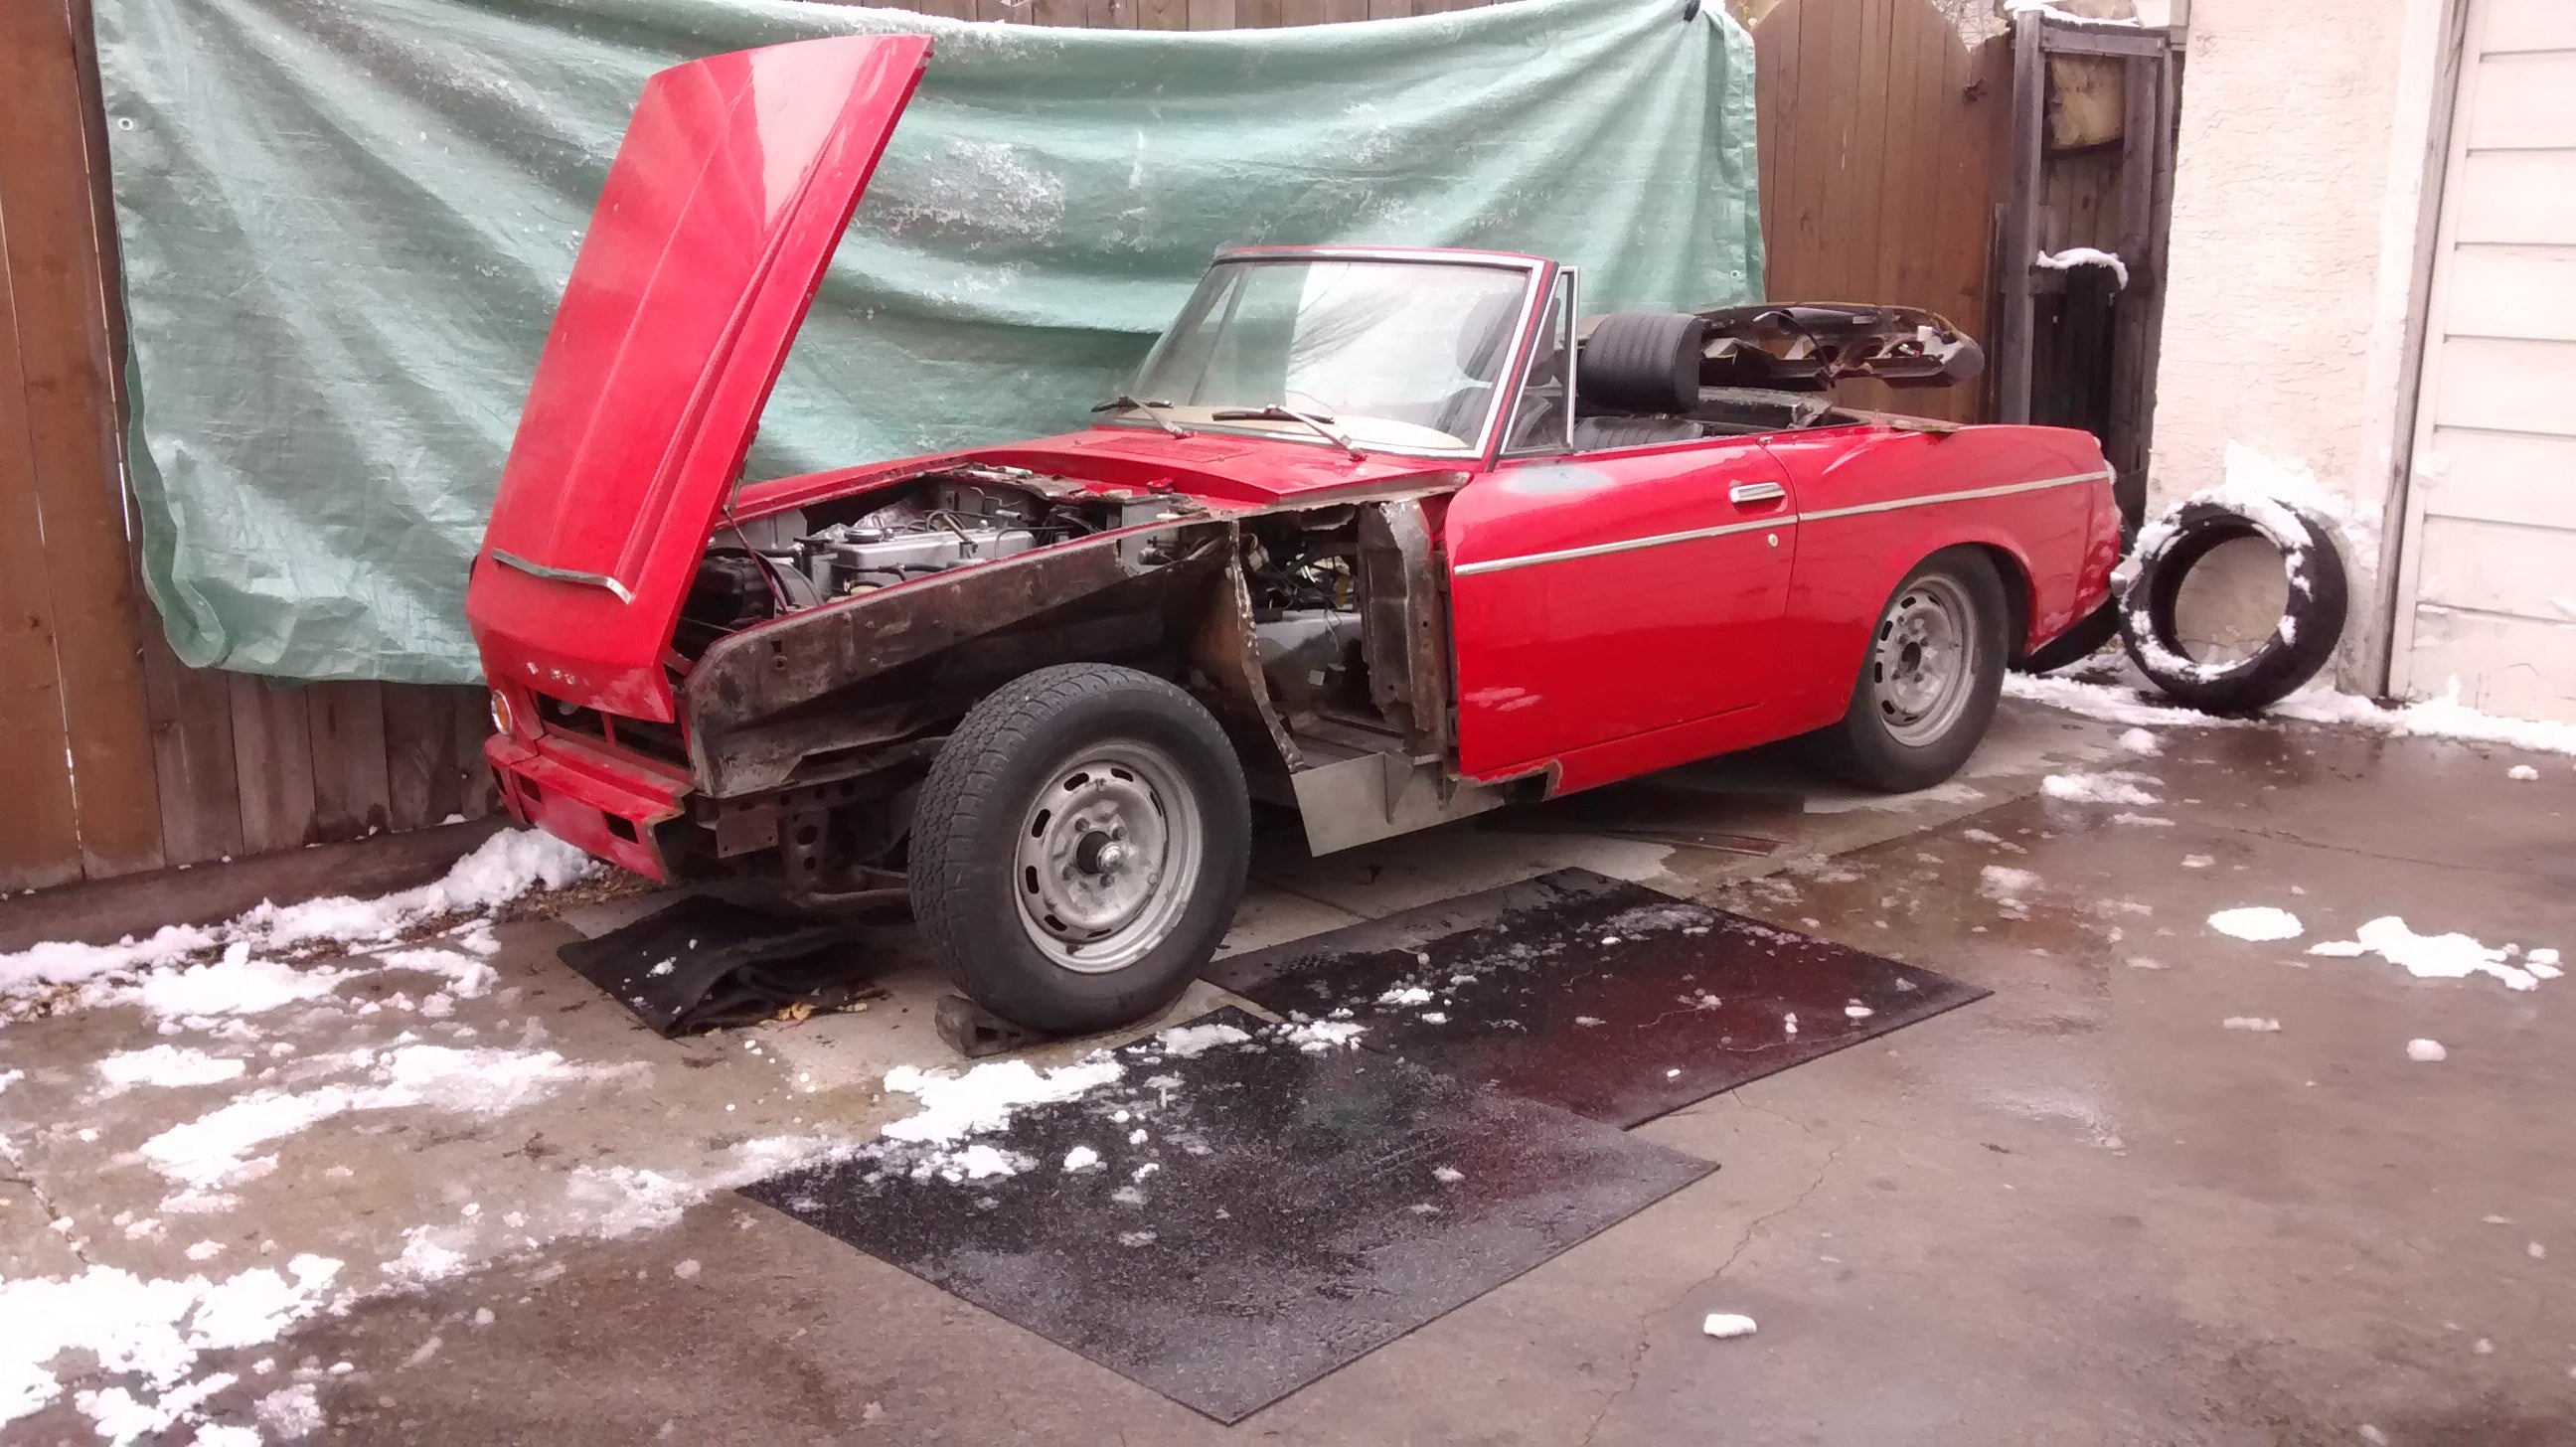
This past week has been fantastic for the restoration of my roadster, so strap in and enjoy all the pictures of rust being forcefully removed from the premises.
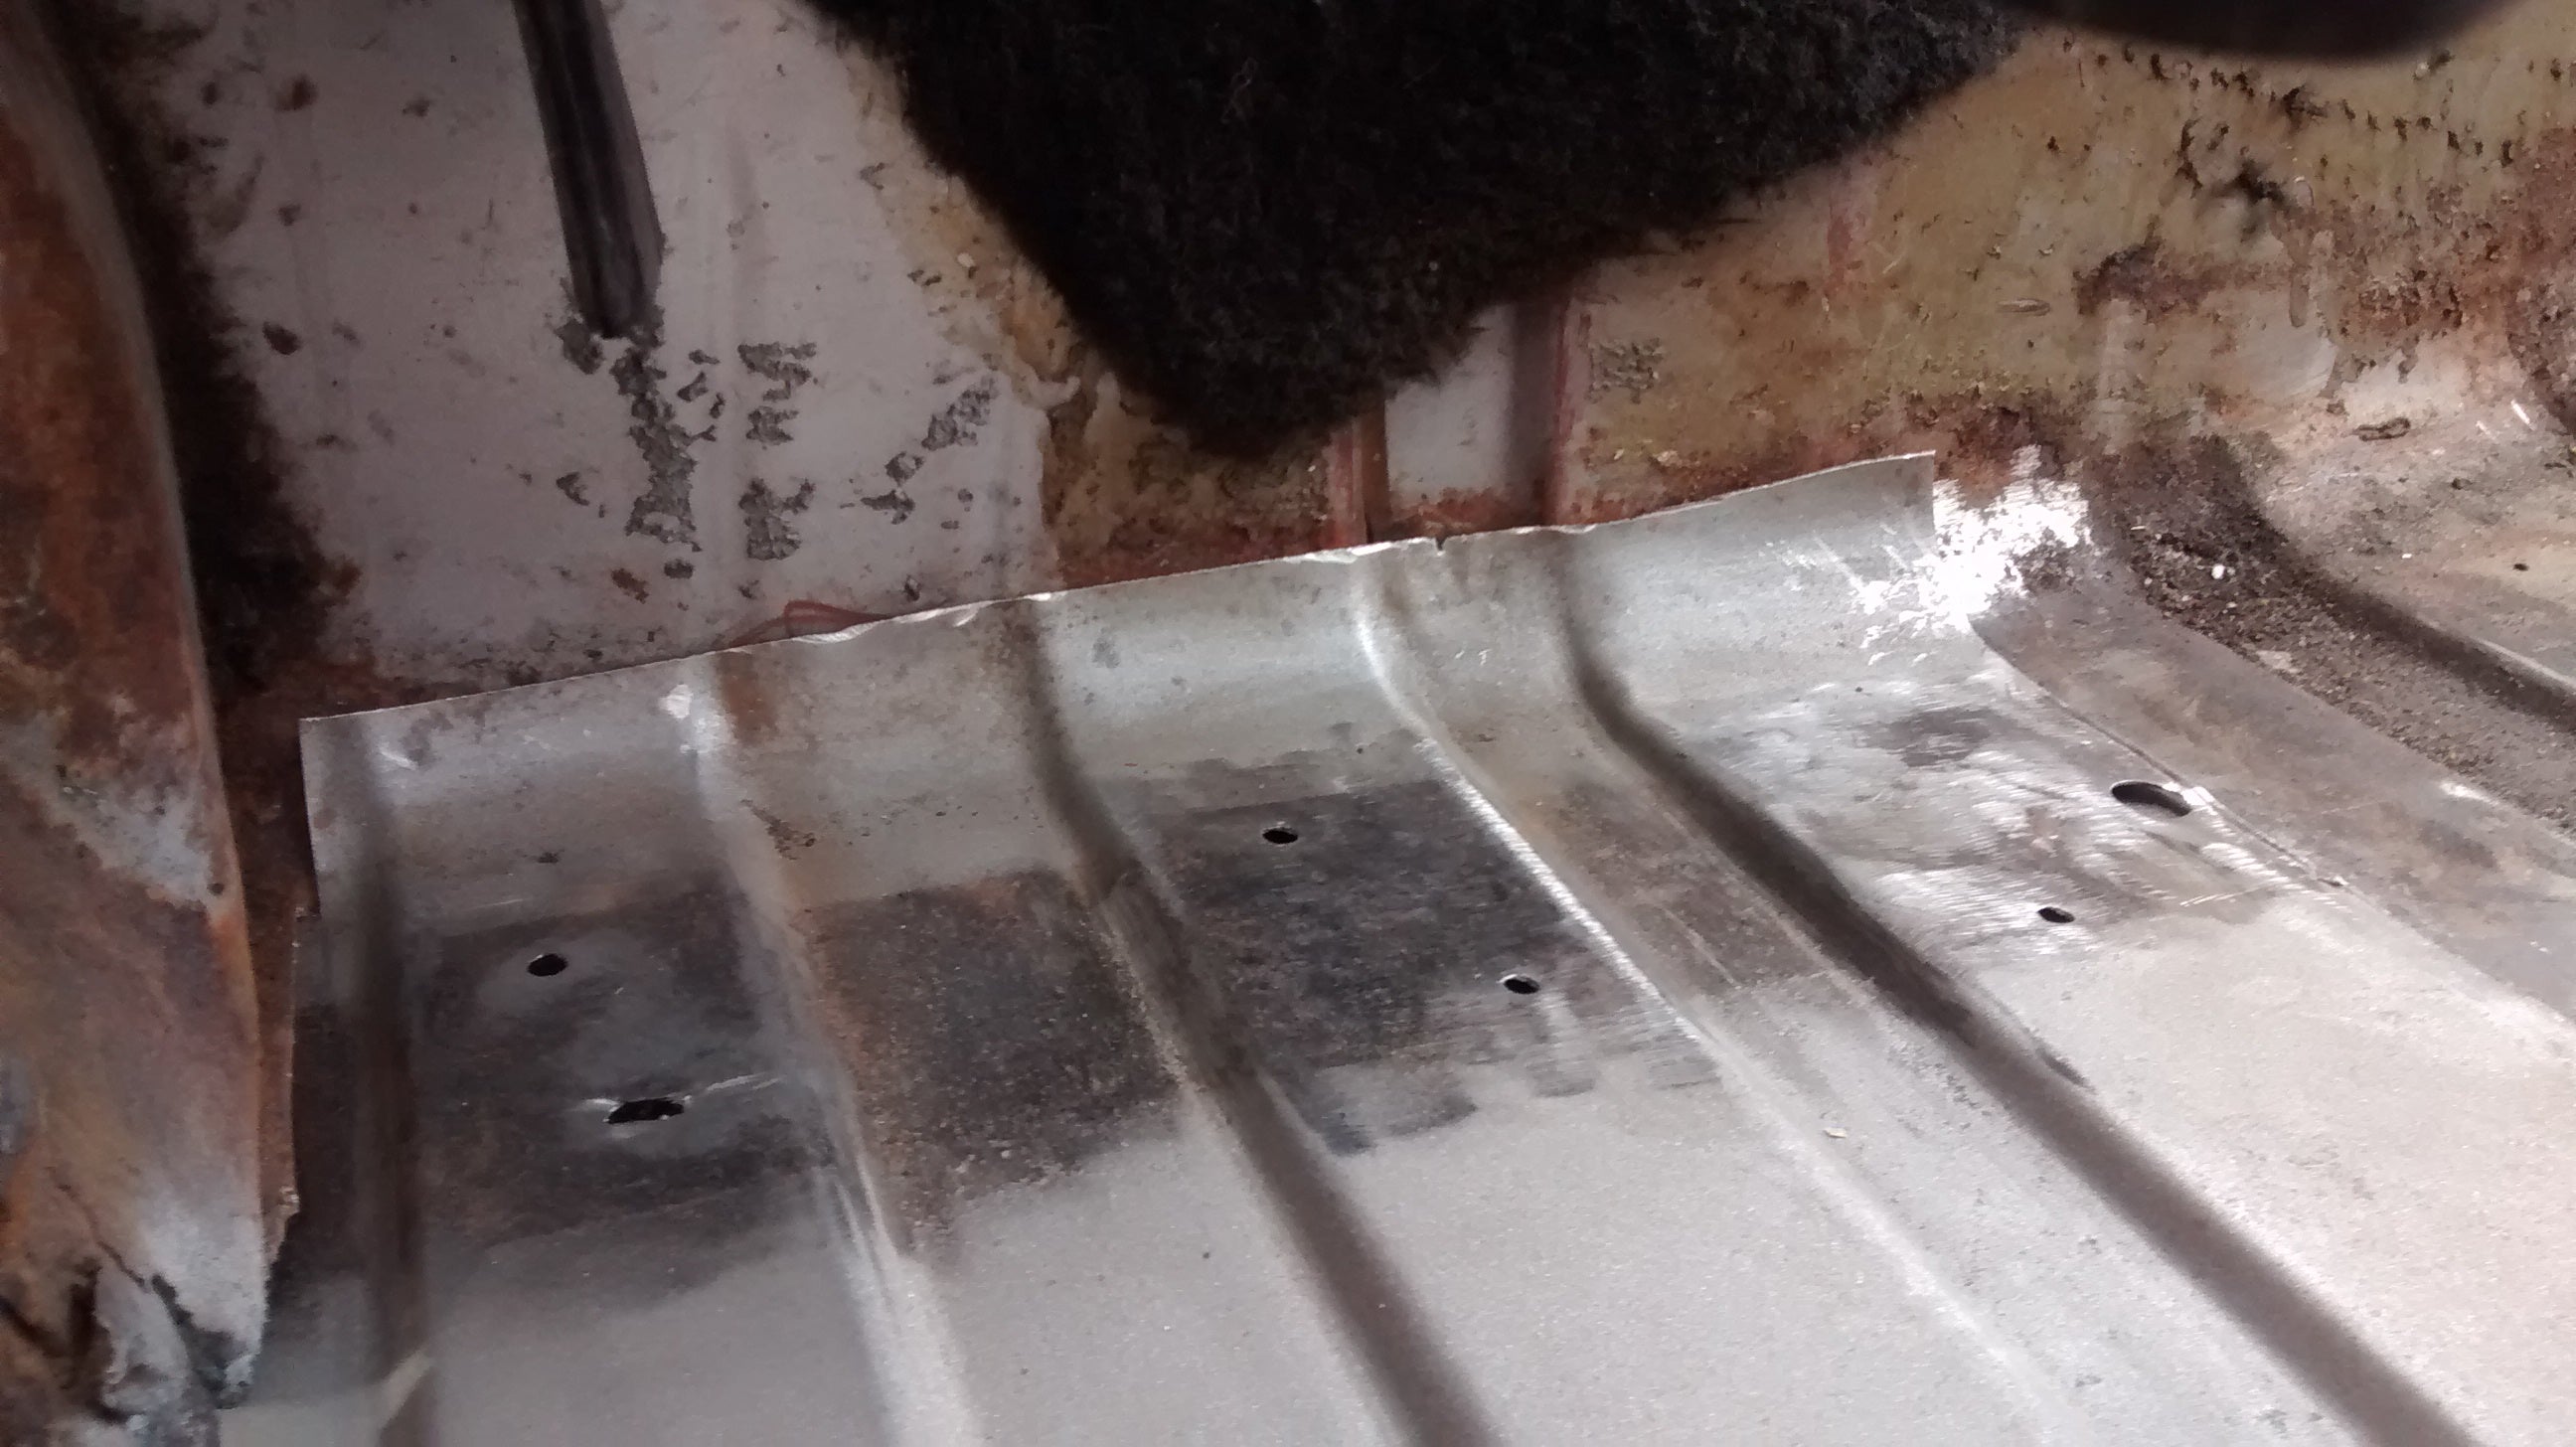
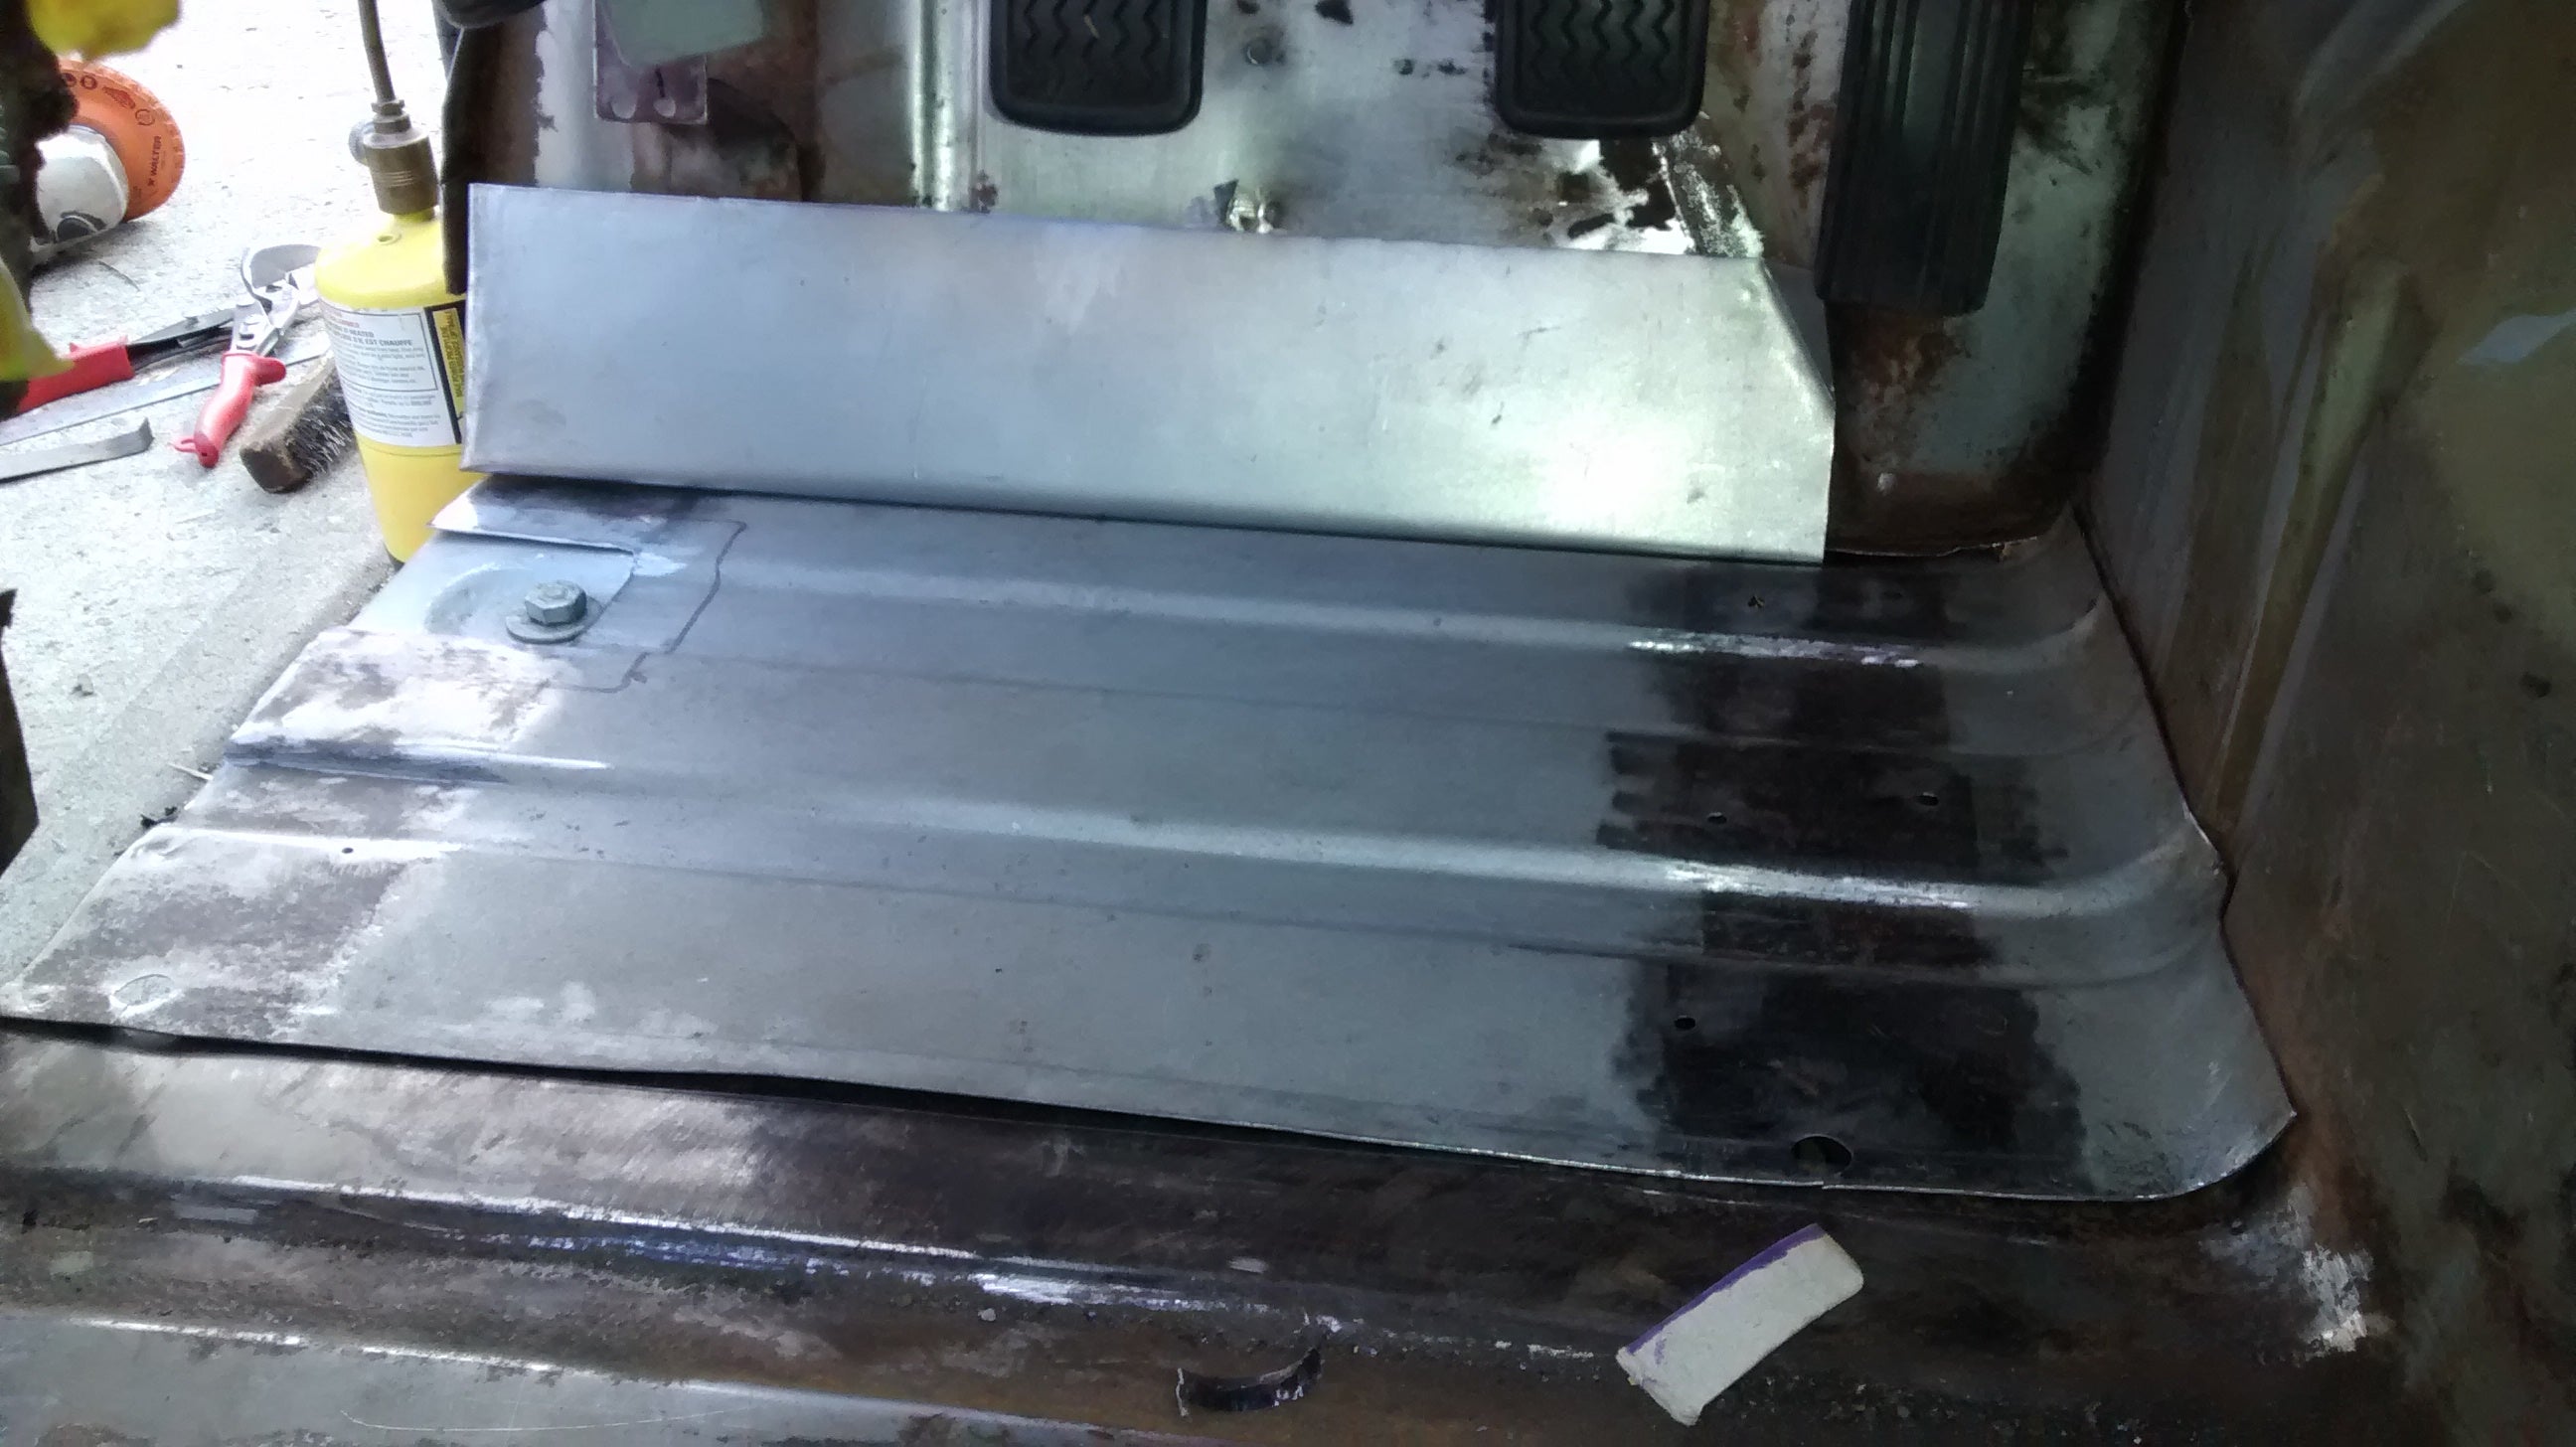
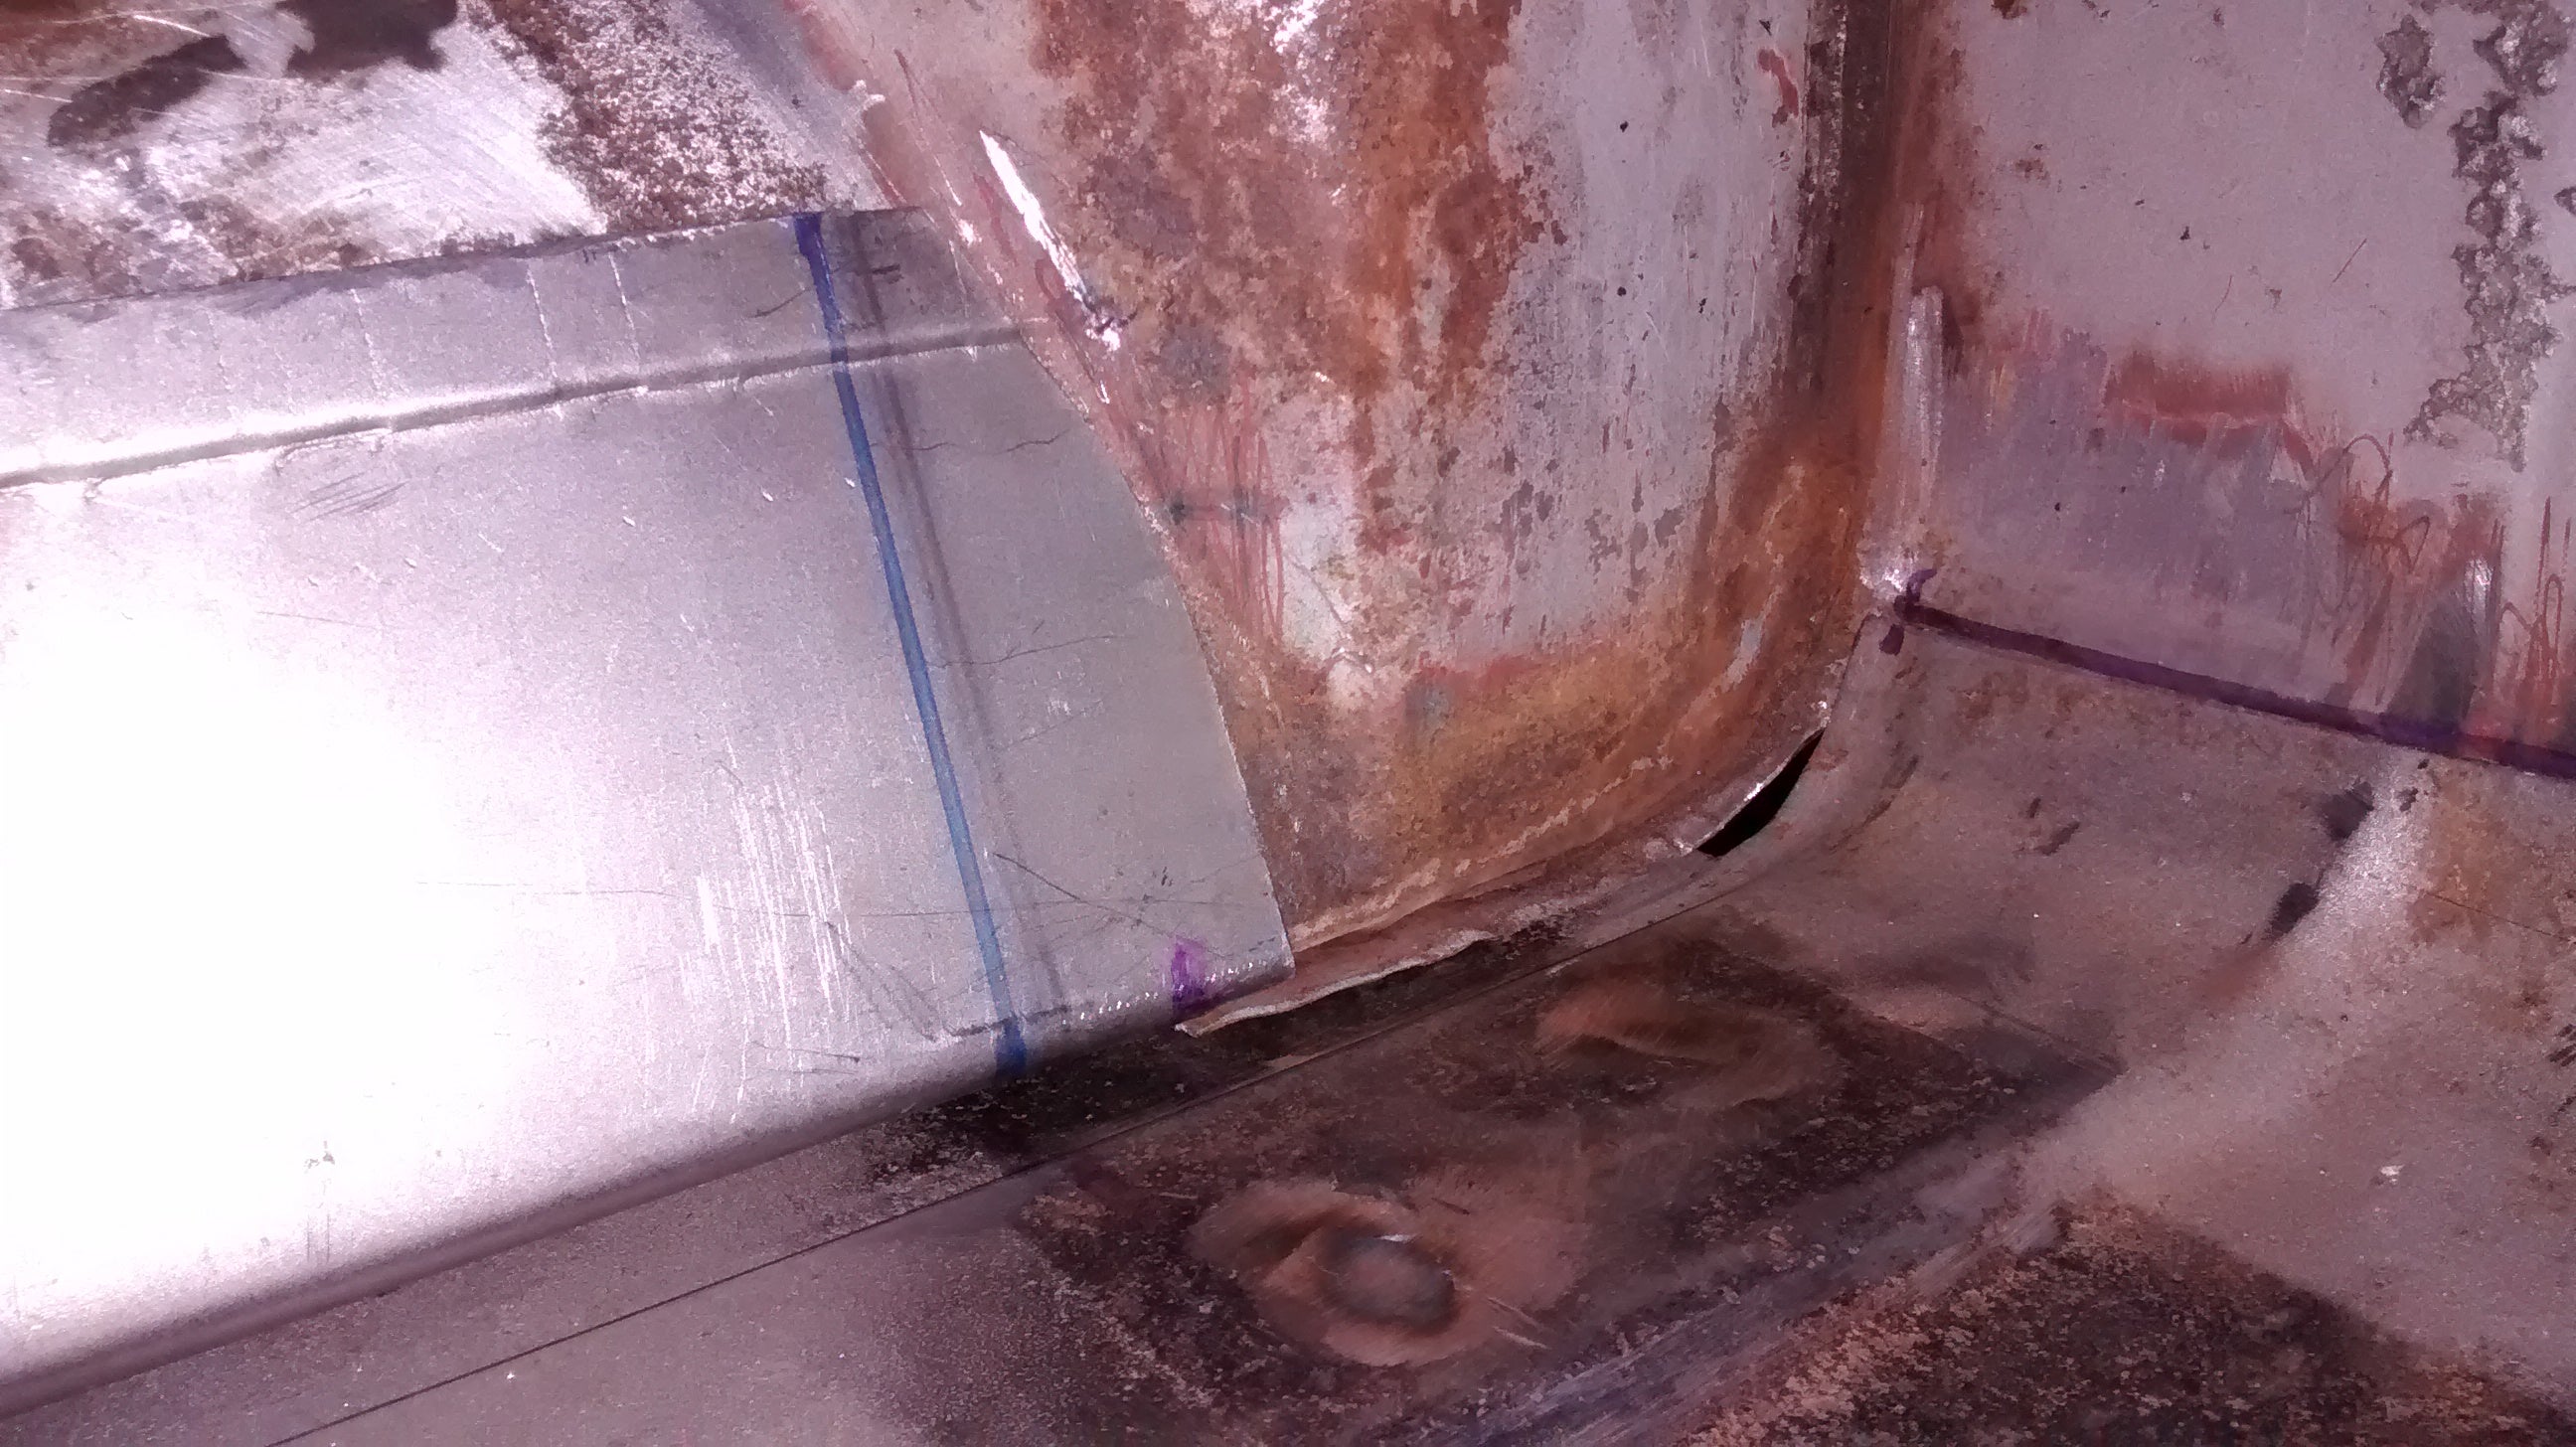
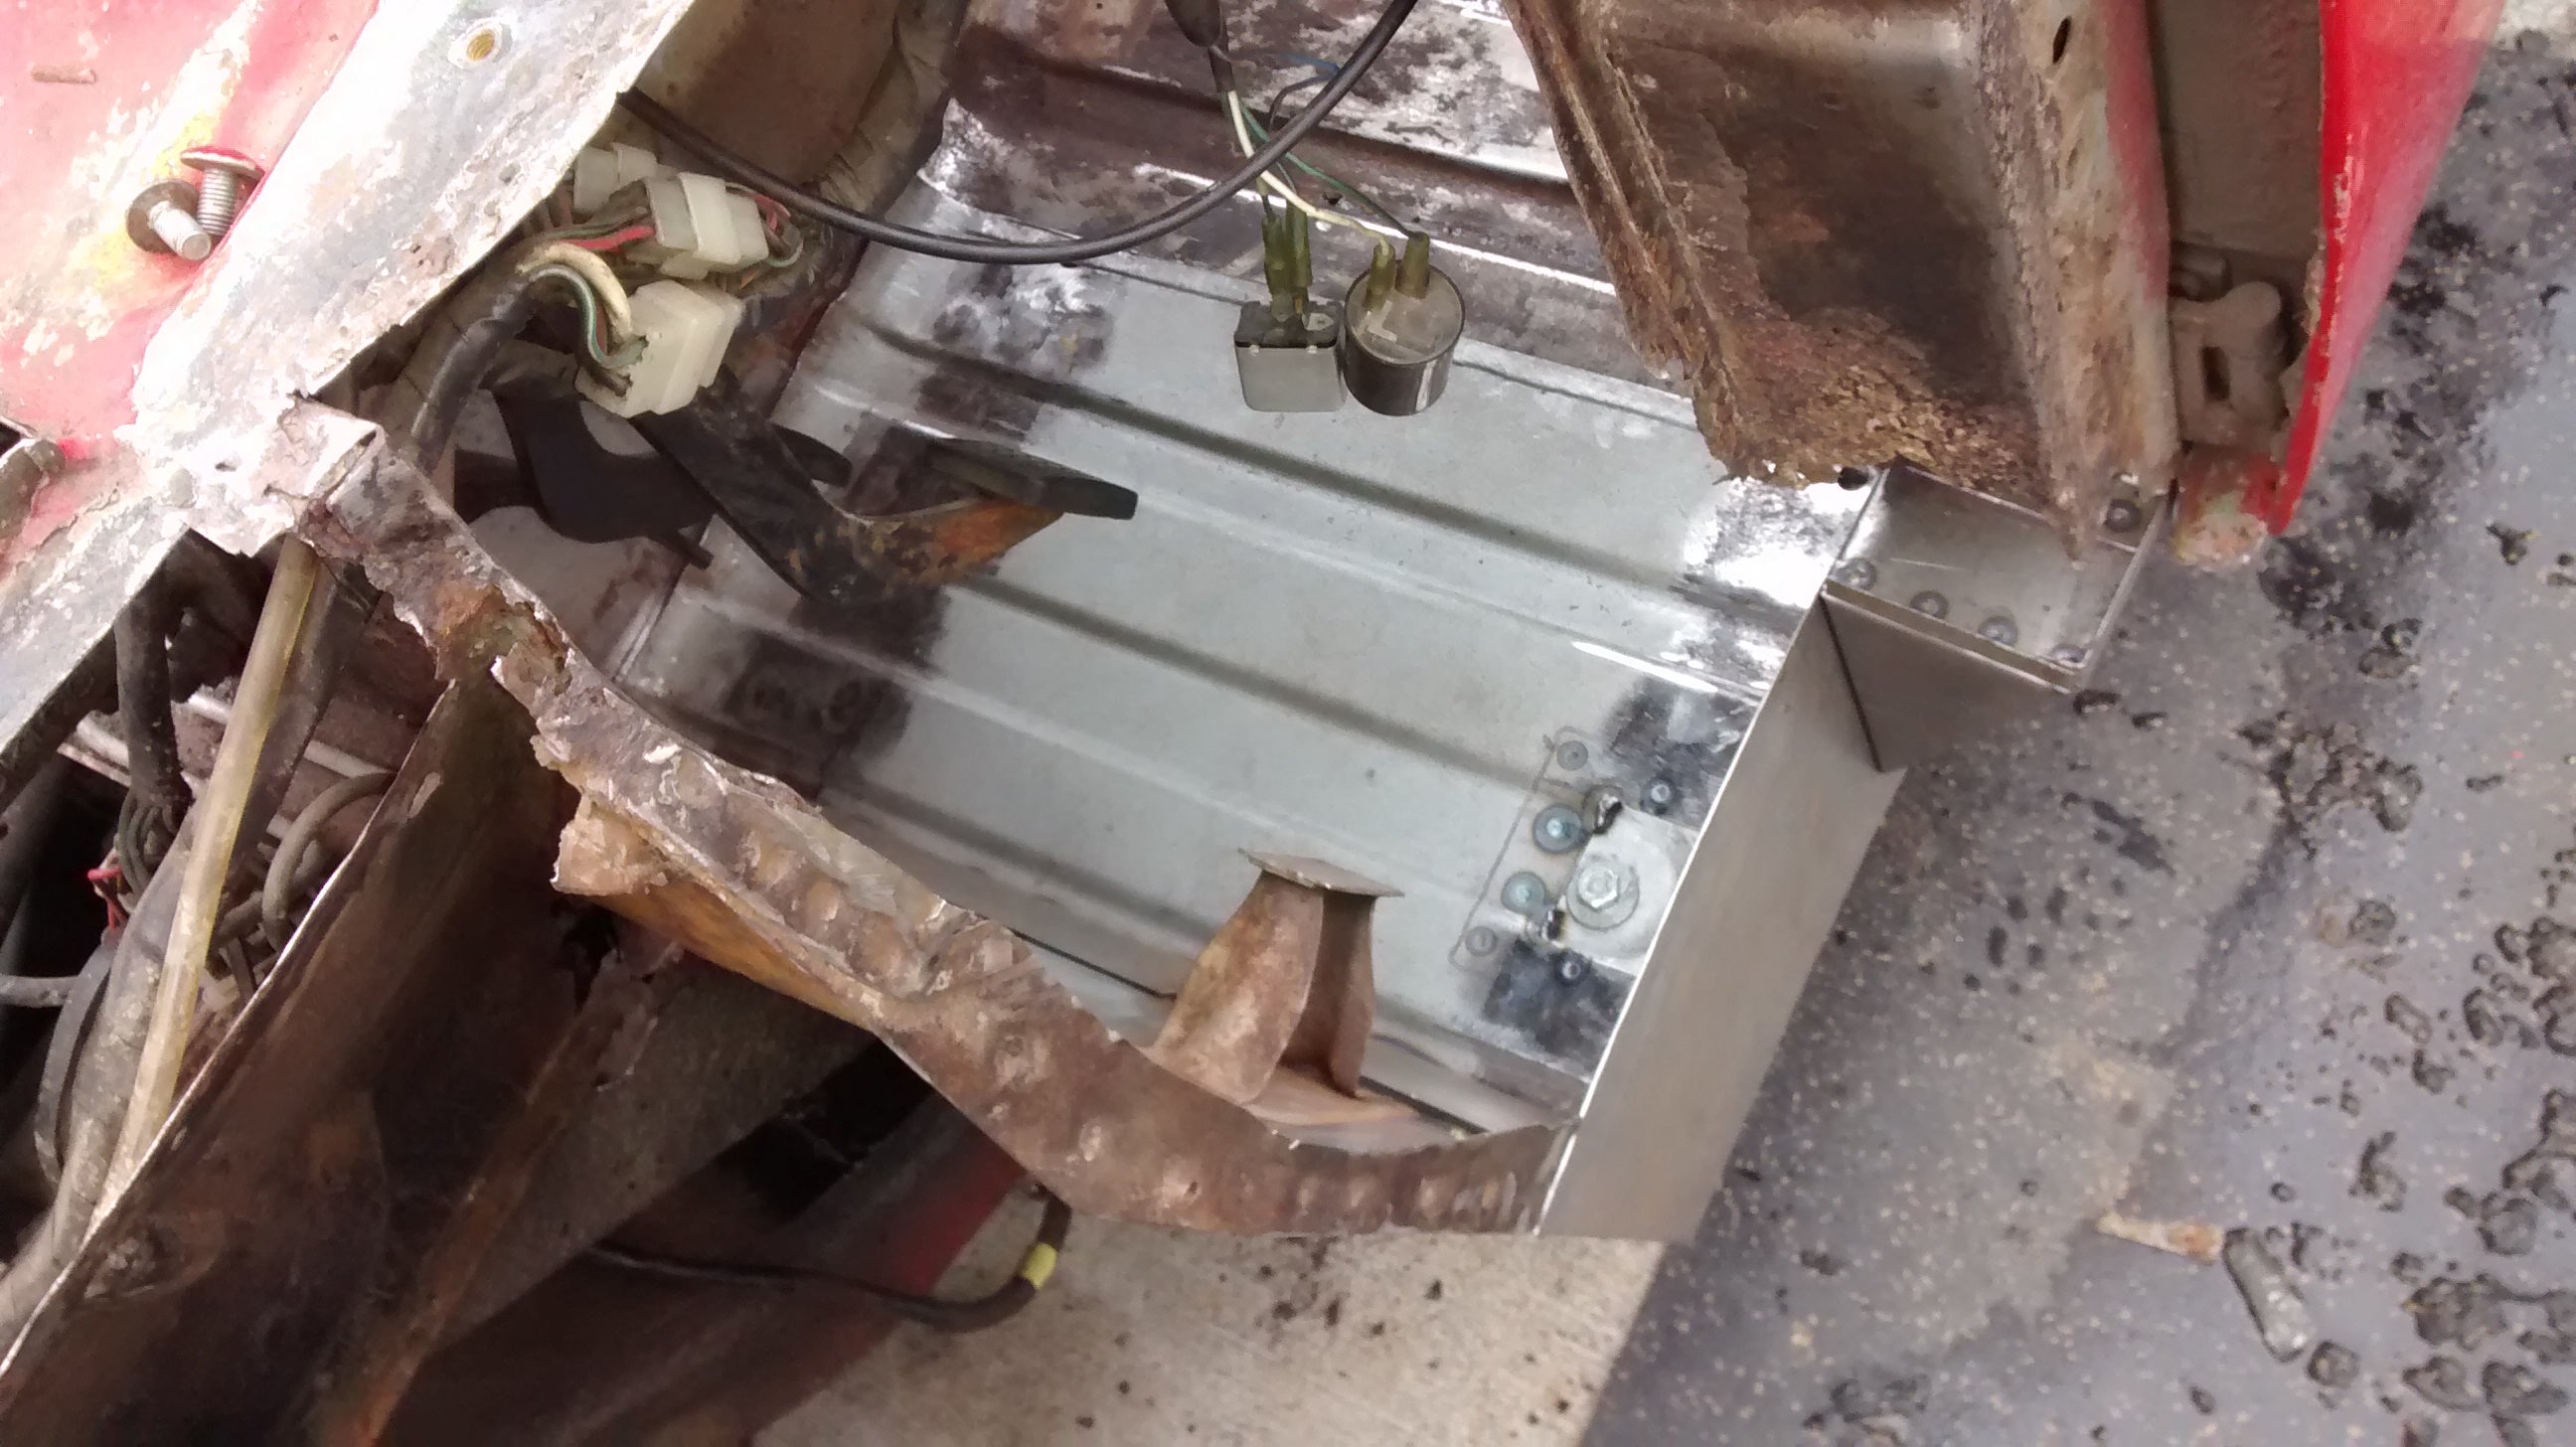
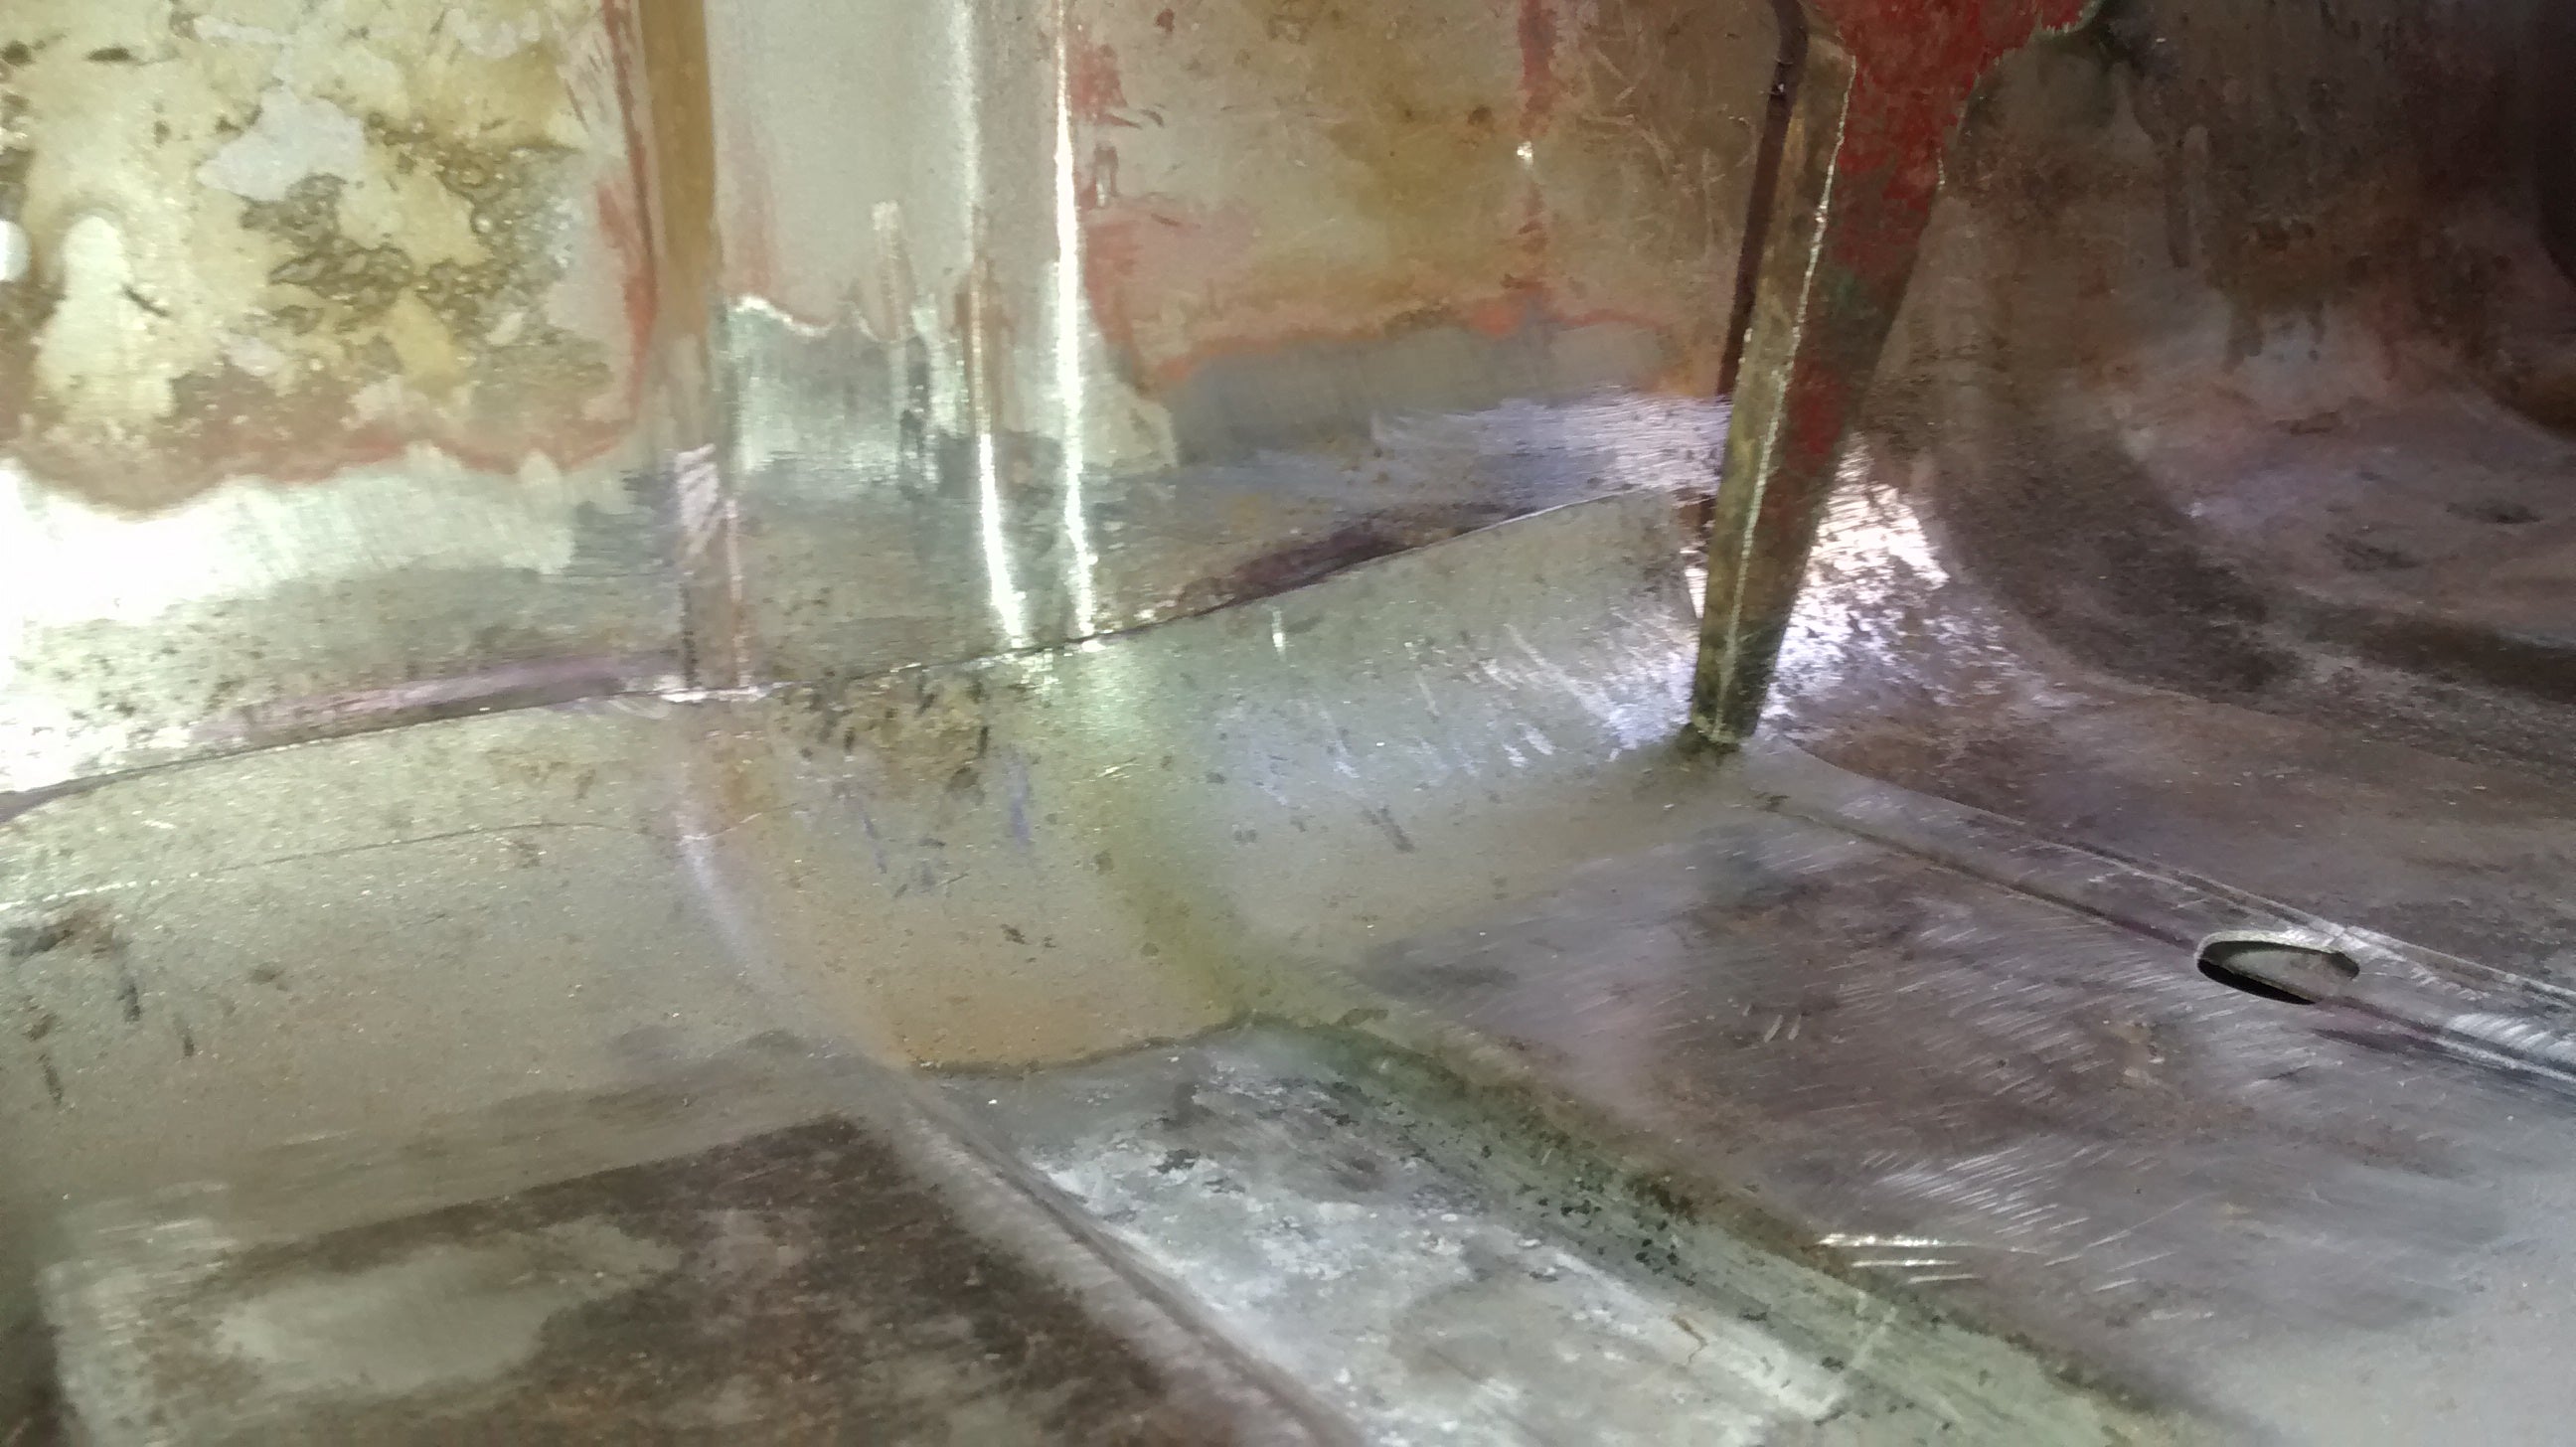
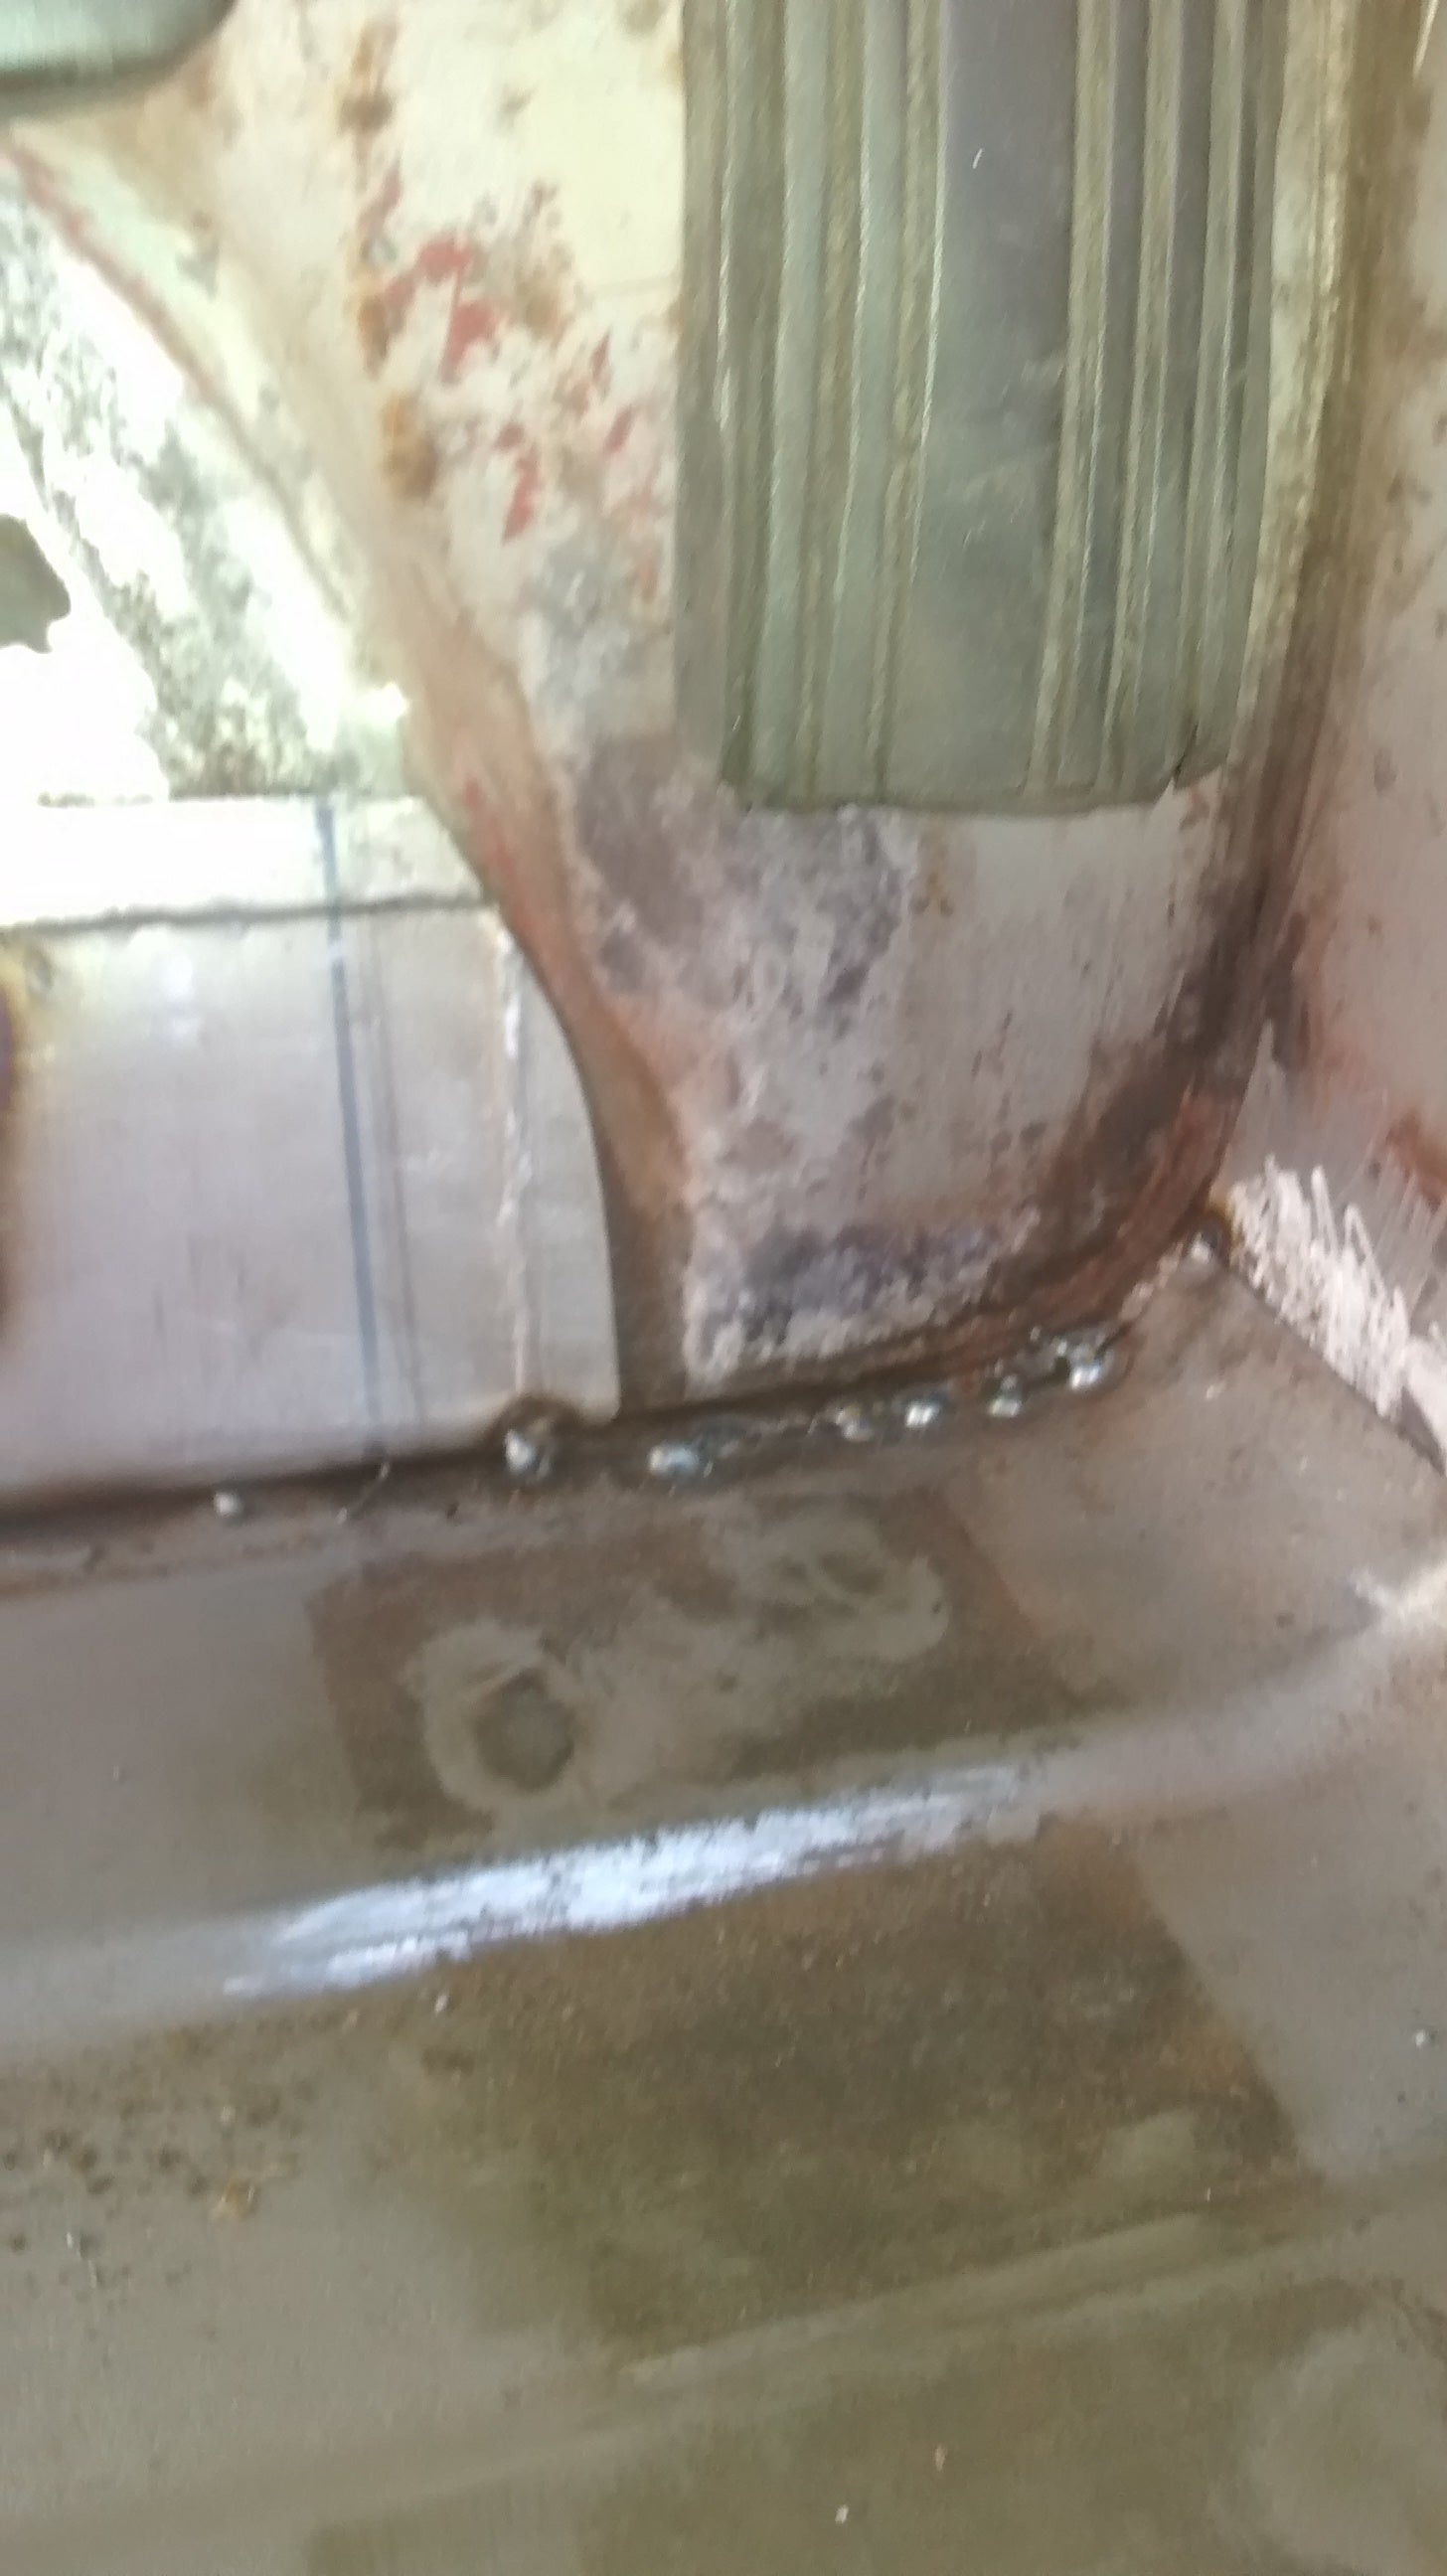
It begins where every serious resto begins, the floor, with the passenger side being mostly completed, I turned to the hot seat, where it was sorely needed.
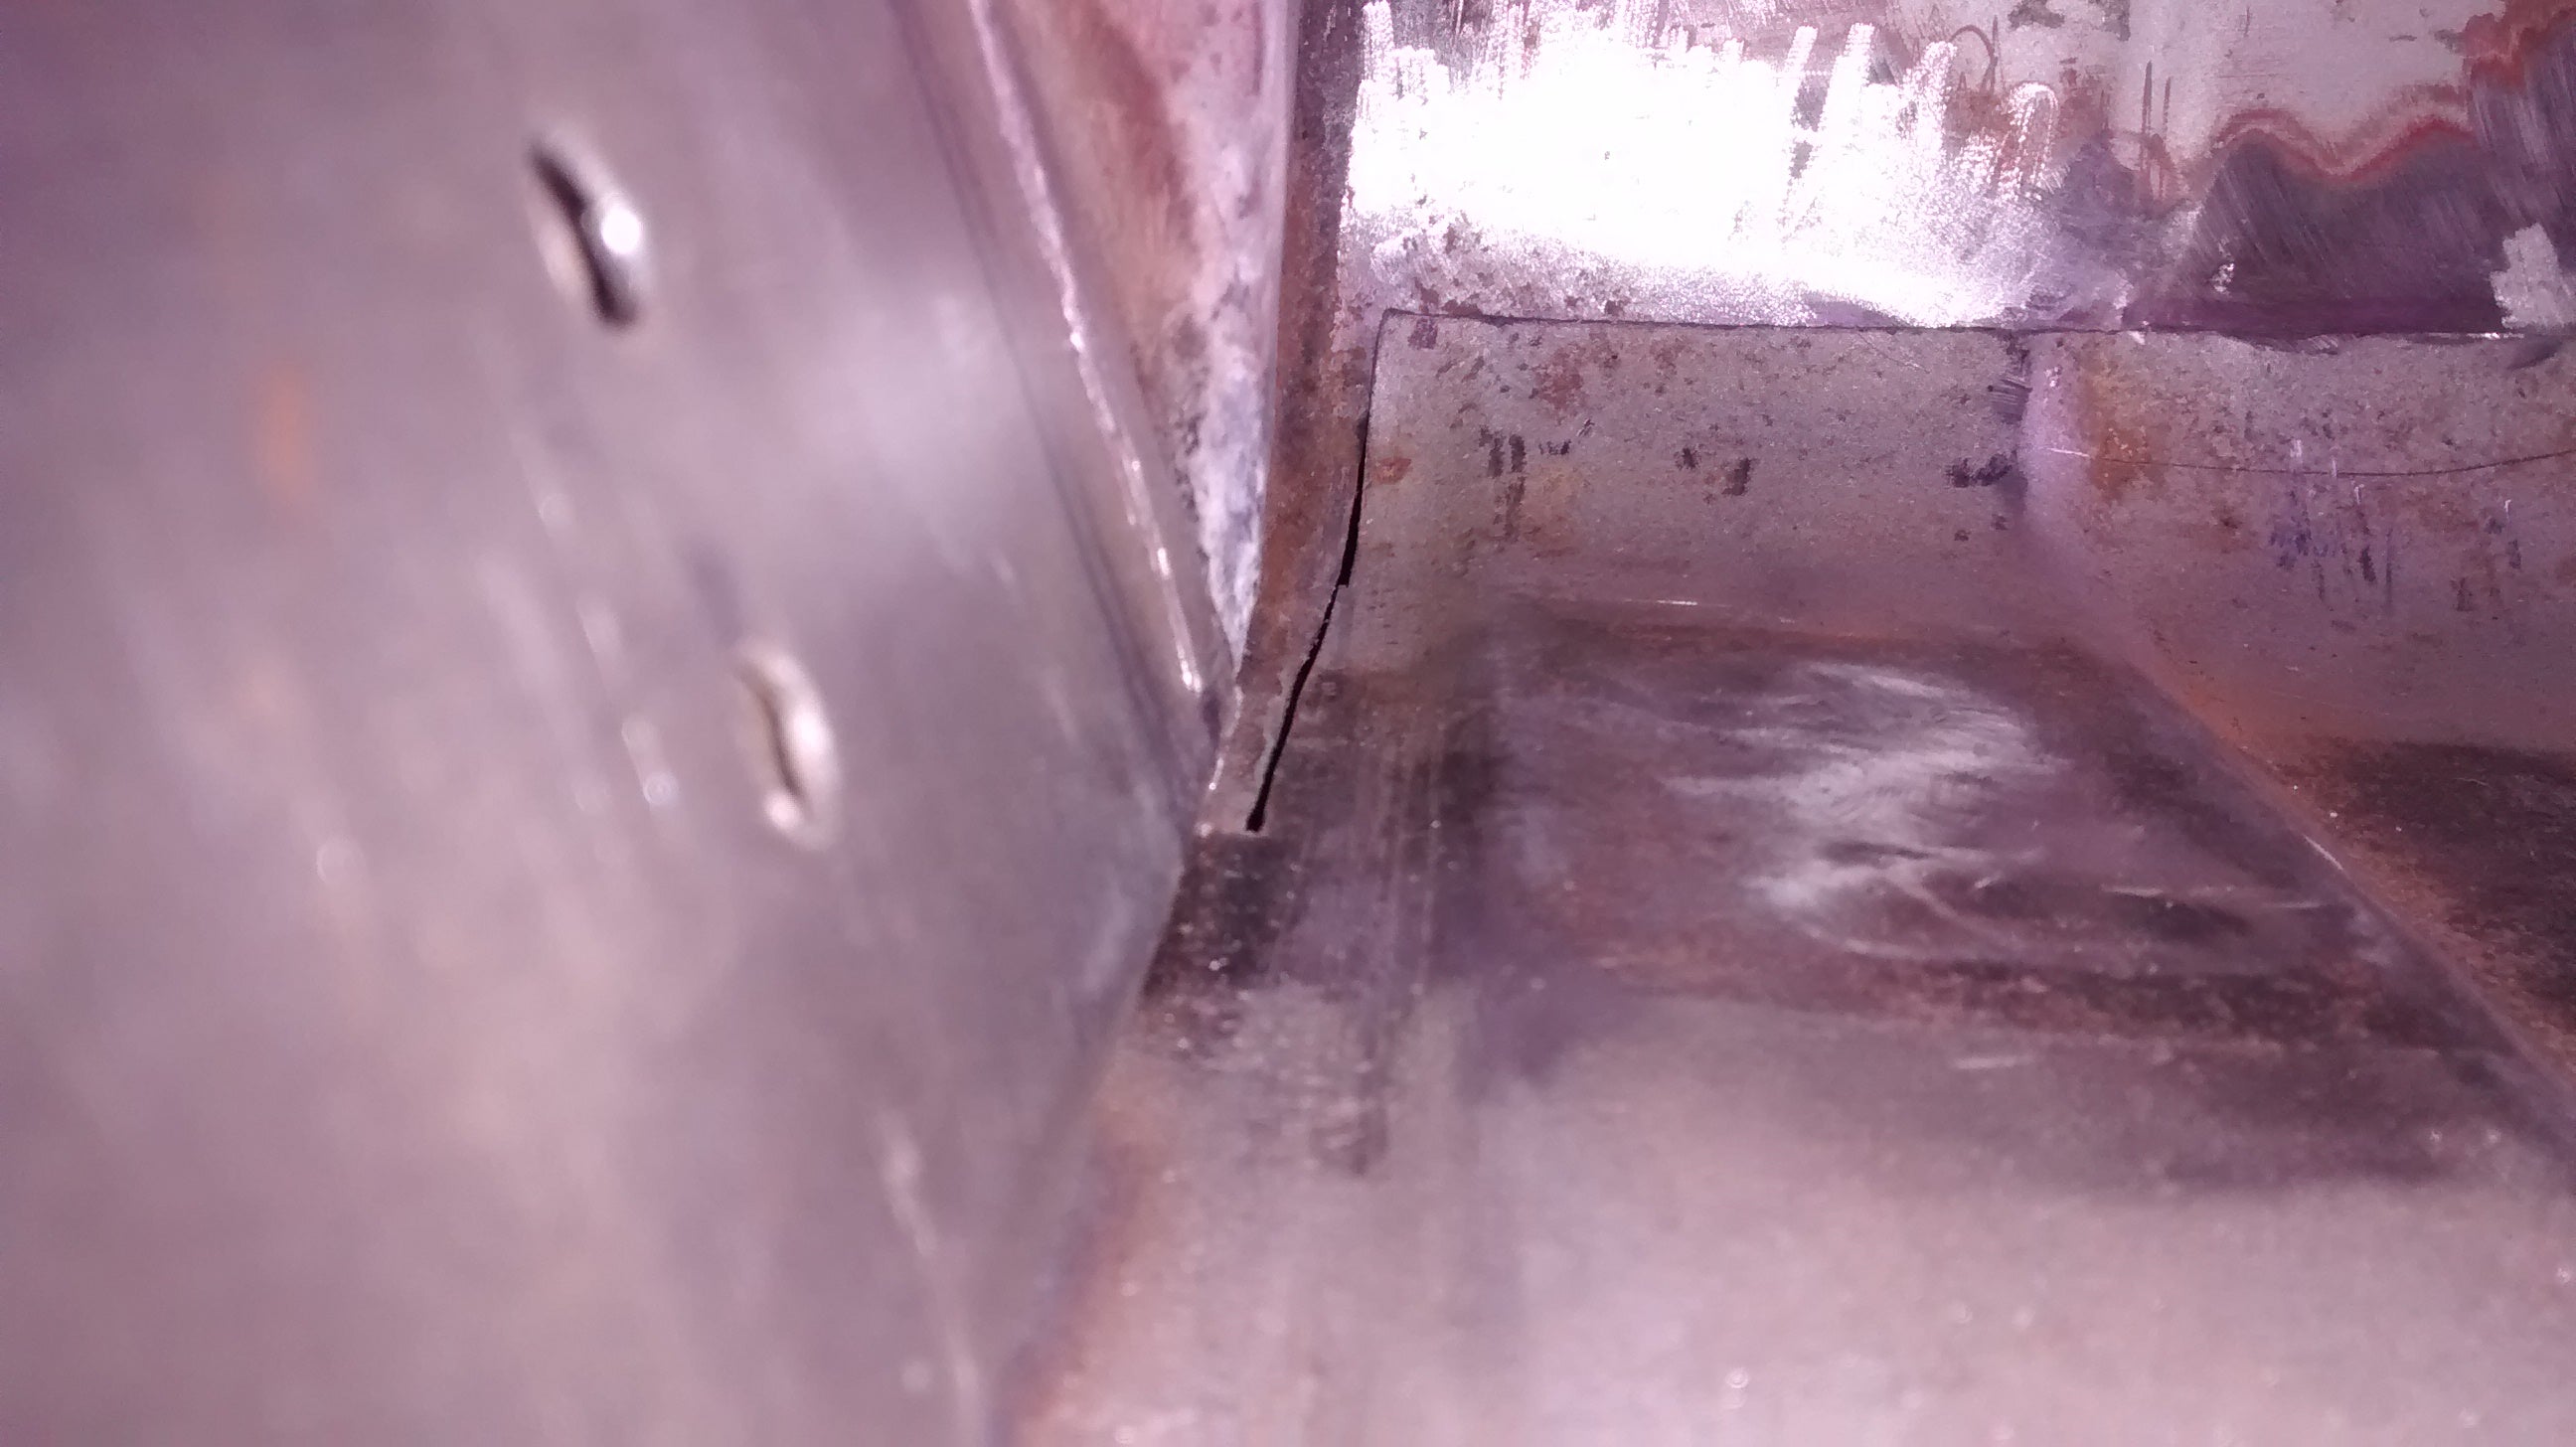
A massive gaping hole, this will need to be rectified, so we got out the power tools and started cutting up the donor floors.
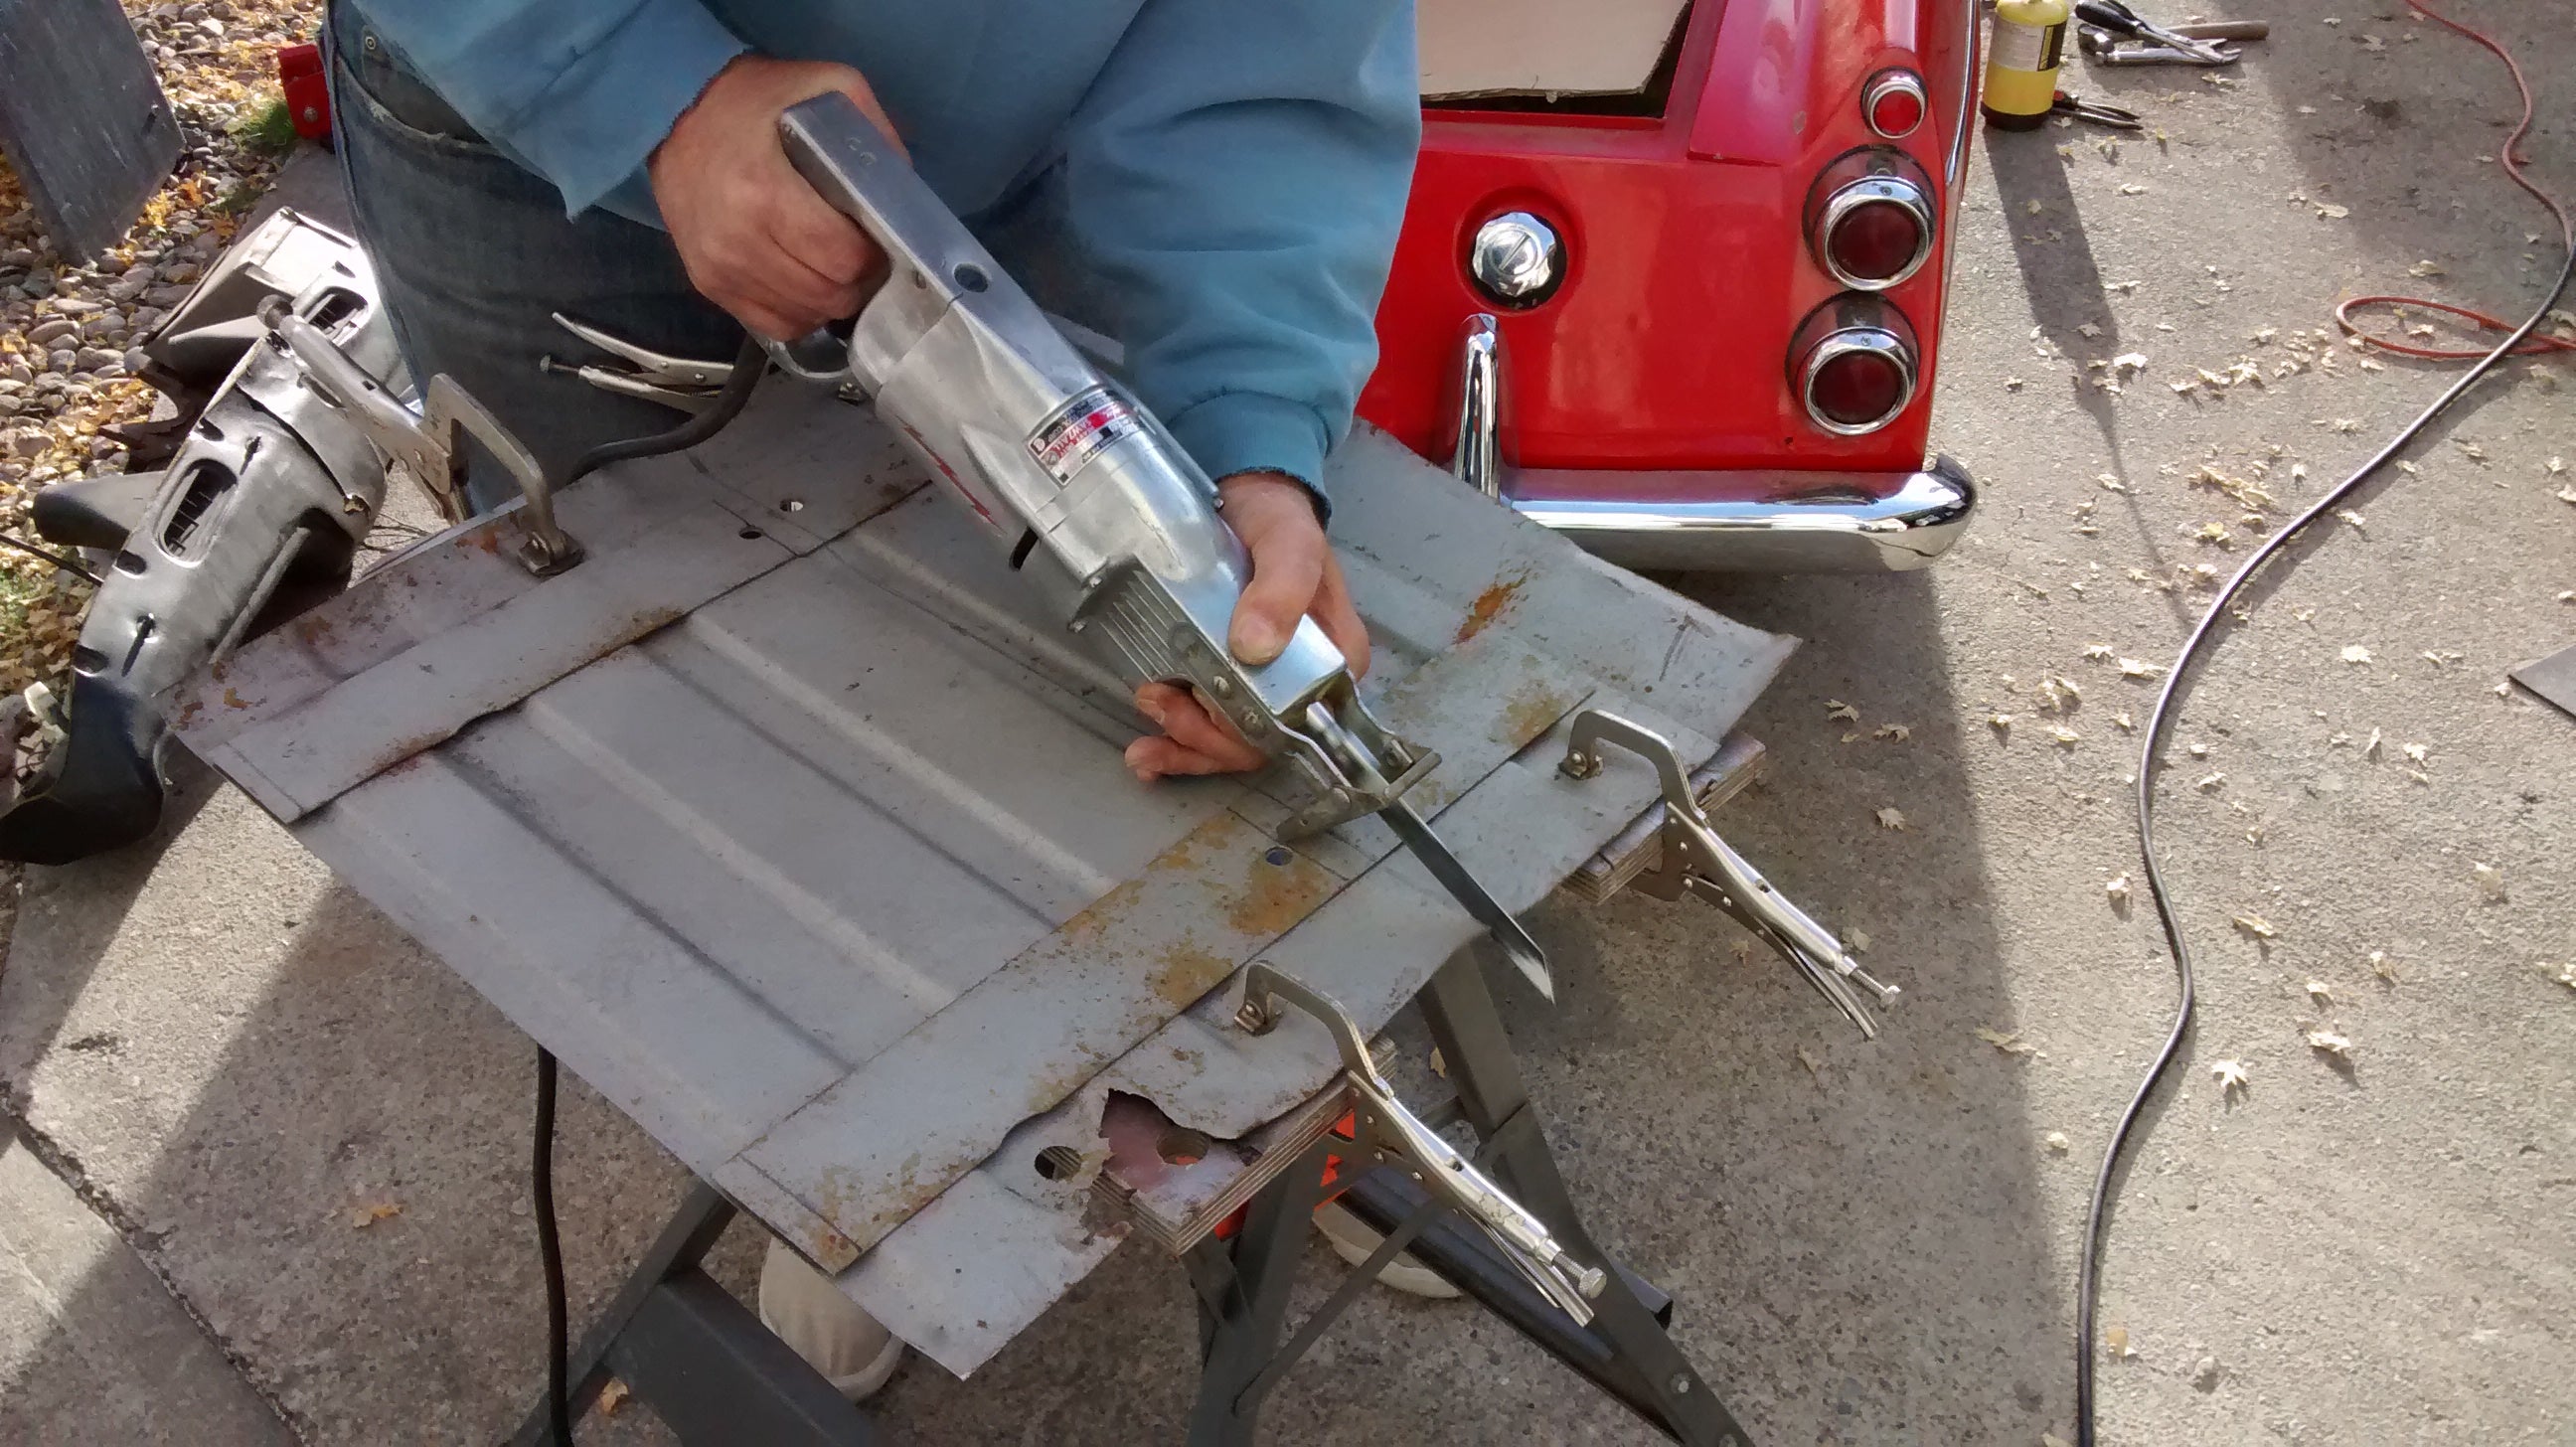
We had an extra body that was cut up into small pieces, but unfortunately the floors were also like swiss cheese on it, so we used the part of the floors where the seats would normally go.
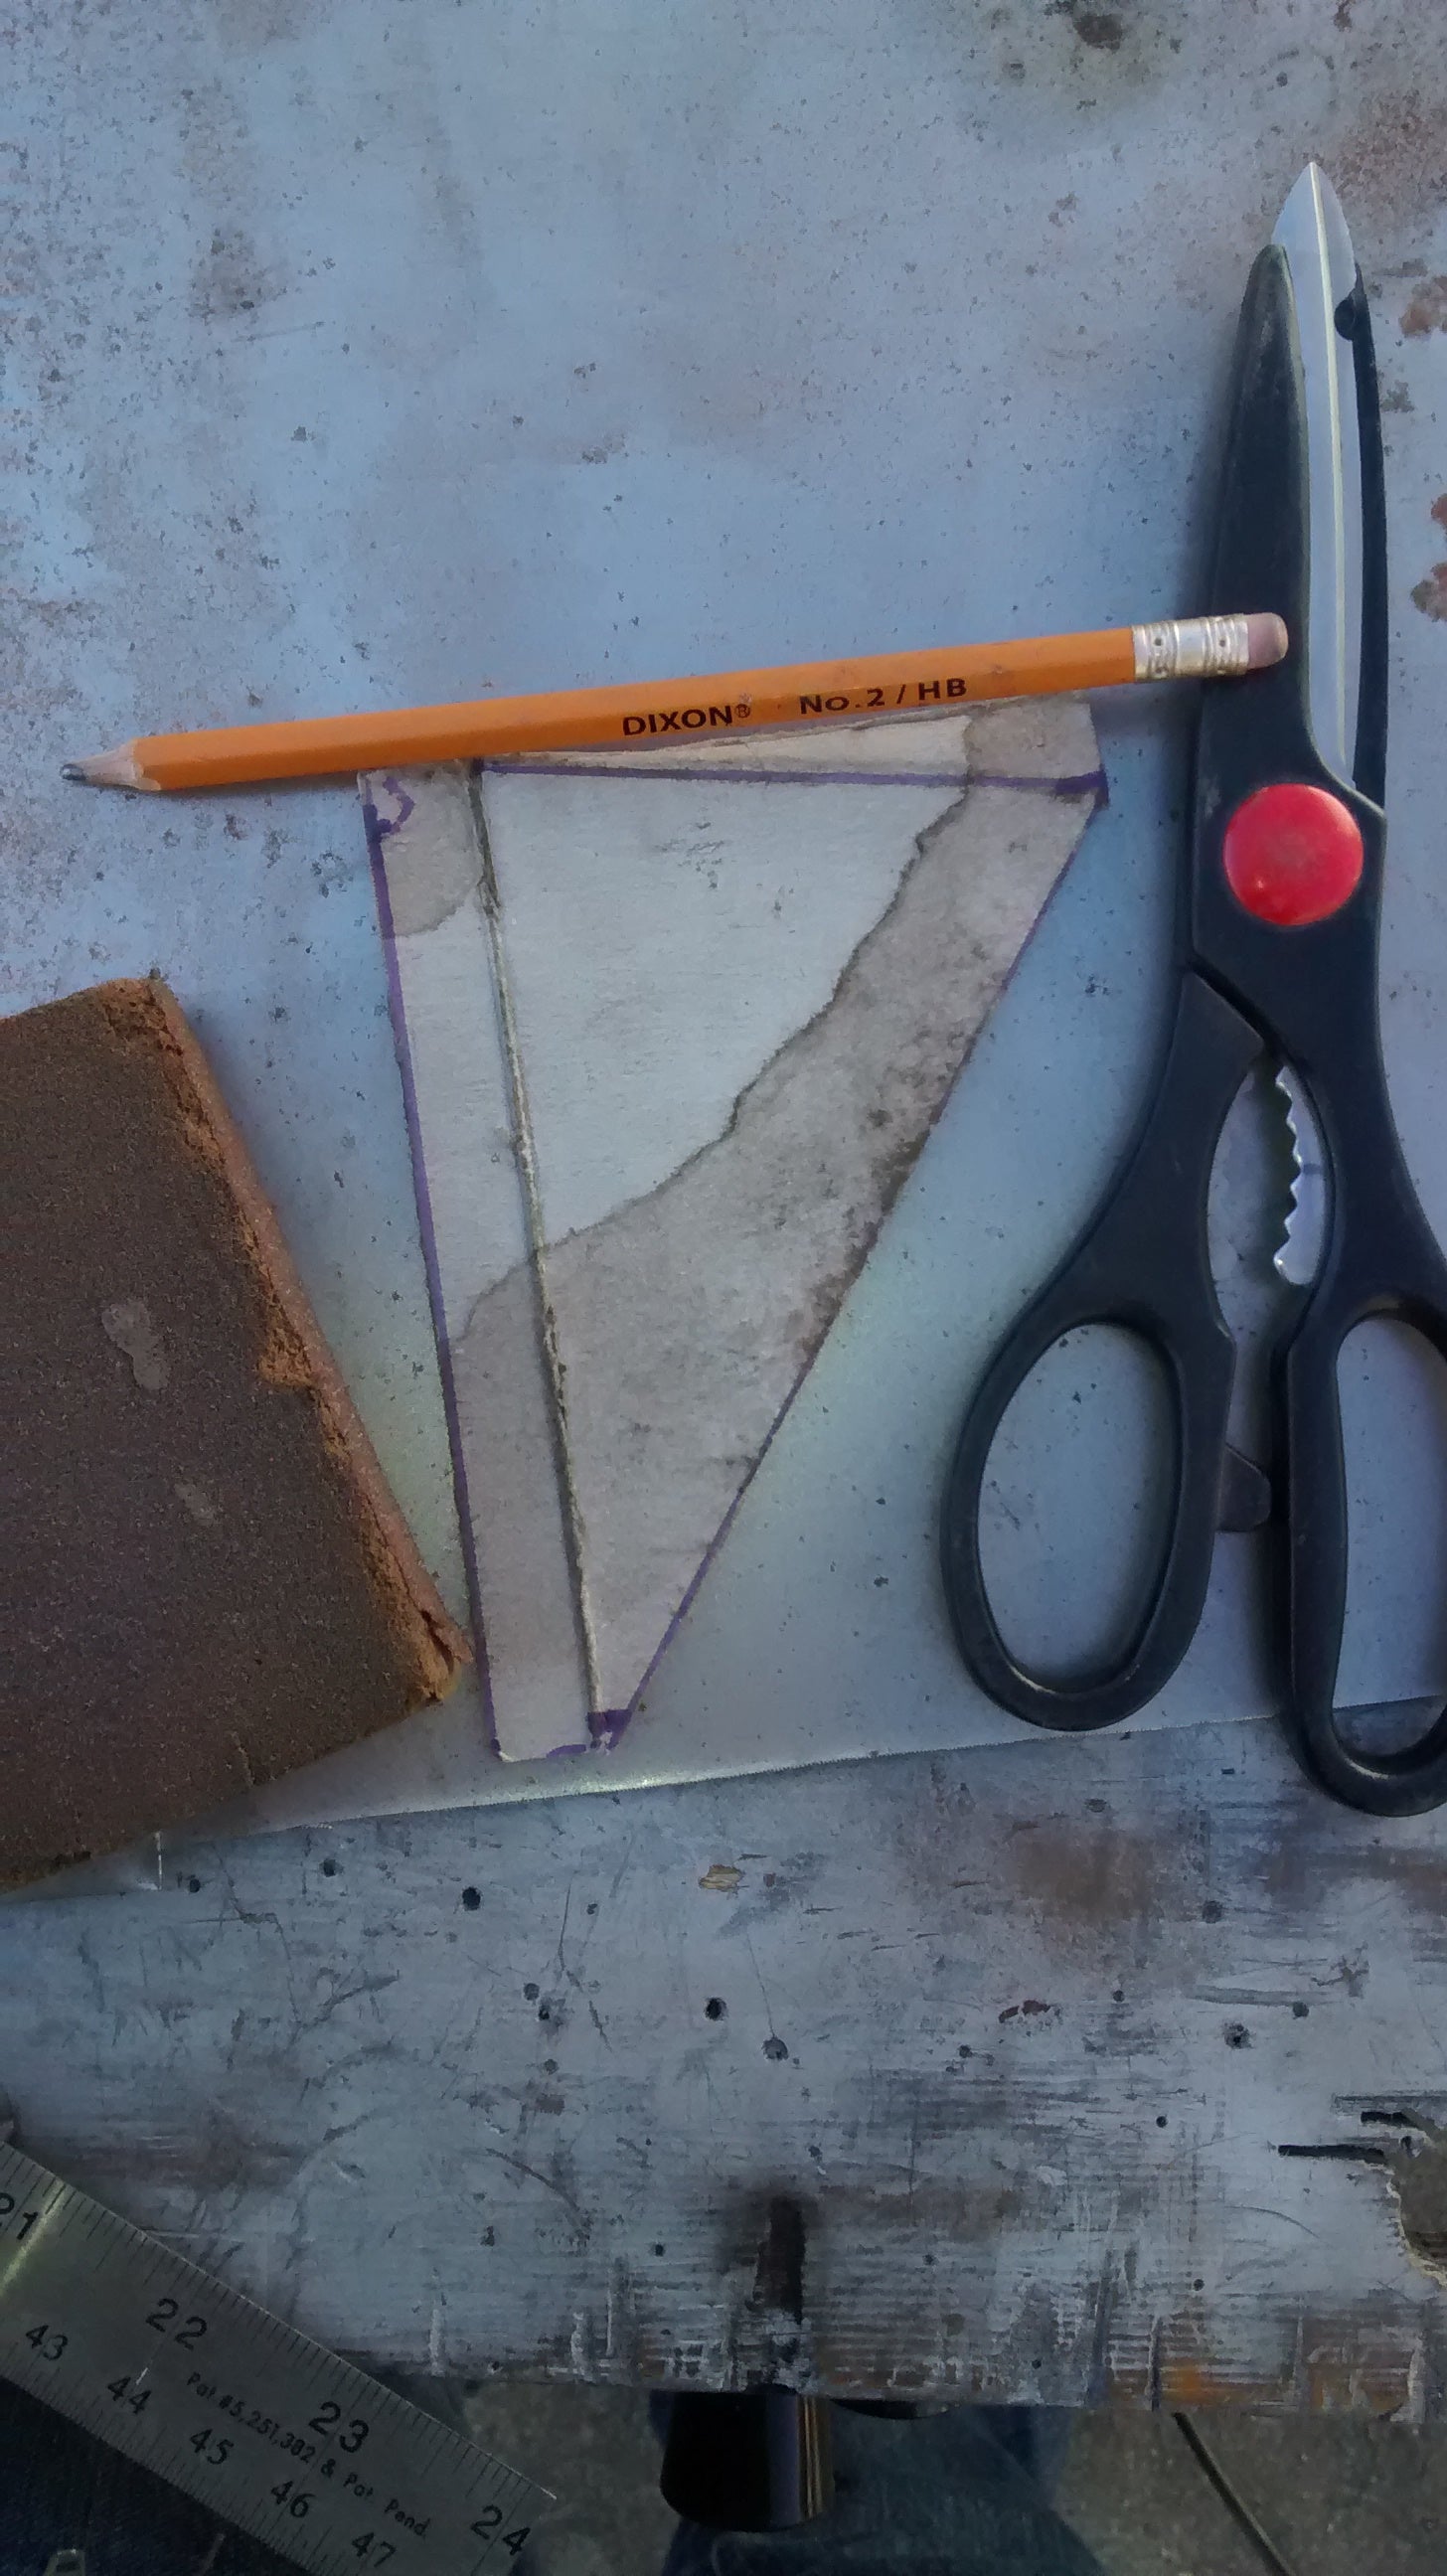
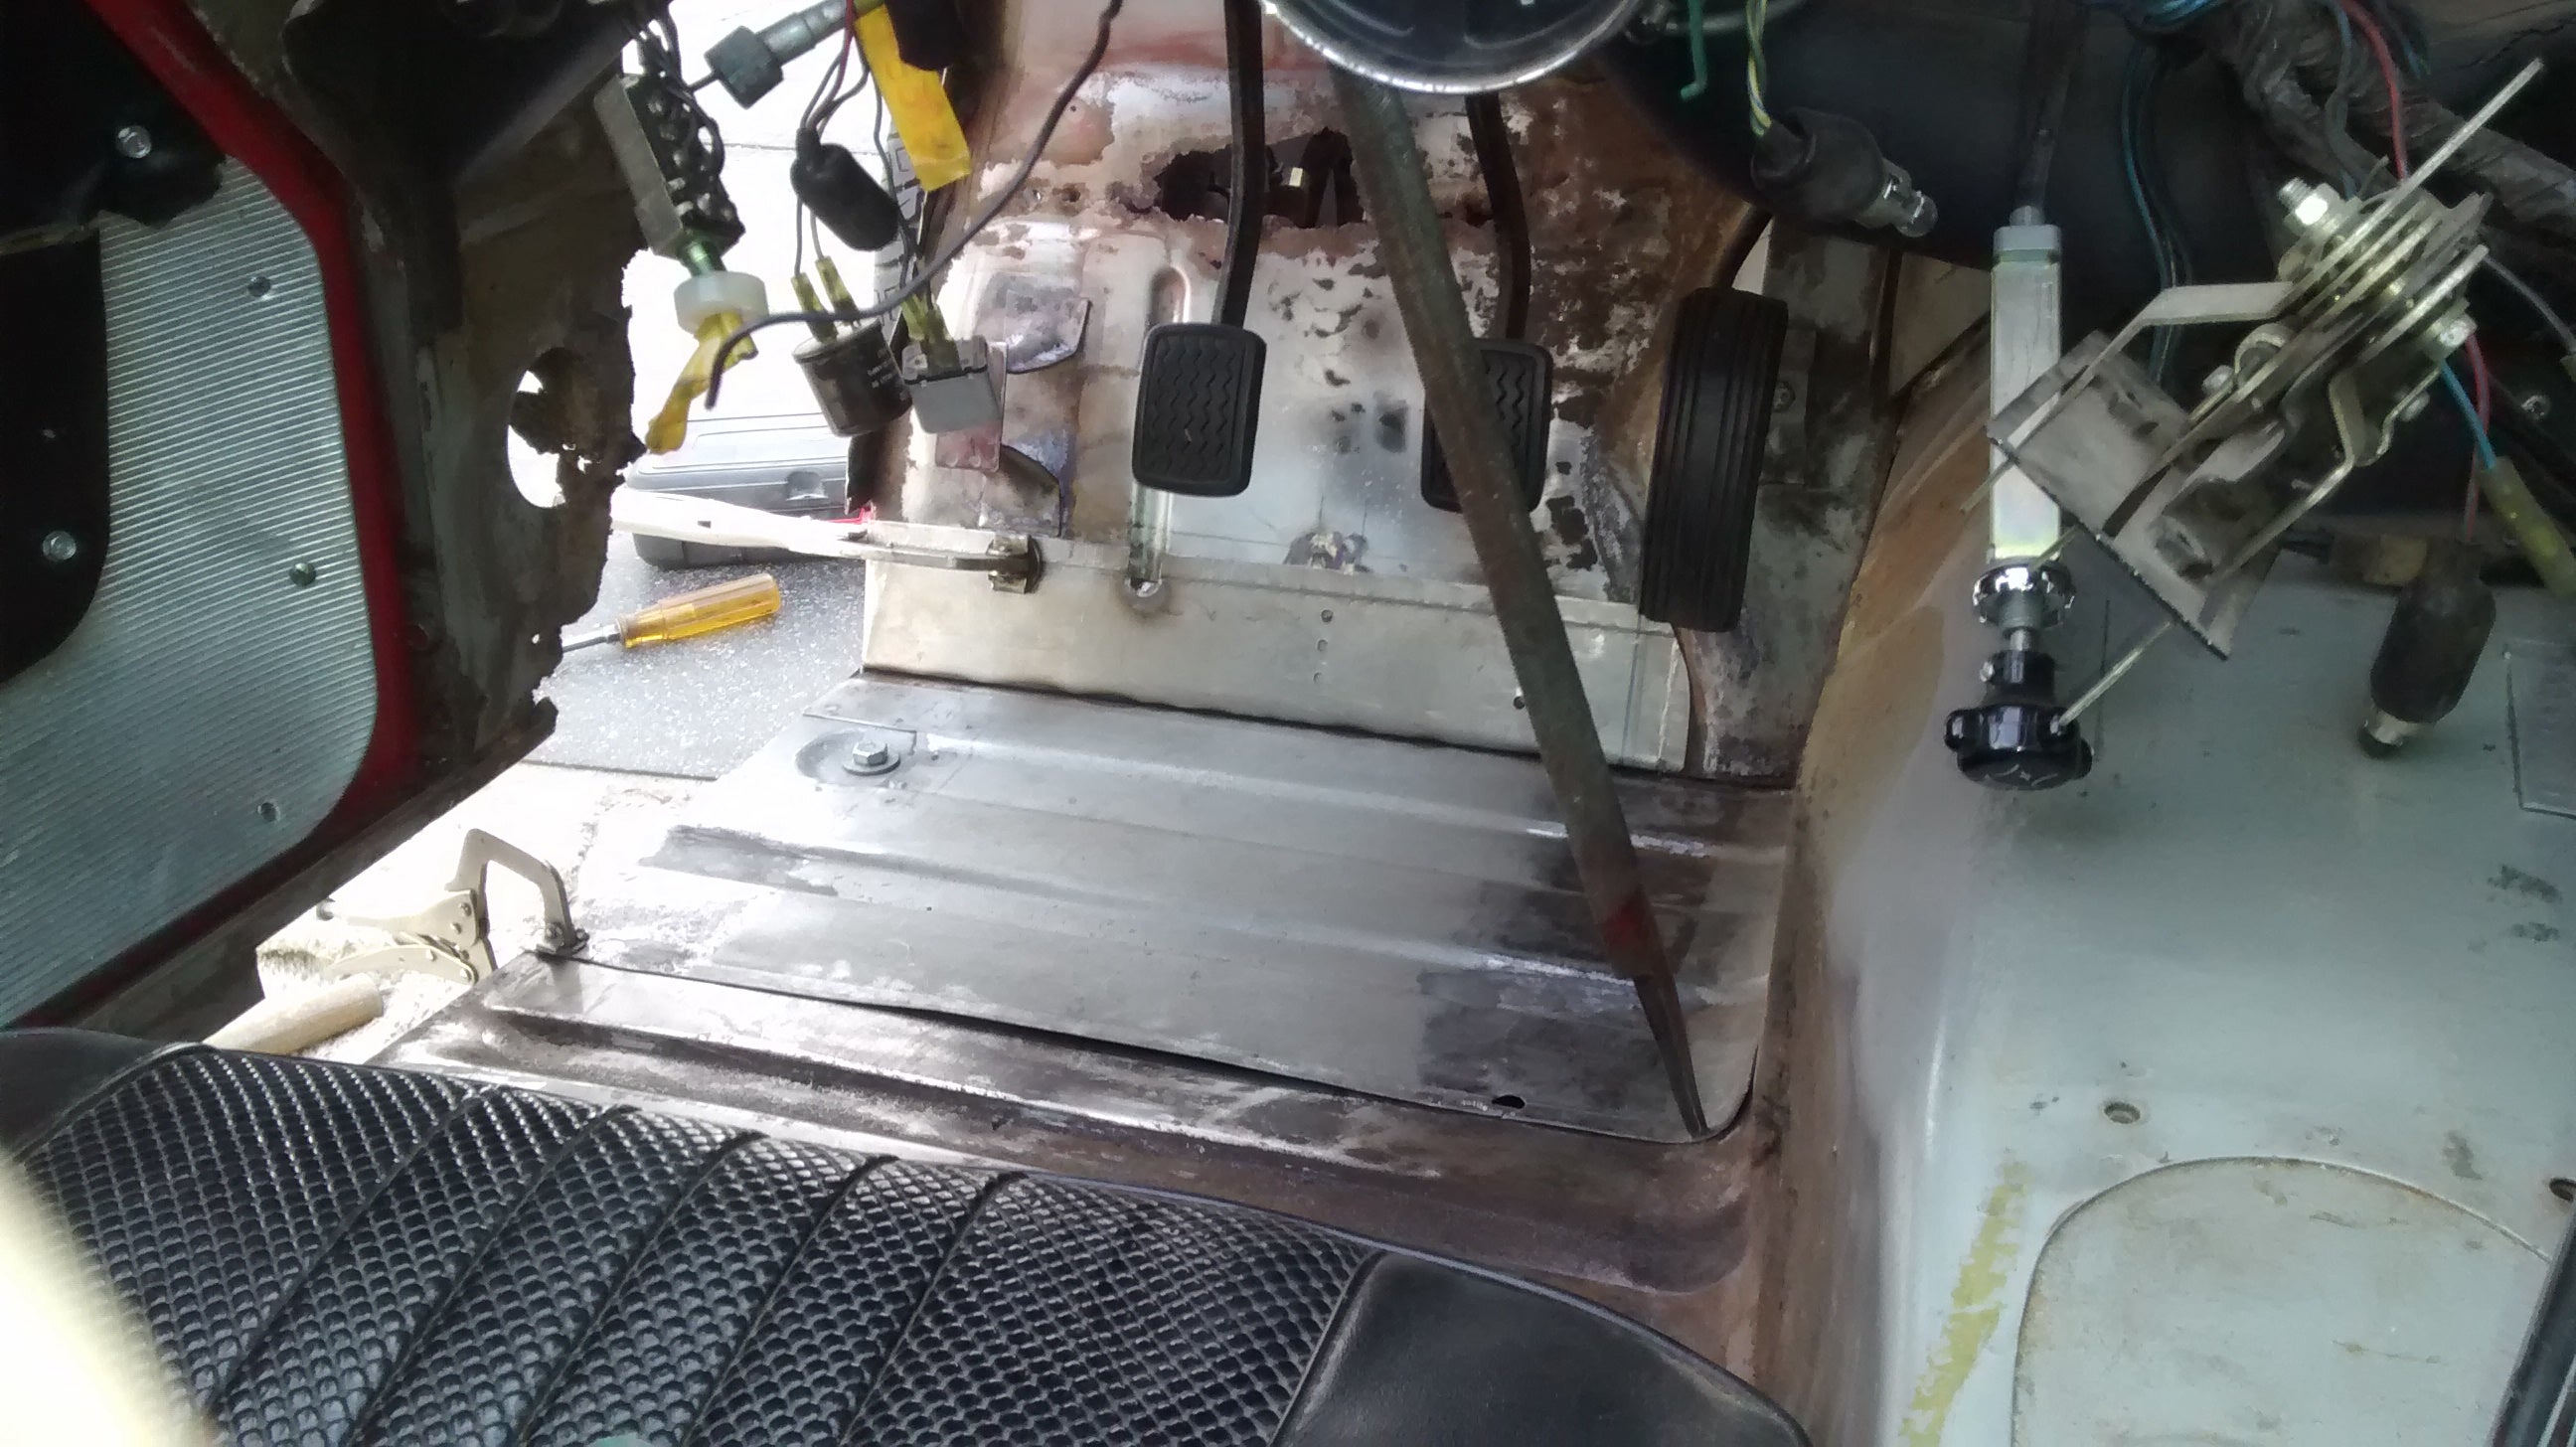
The fit is good, we move on to the firewall section, behind the pedals. I make a template out of cardboard.

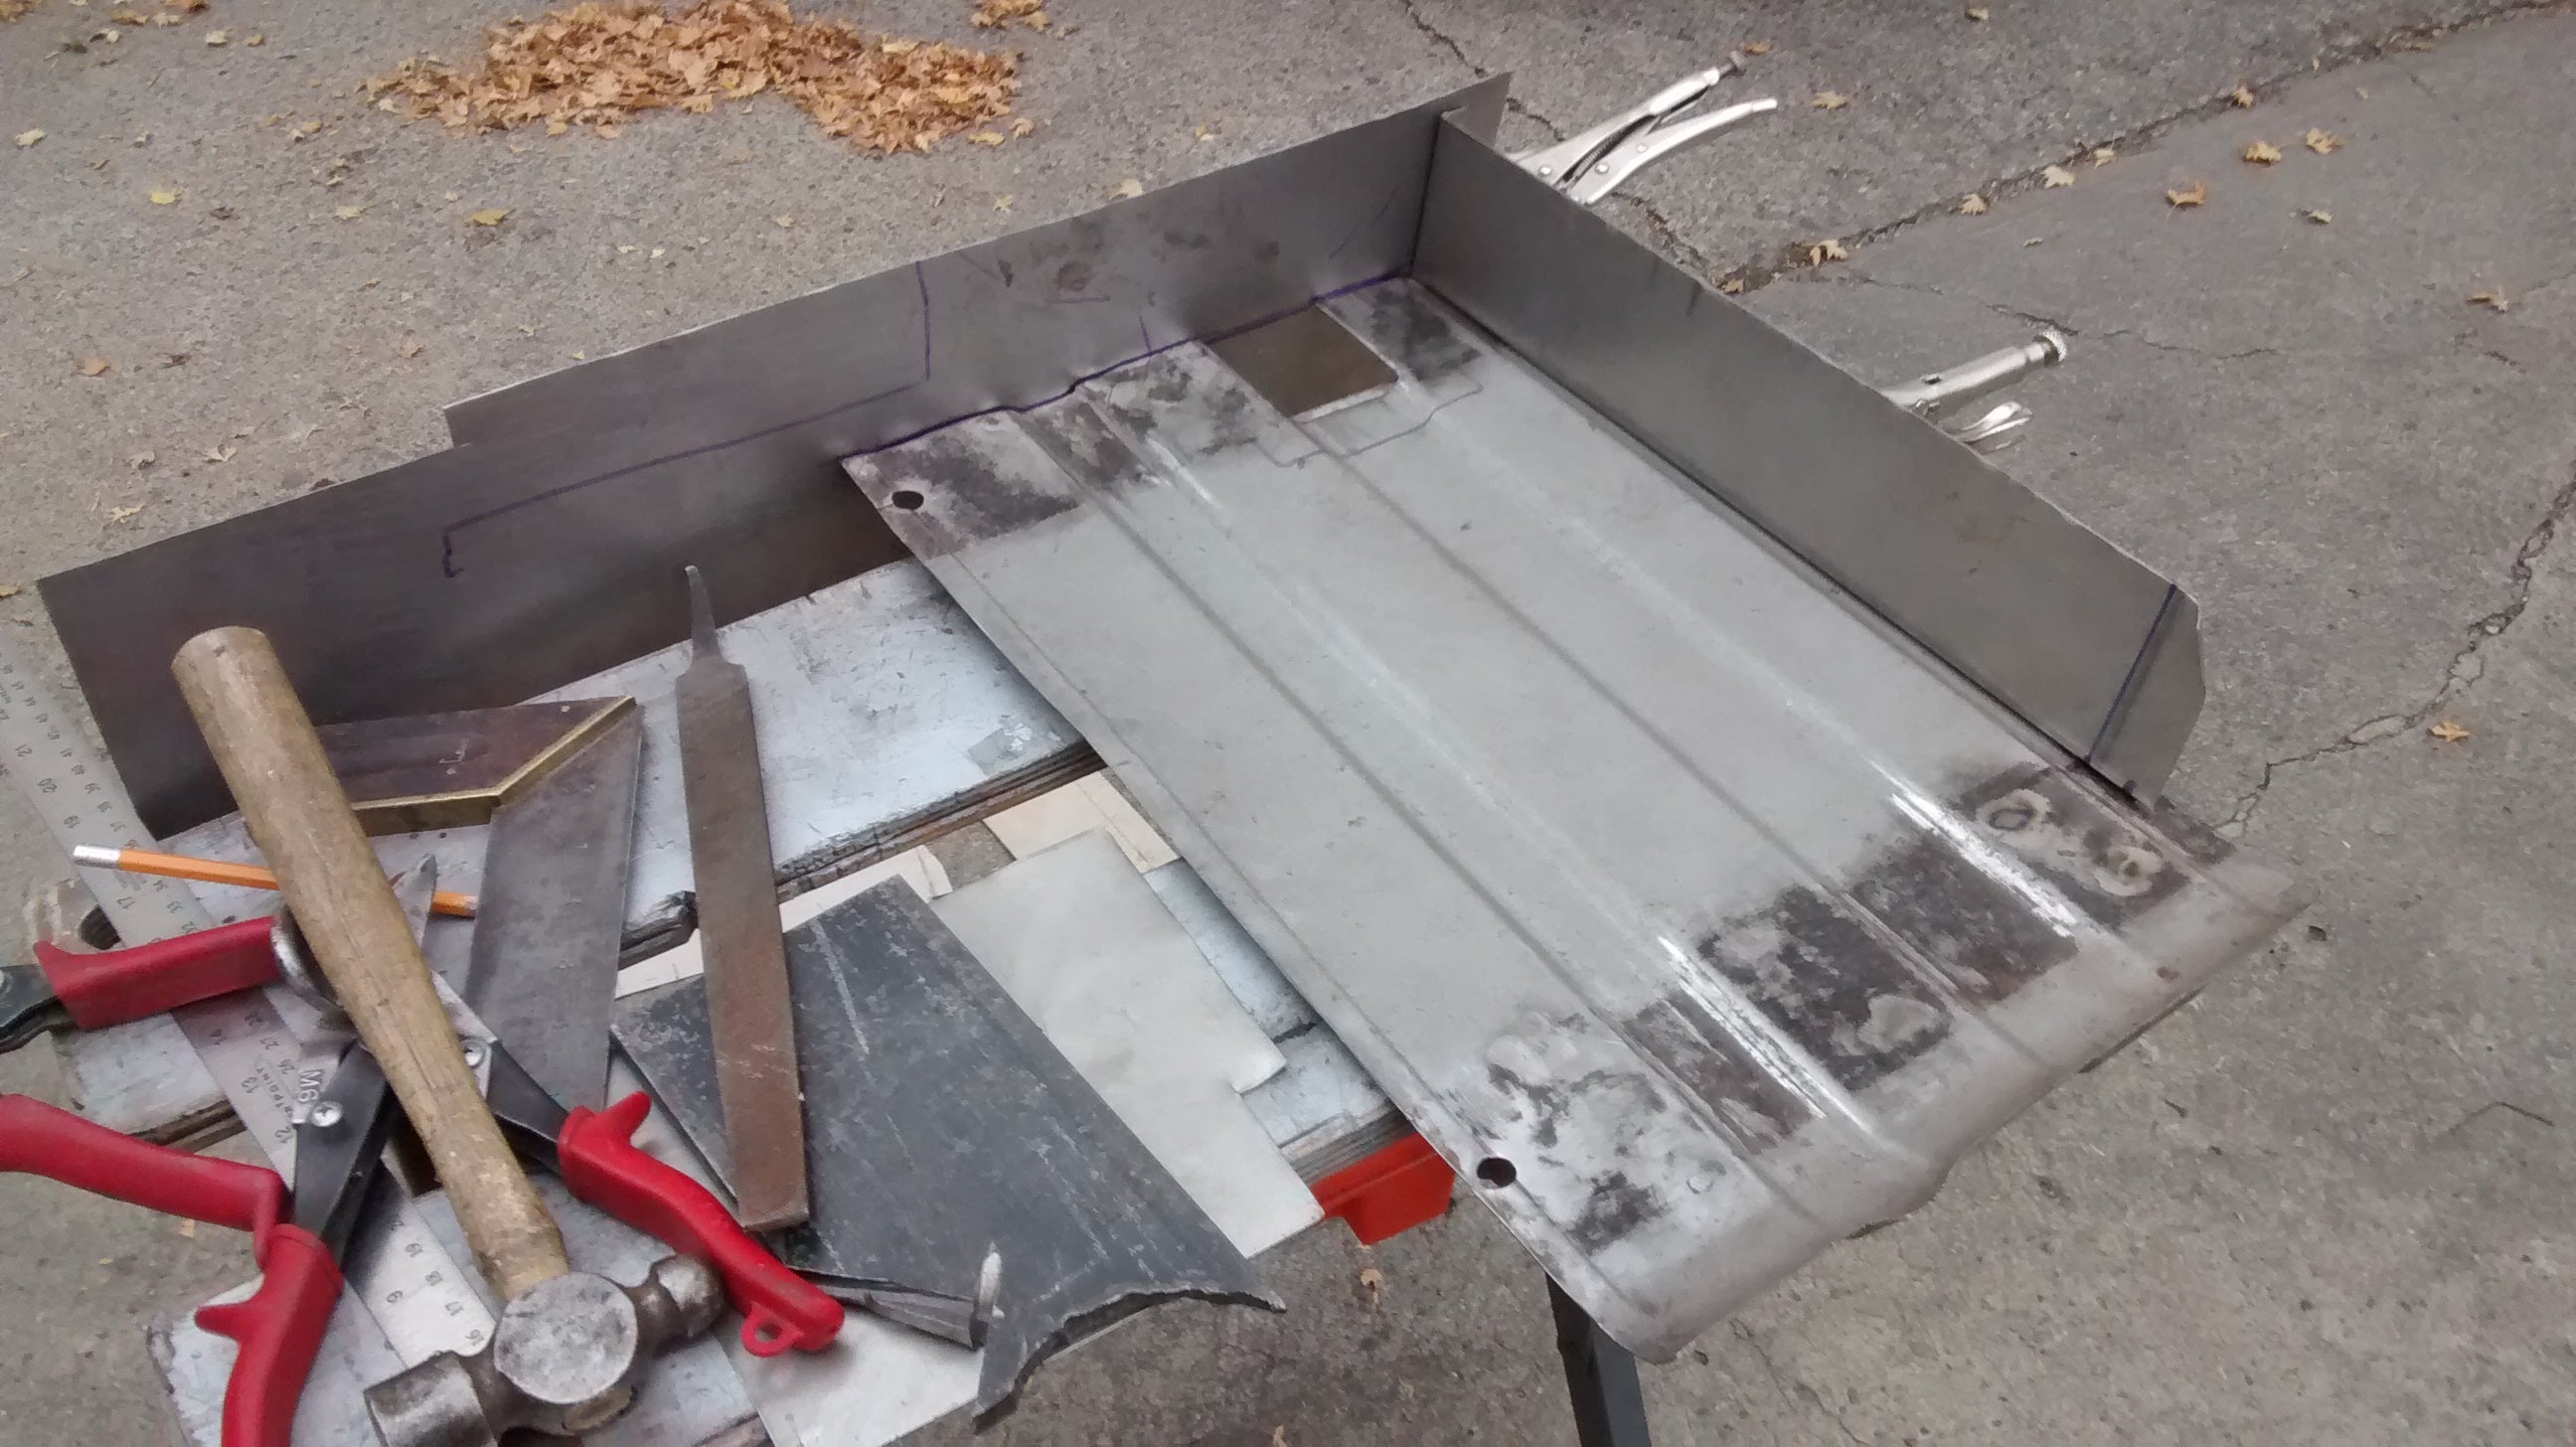
We use the pattern to cut it out of new sheet metal, and the piece is test fitted.
It looks great for a rough piece, now we can move on to the inner rocker pieces.

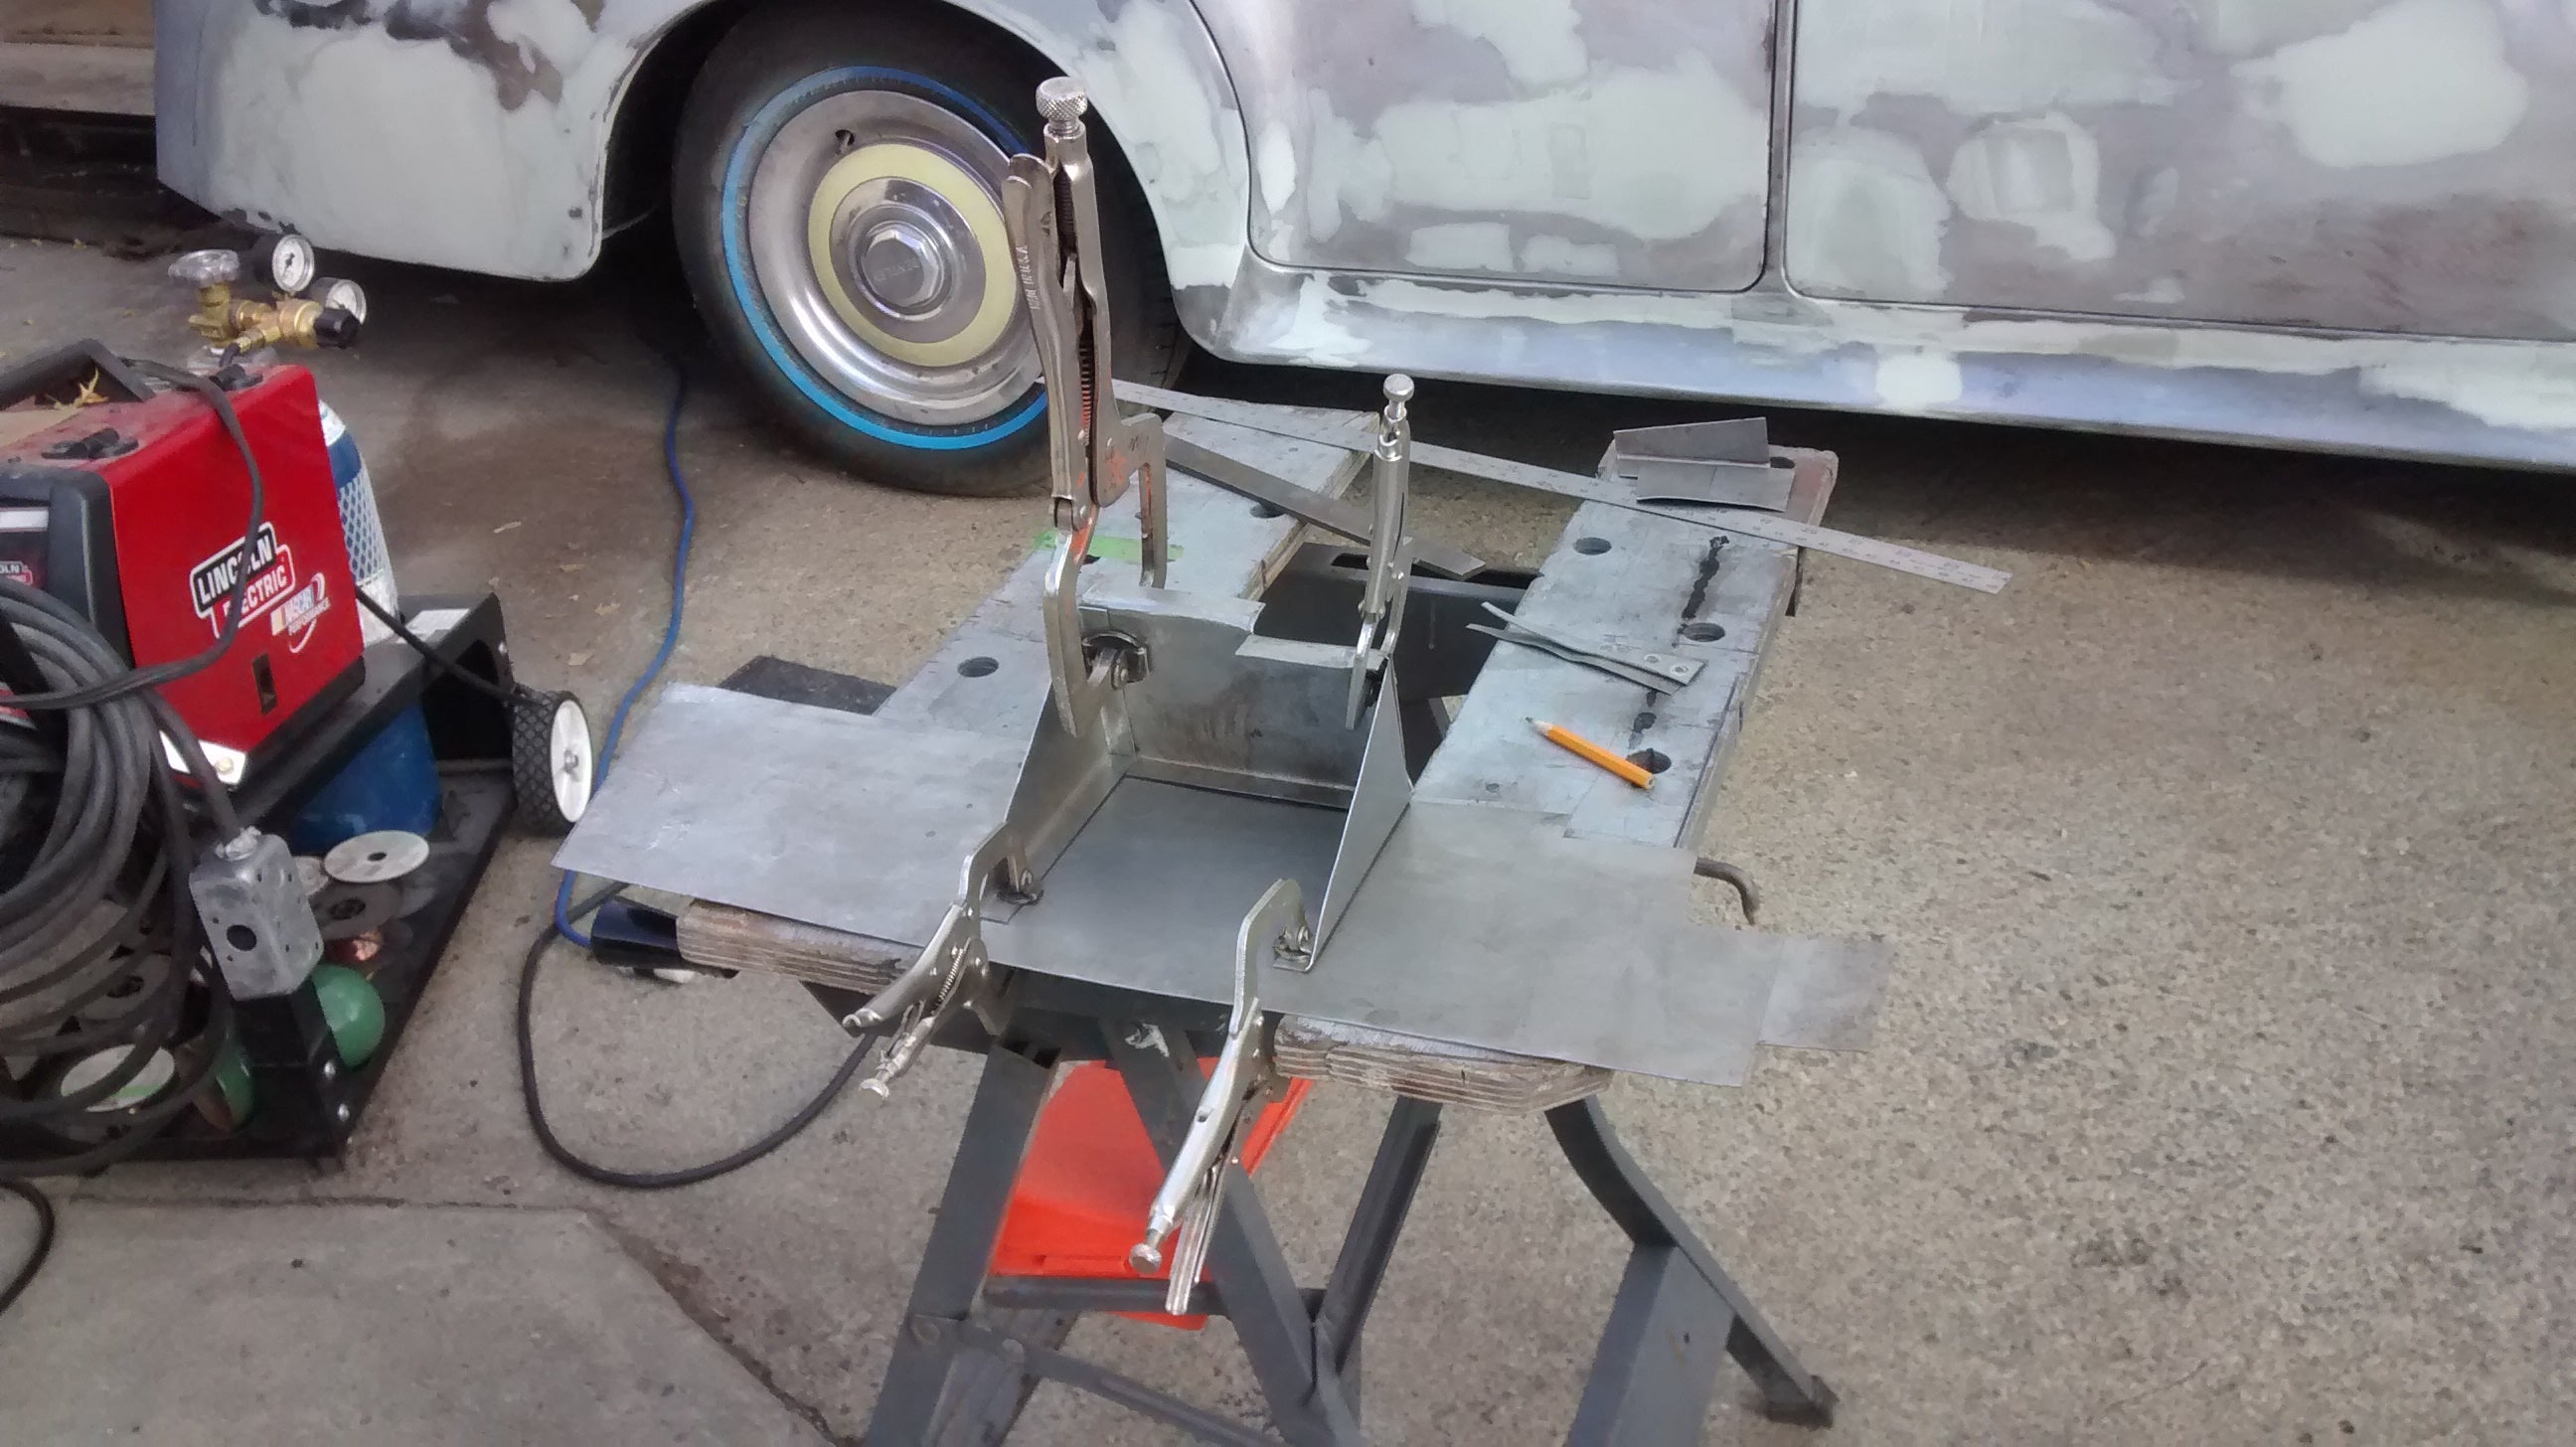
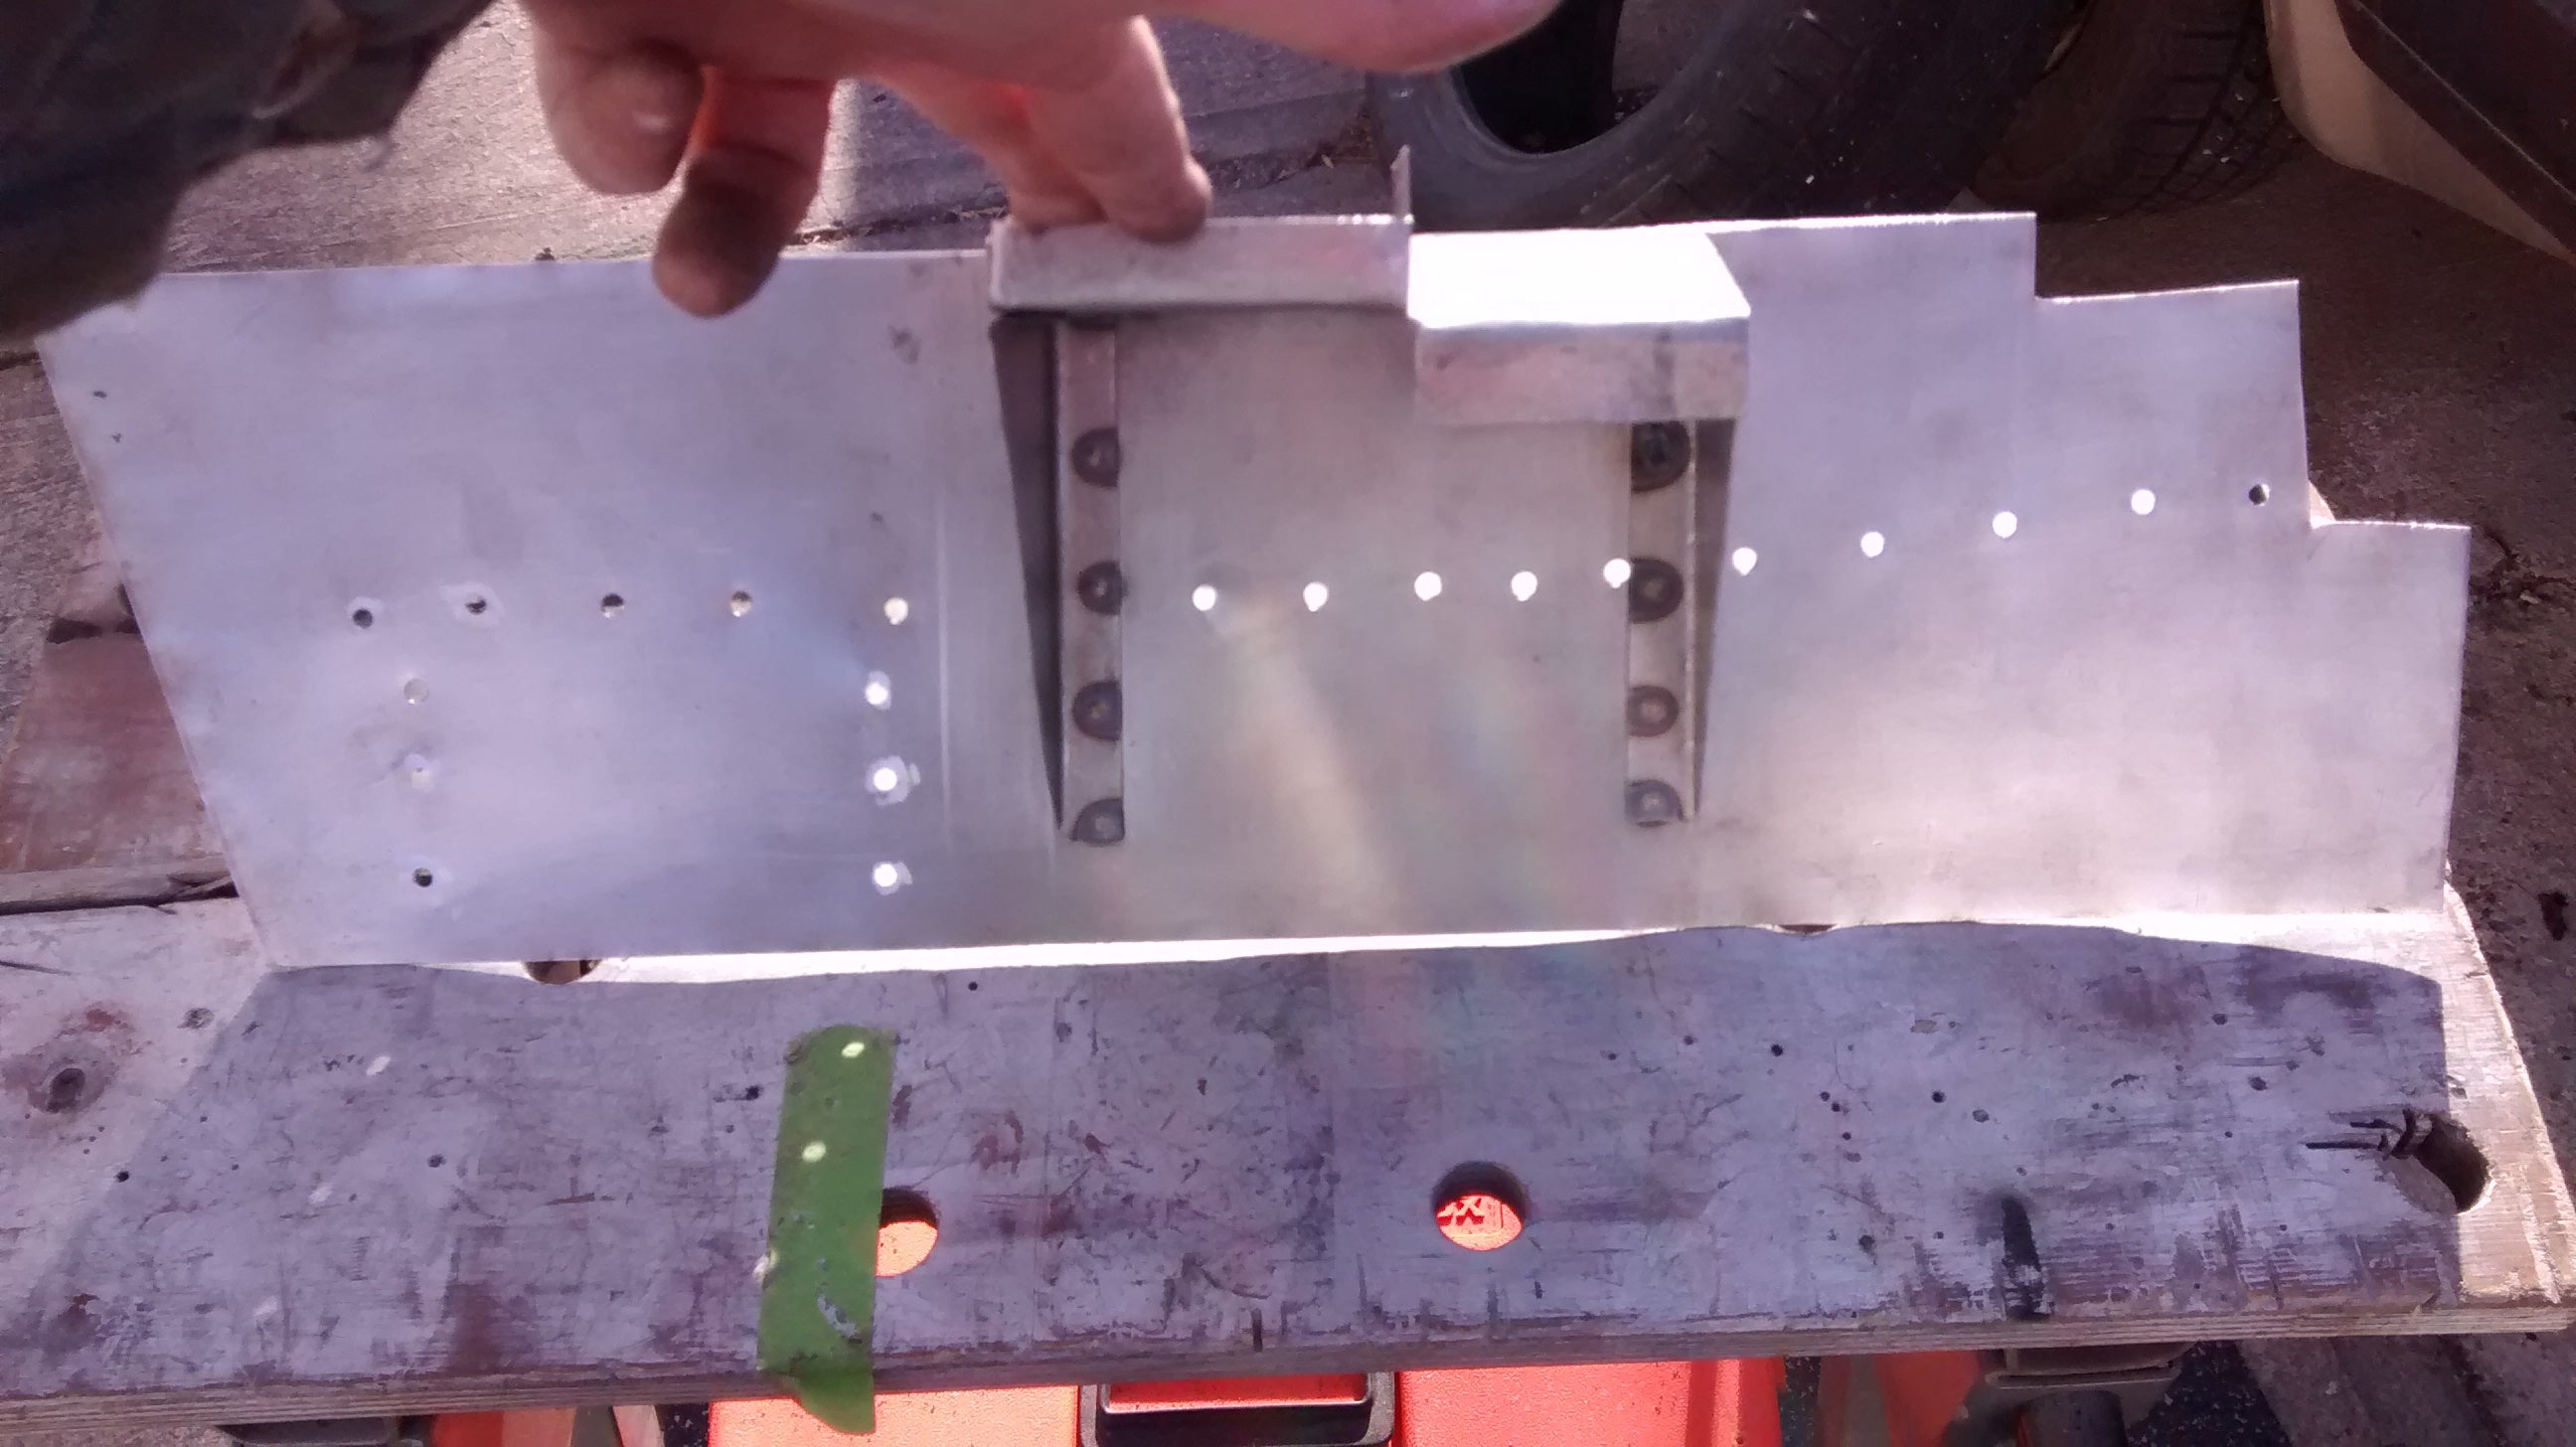
I assemble the bits on the bench to test that the measurements are correct.
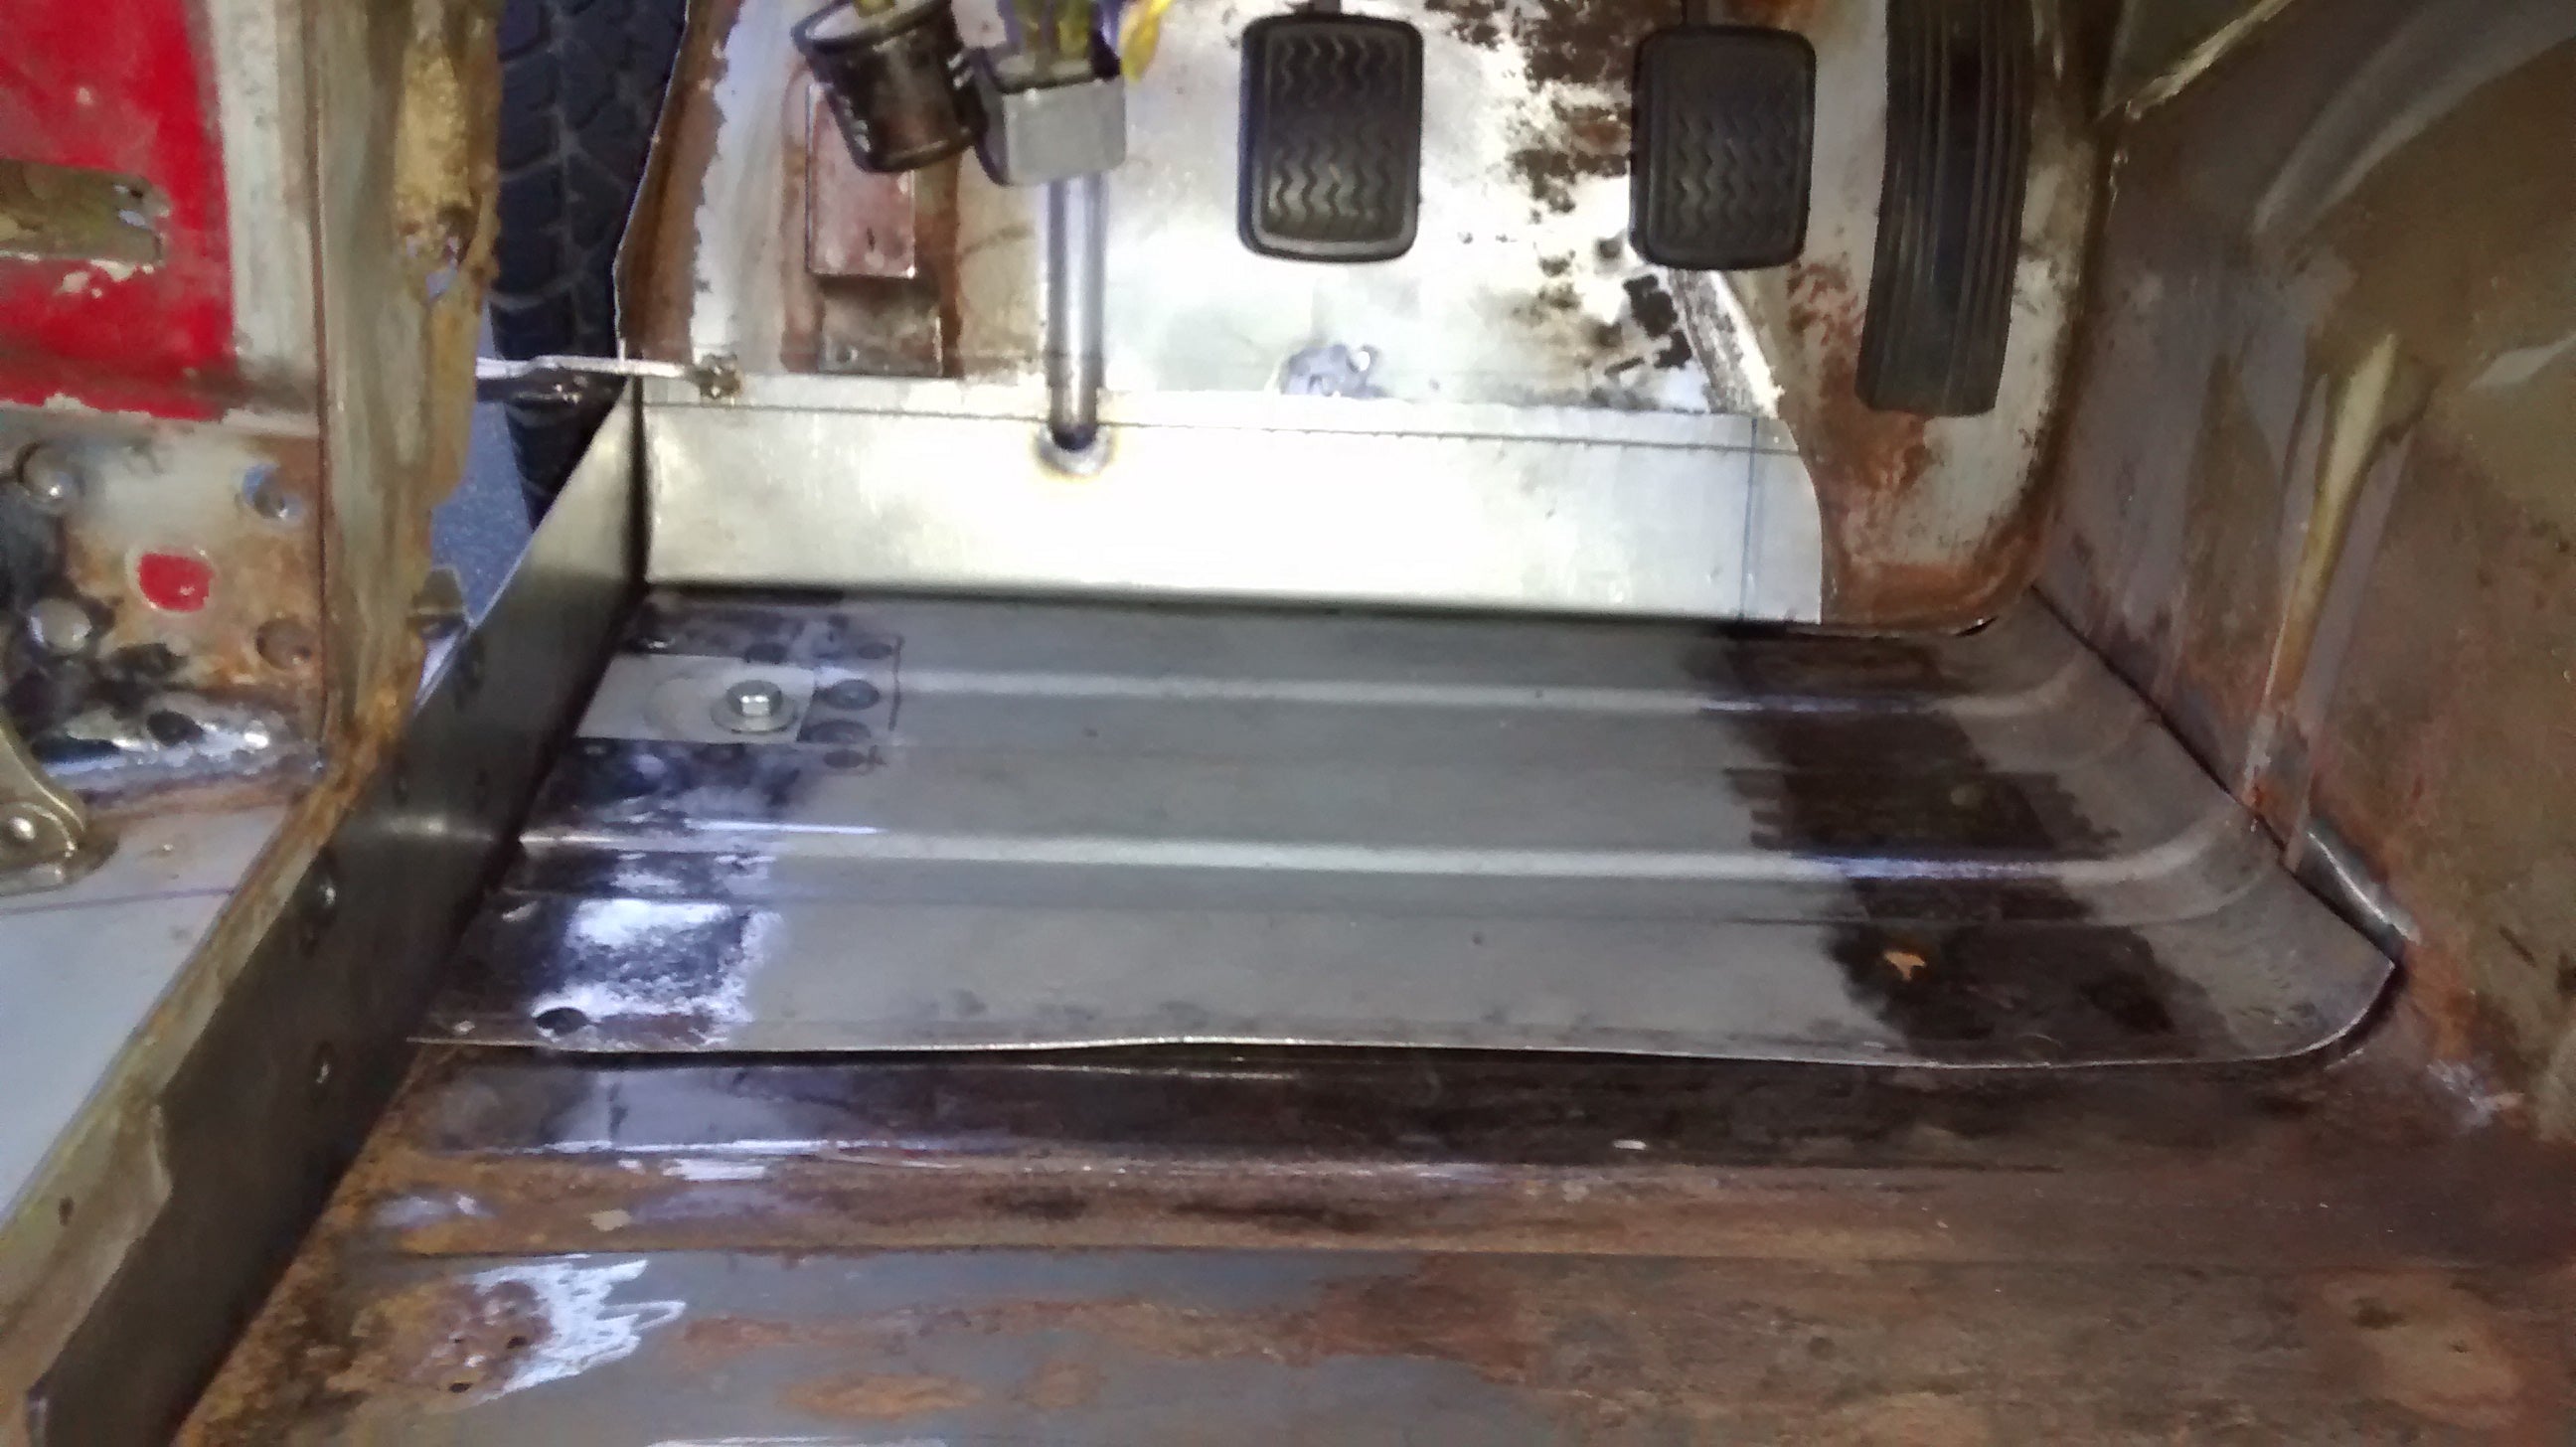
And inside the car. Feelin’ good!
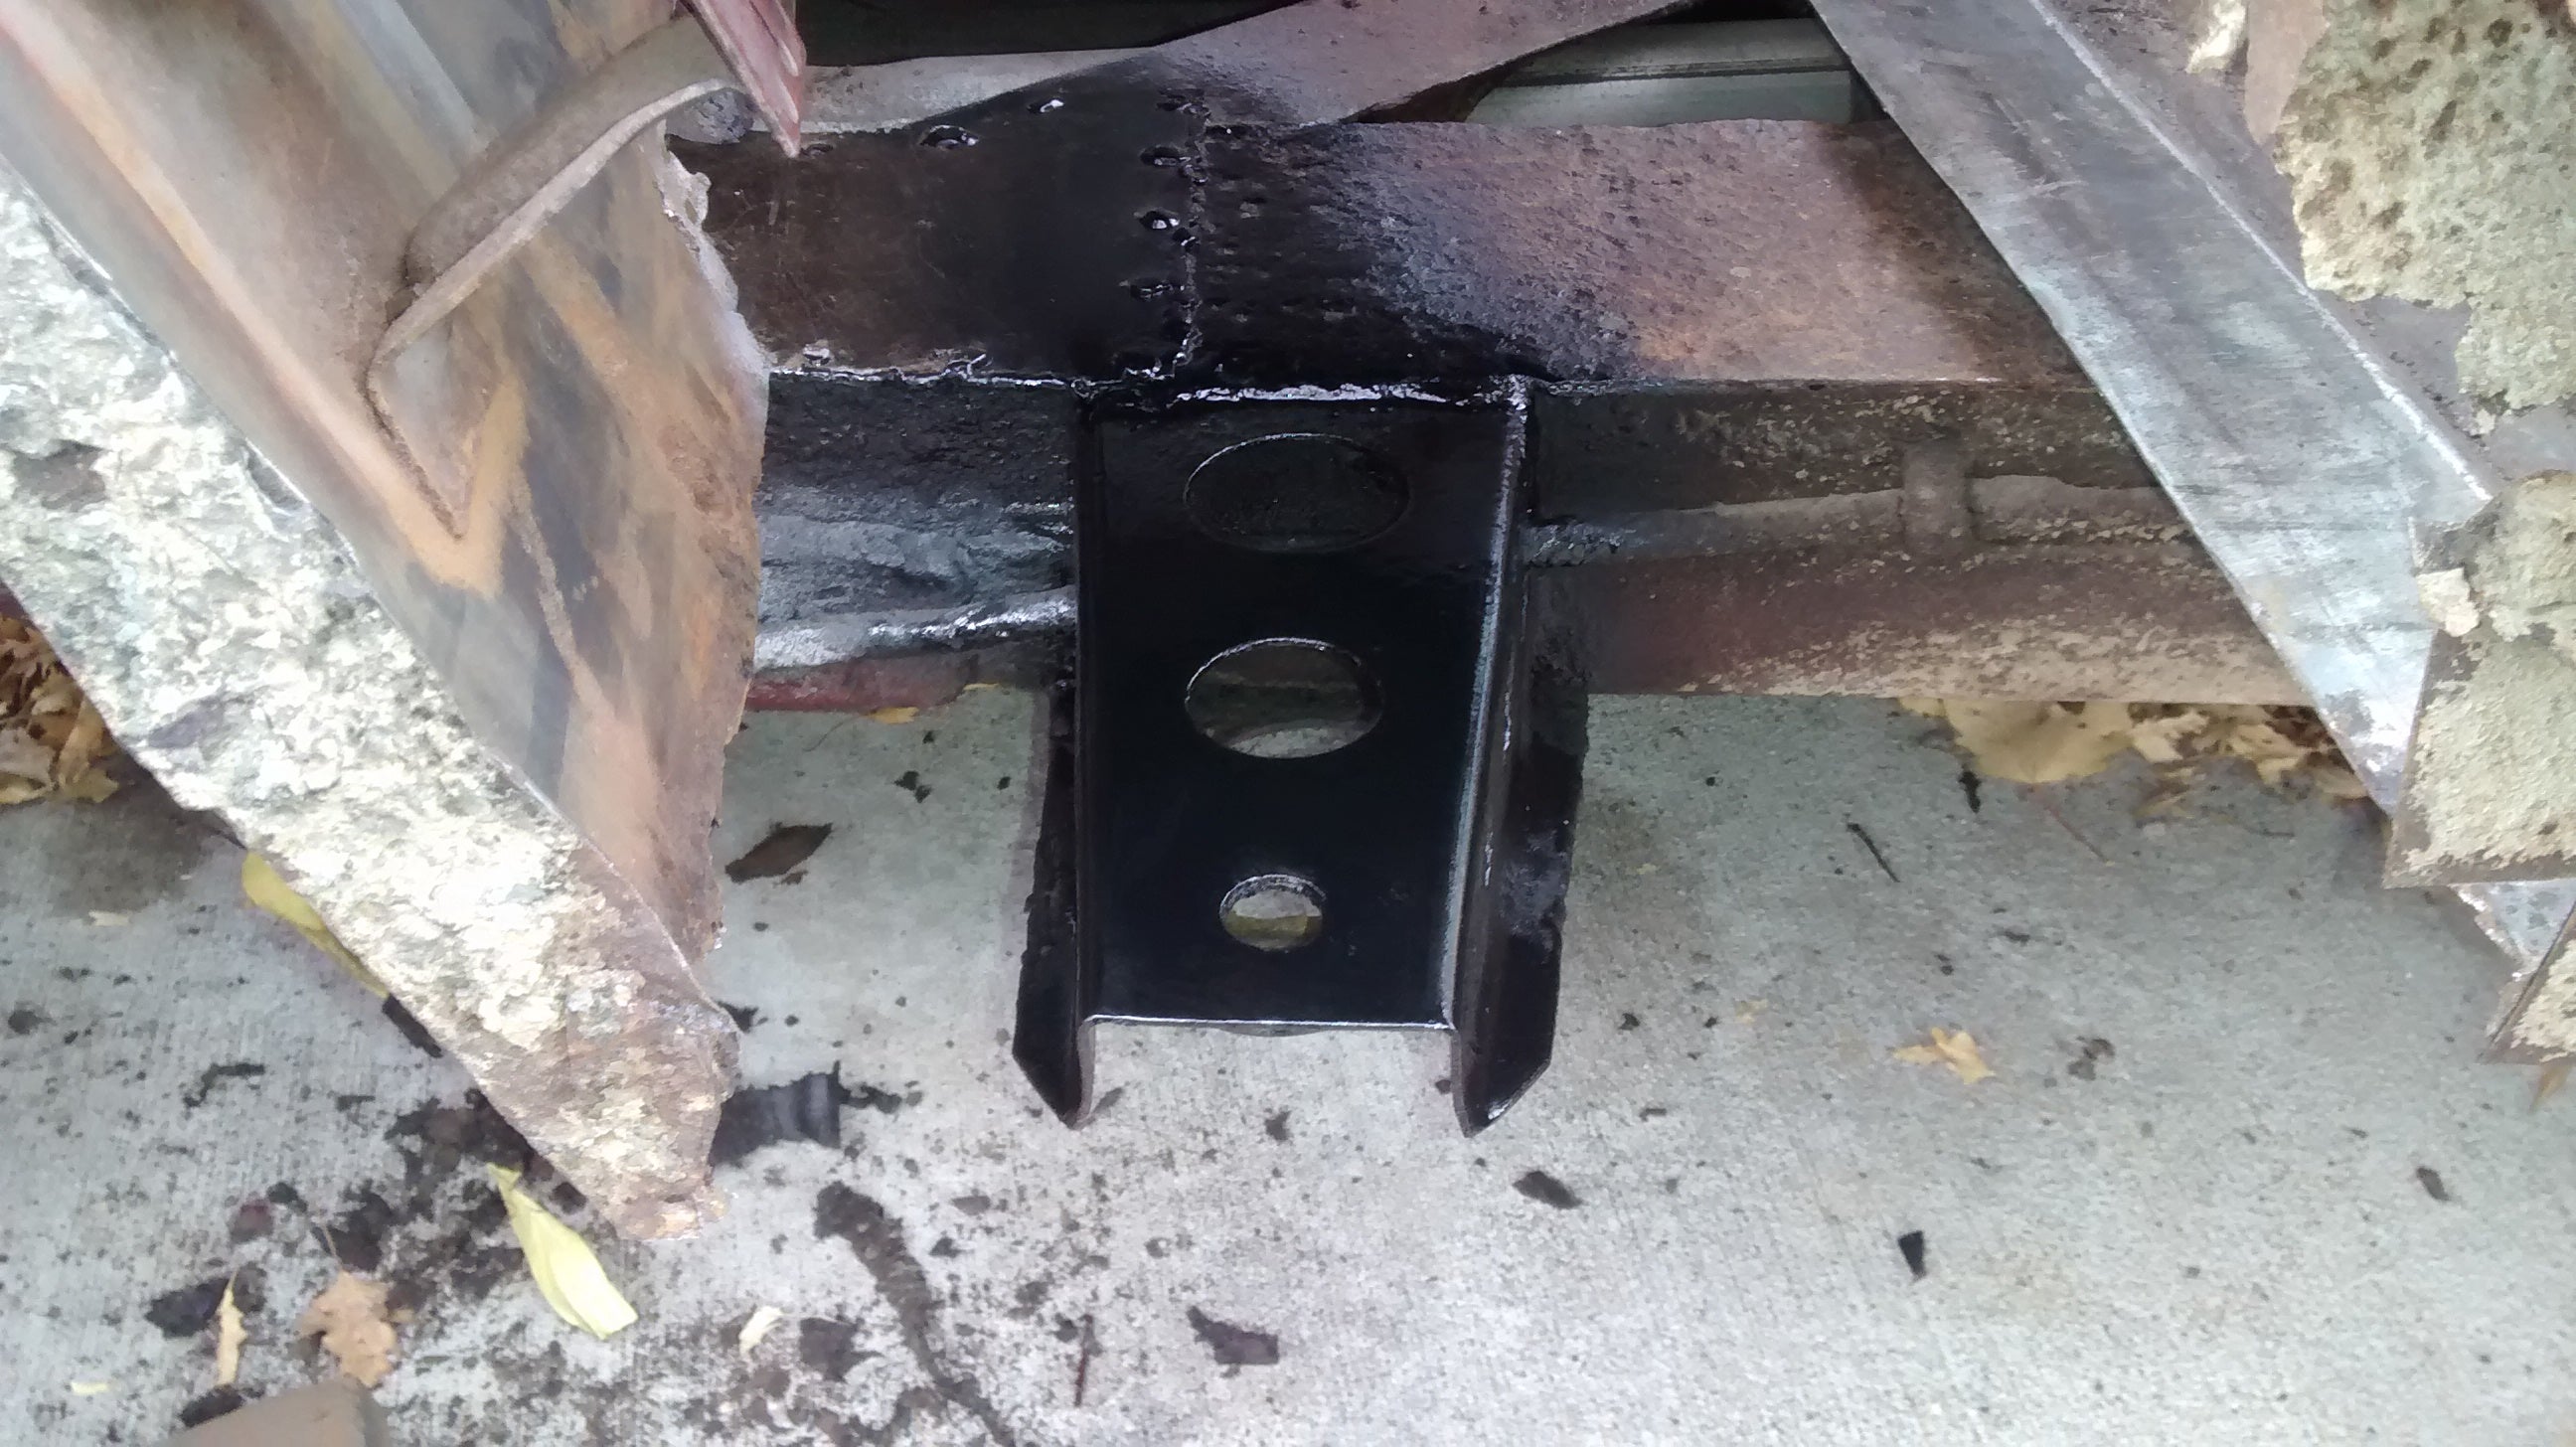
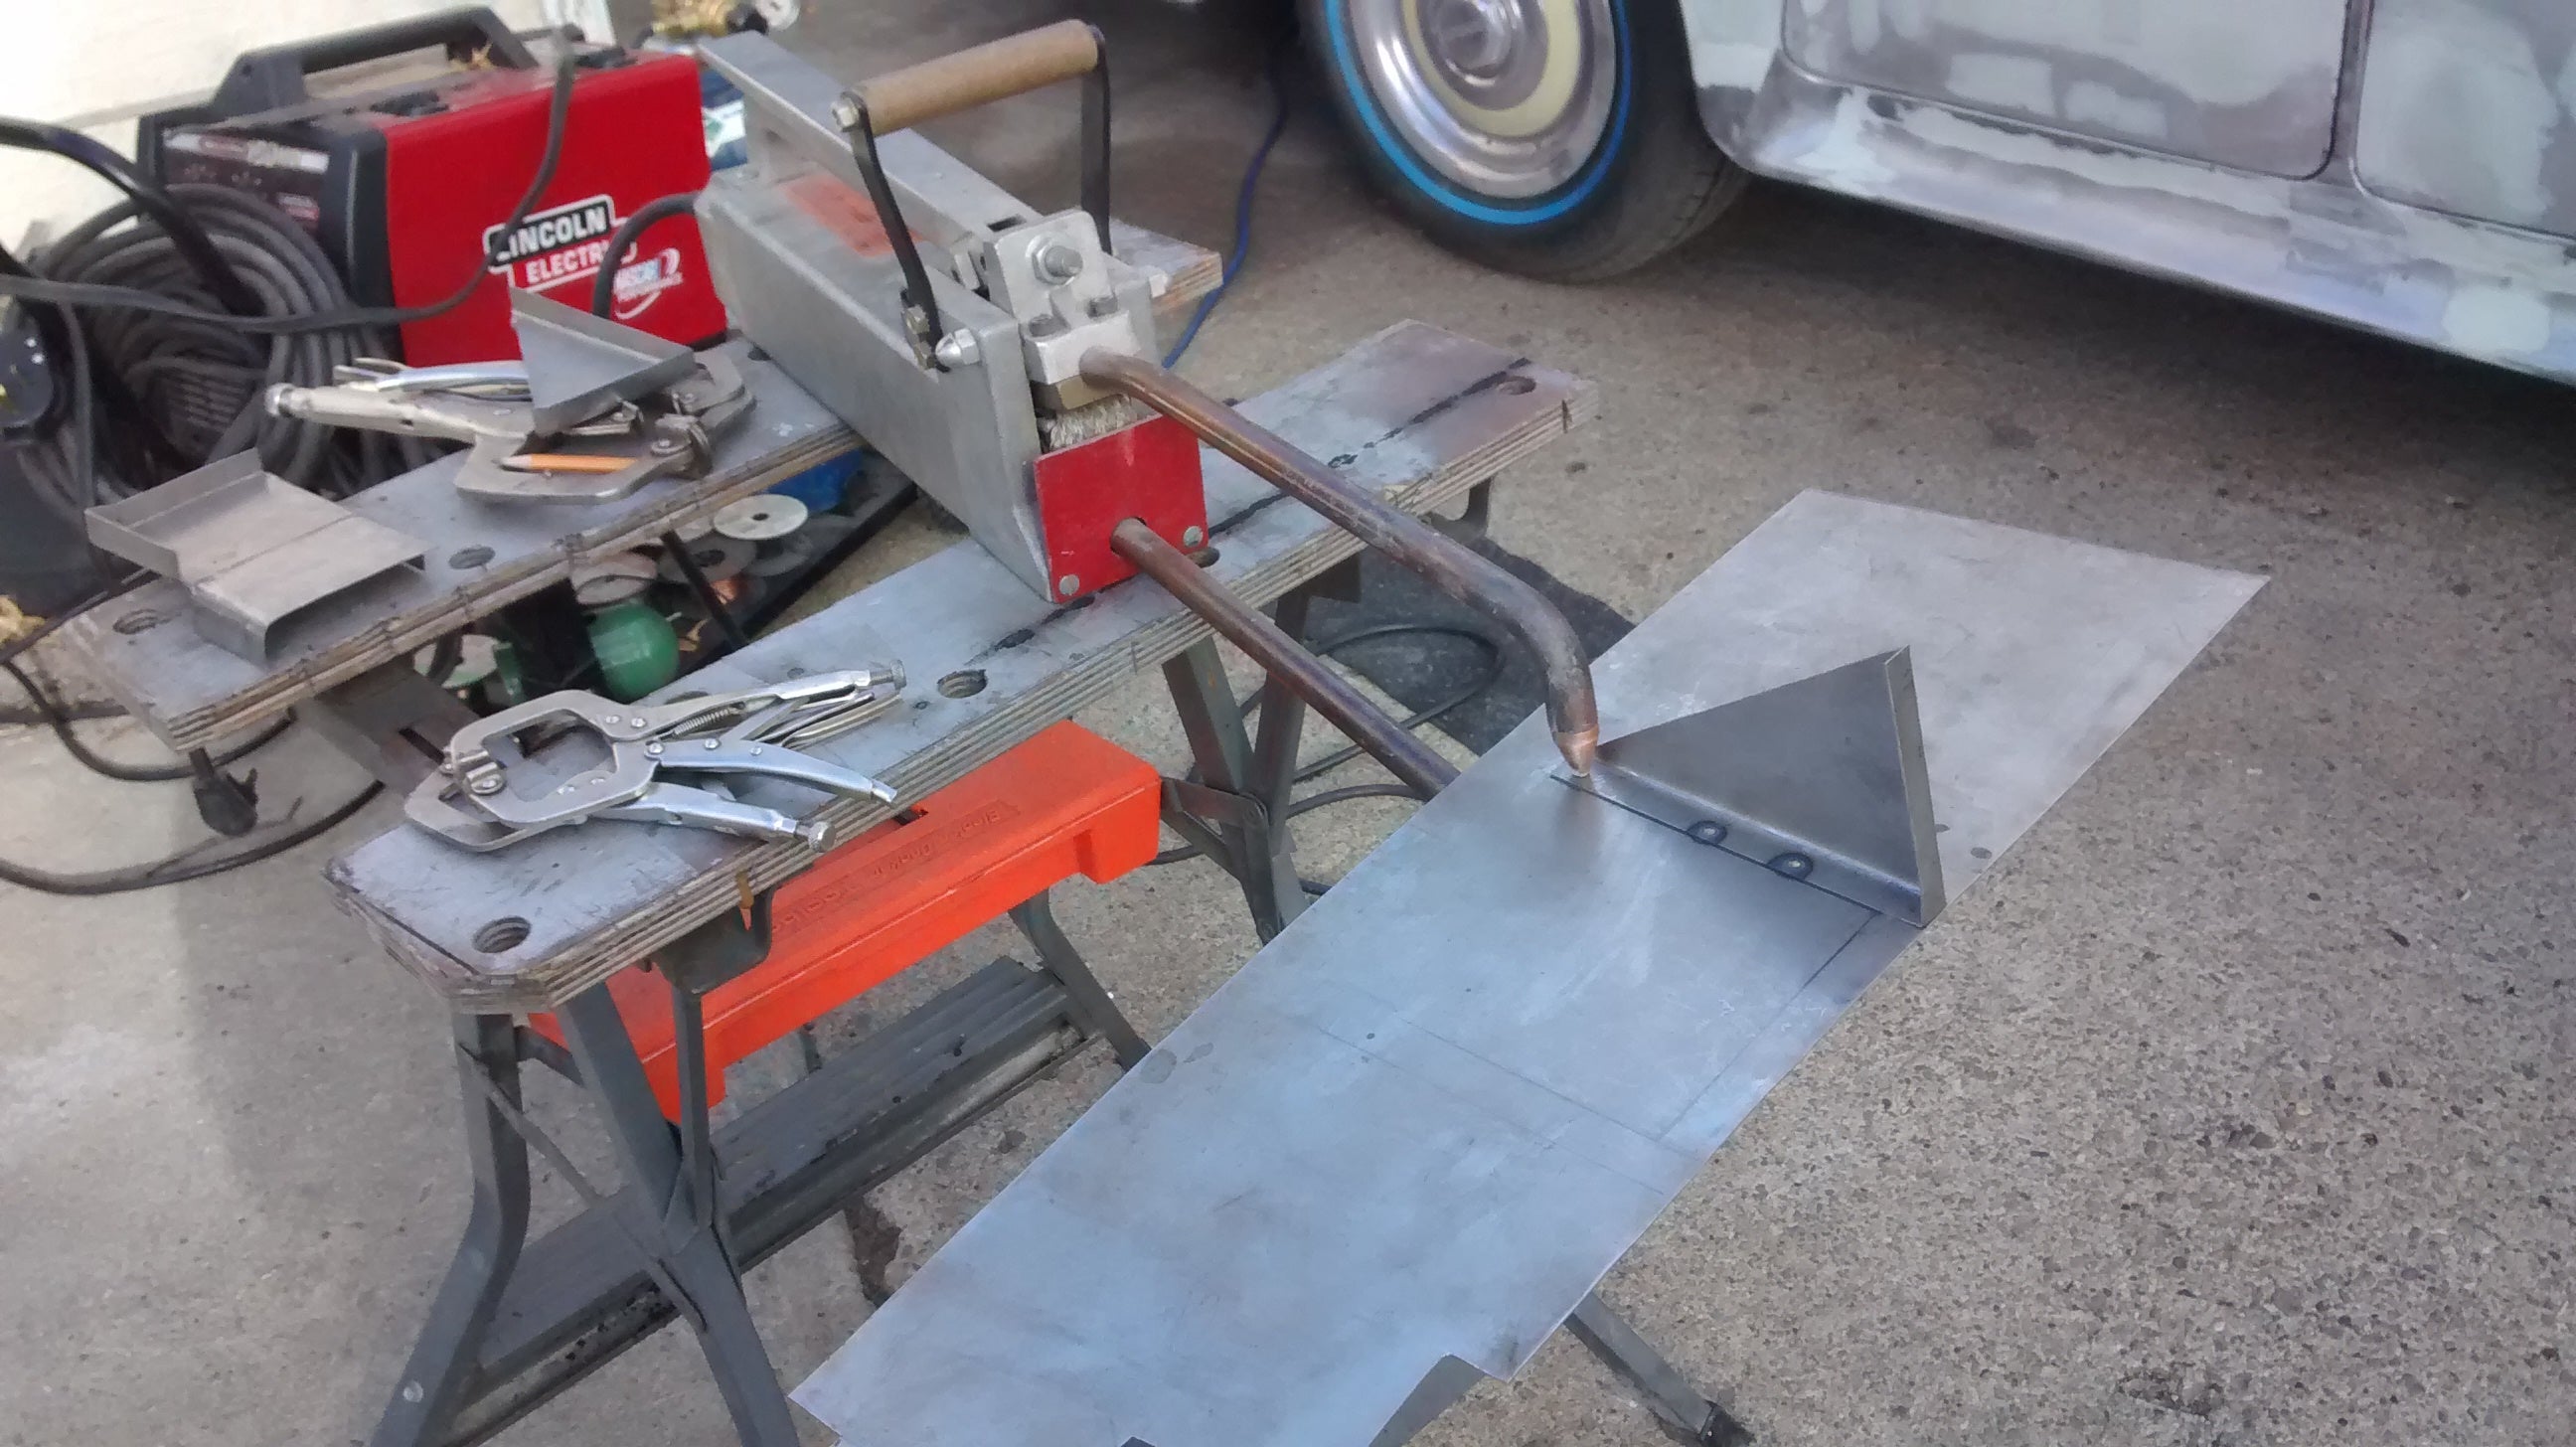
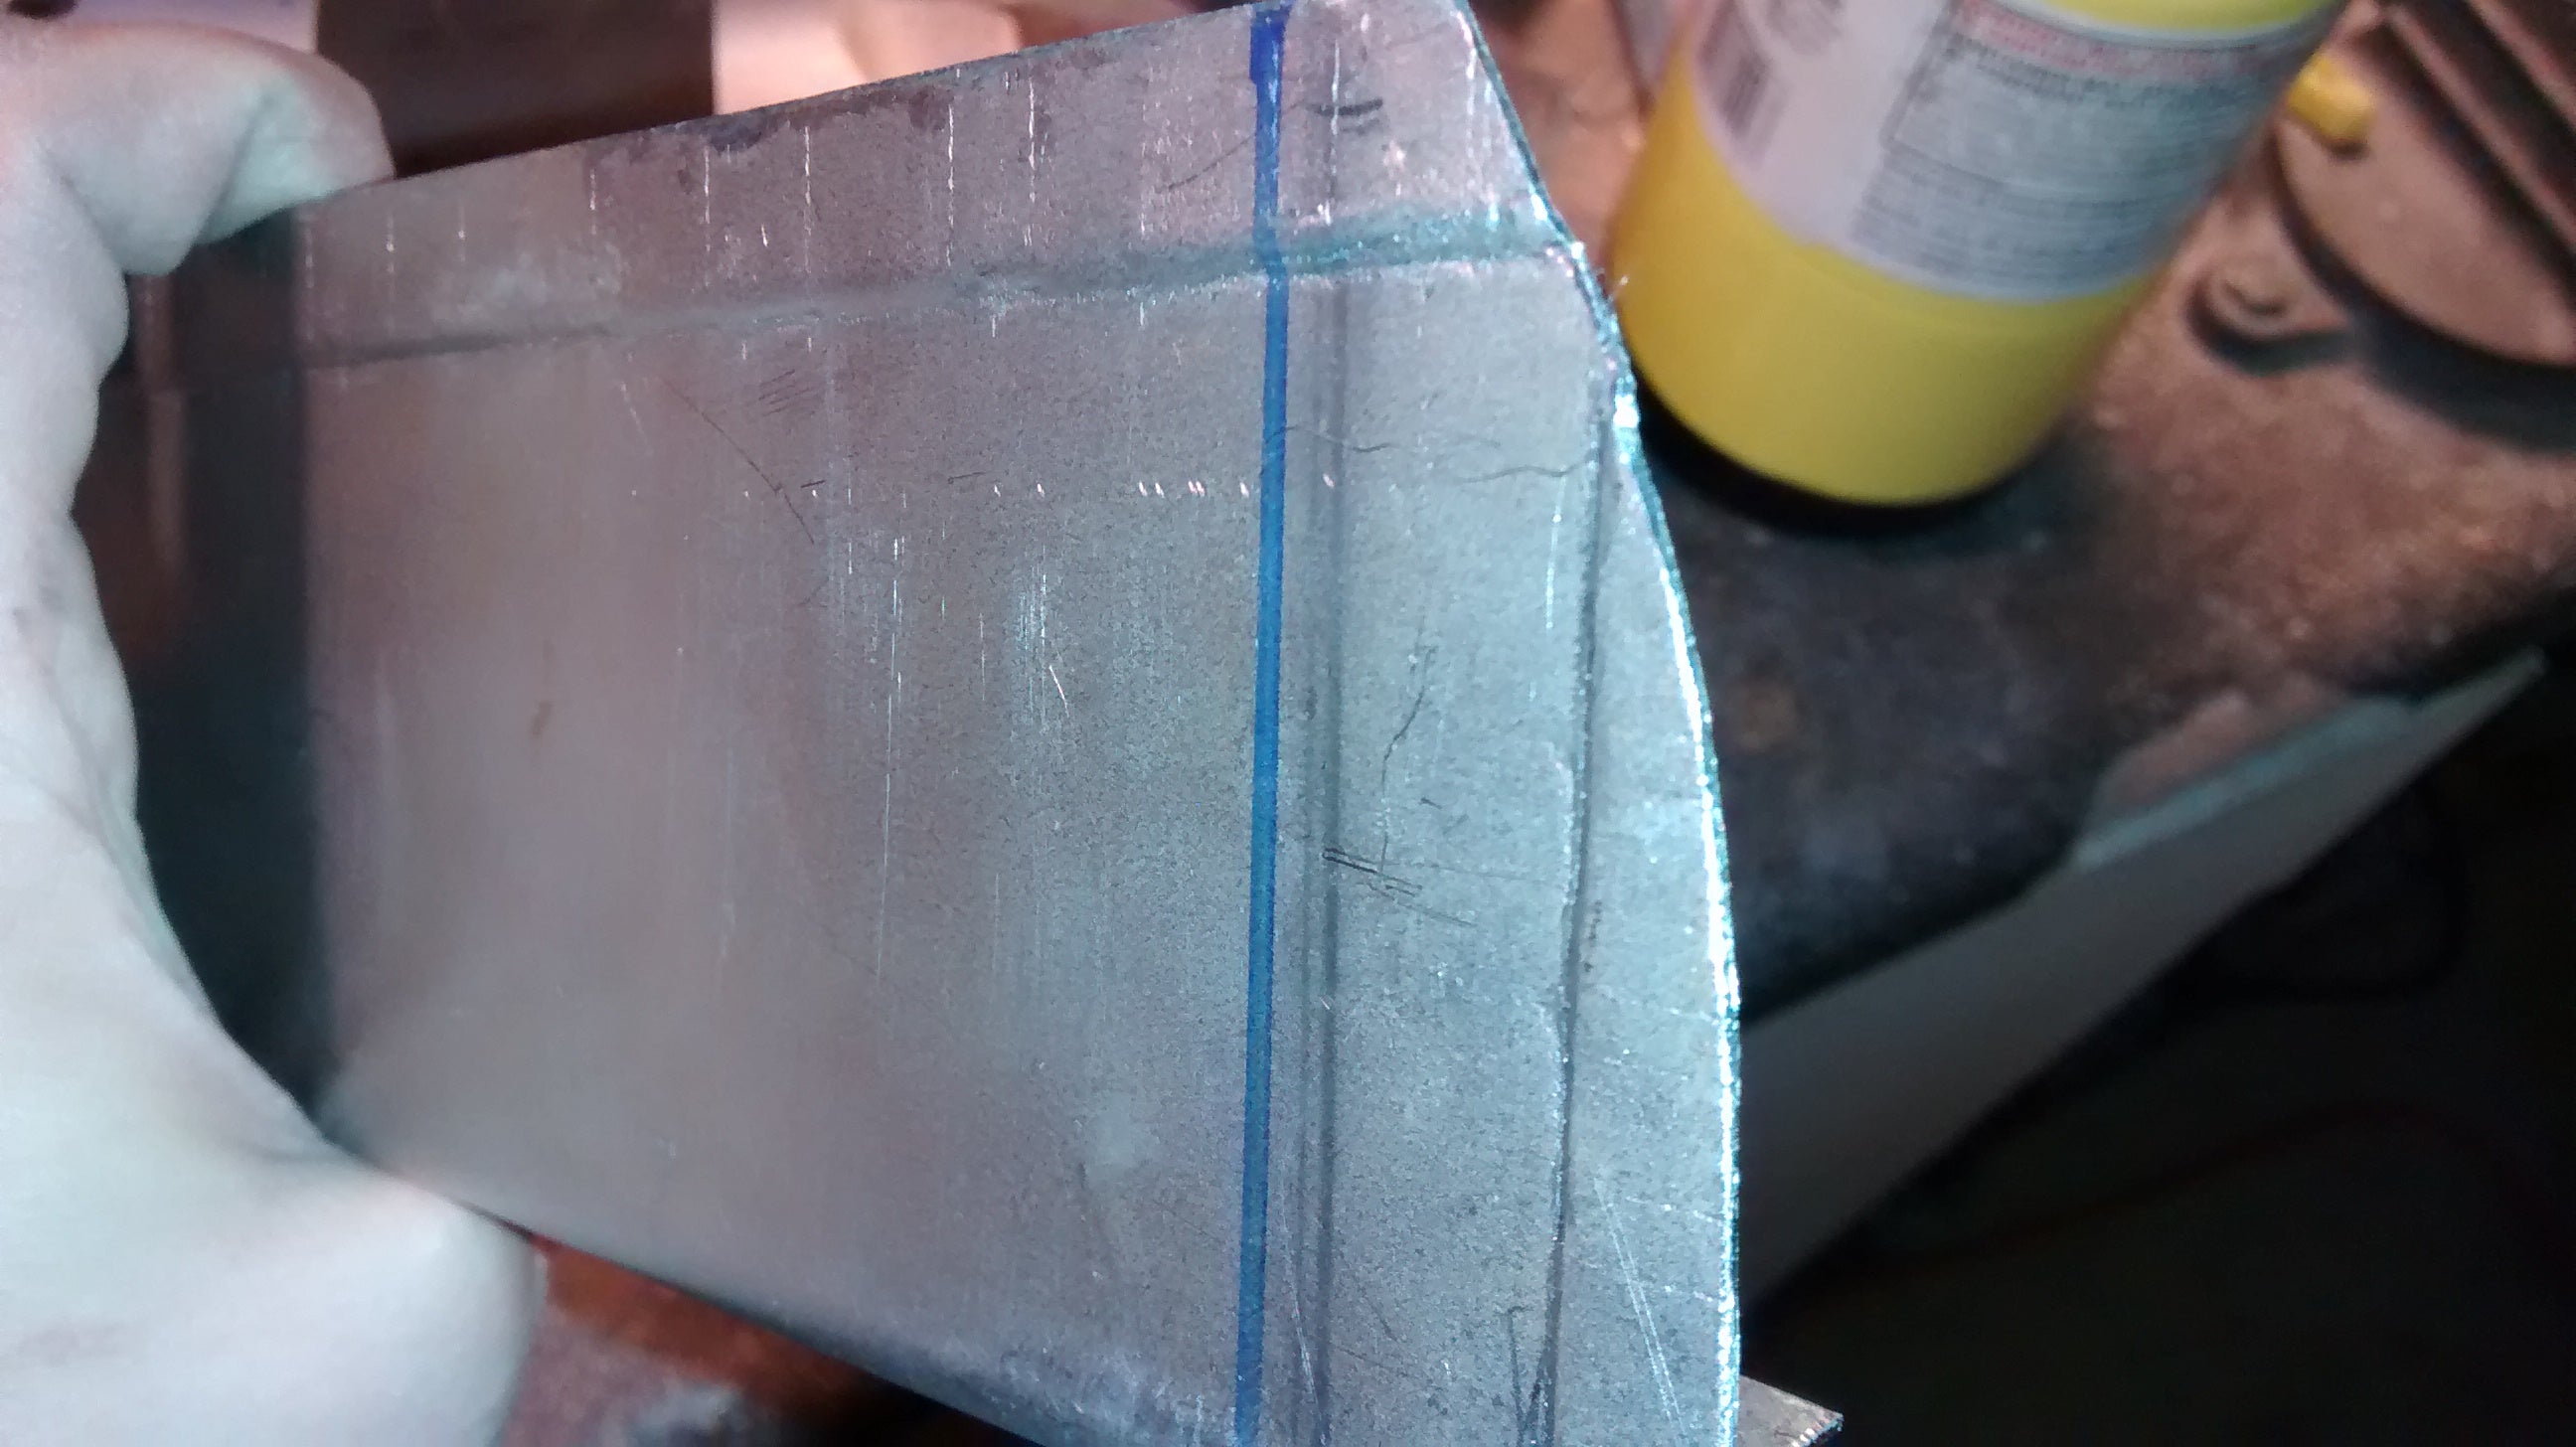
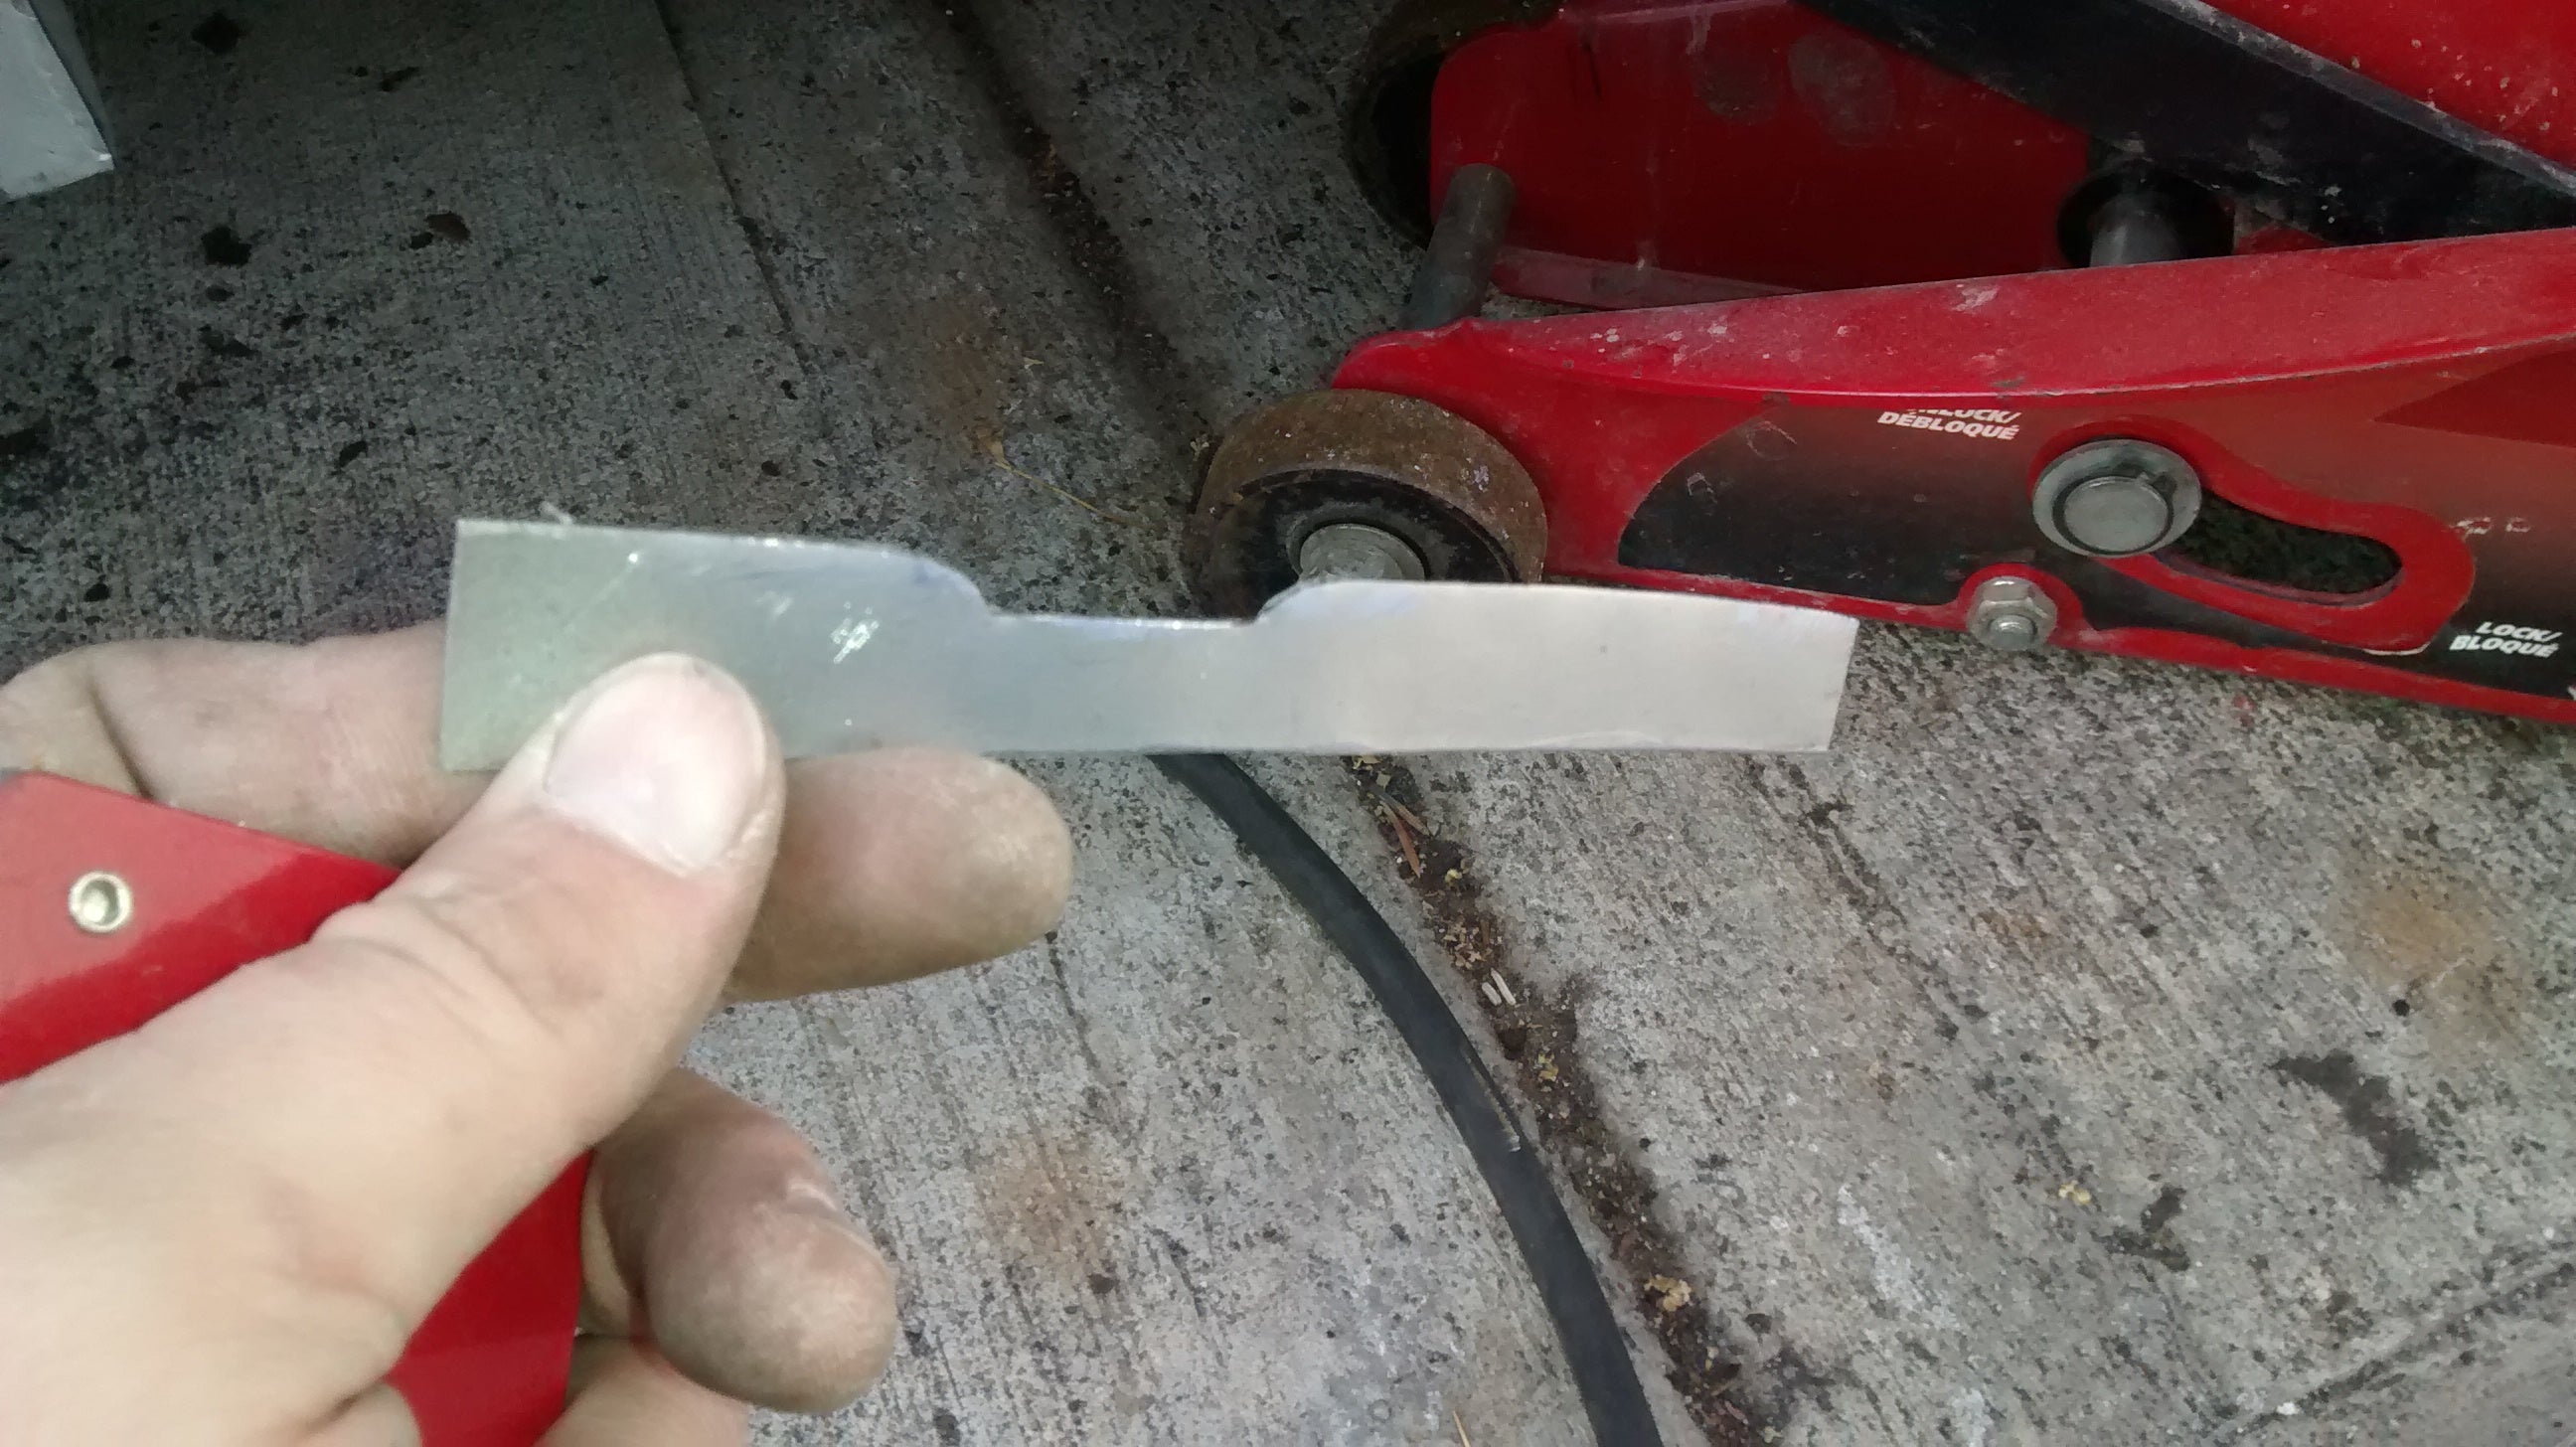
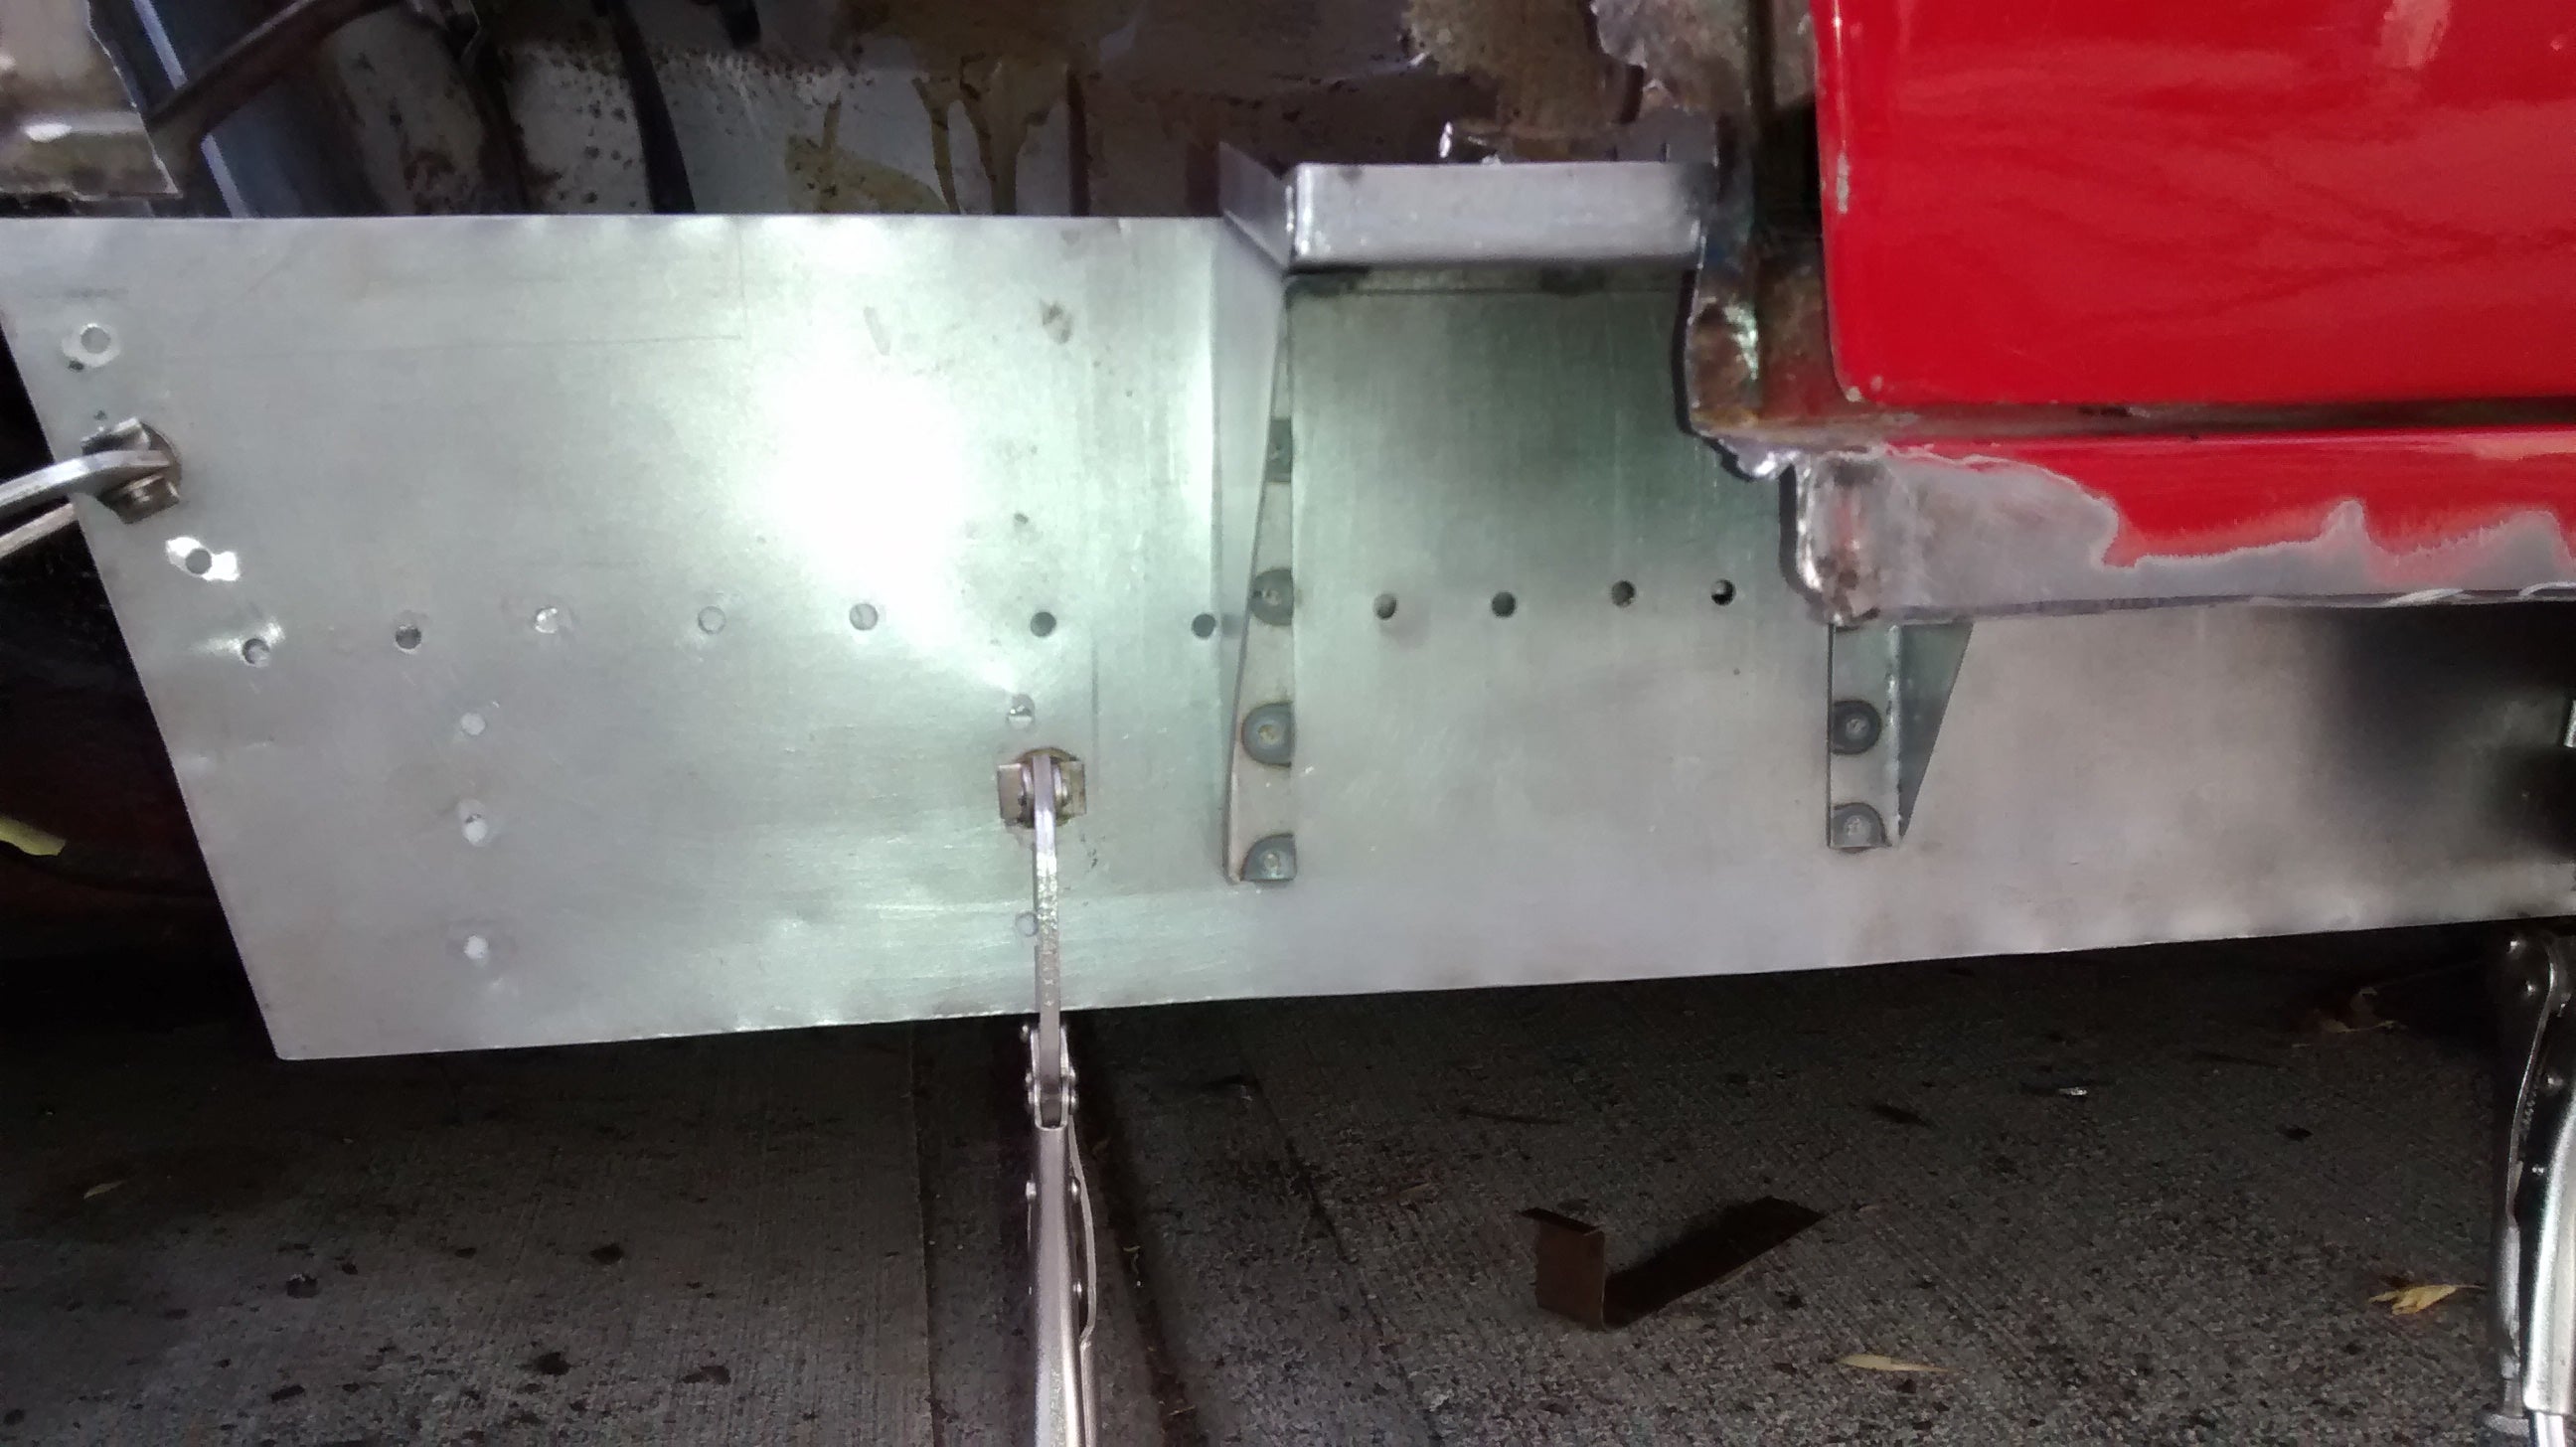
Next is some gussets that hold the door posts, from raw steel again. This car is made mostly of 20ga steel.
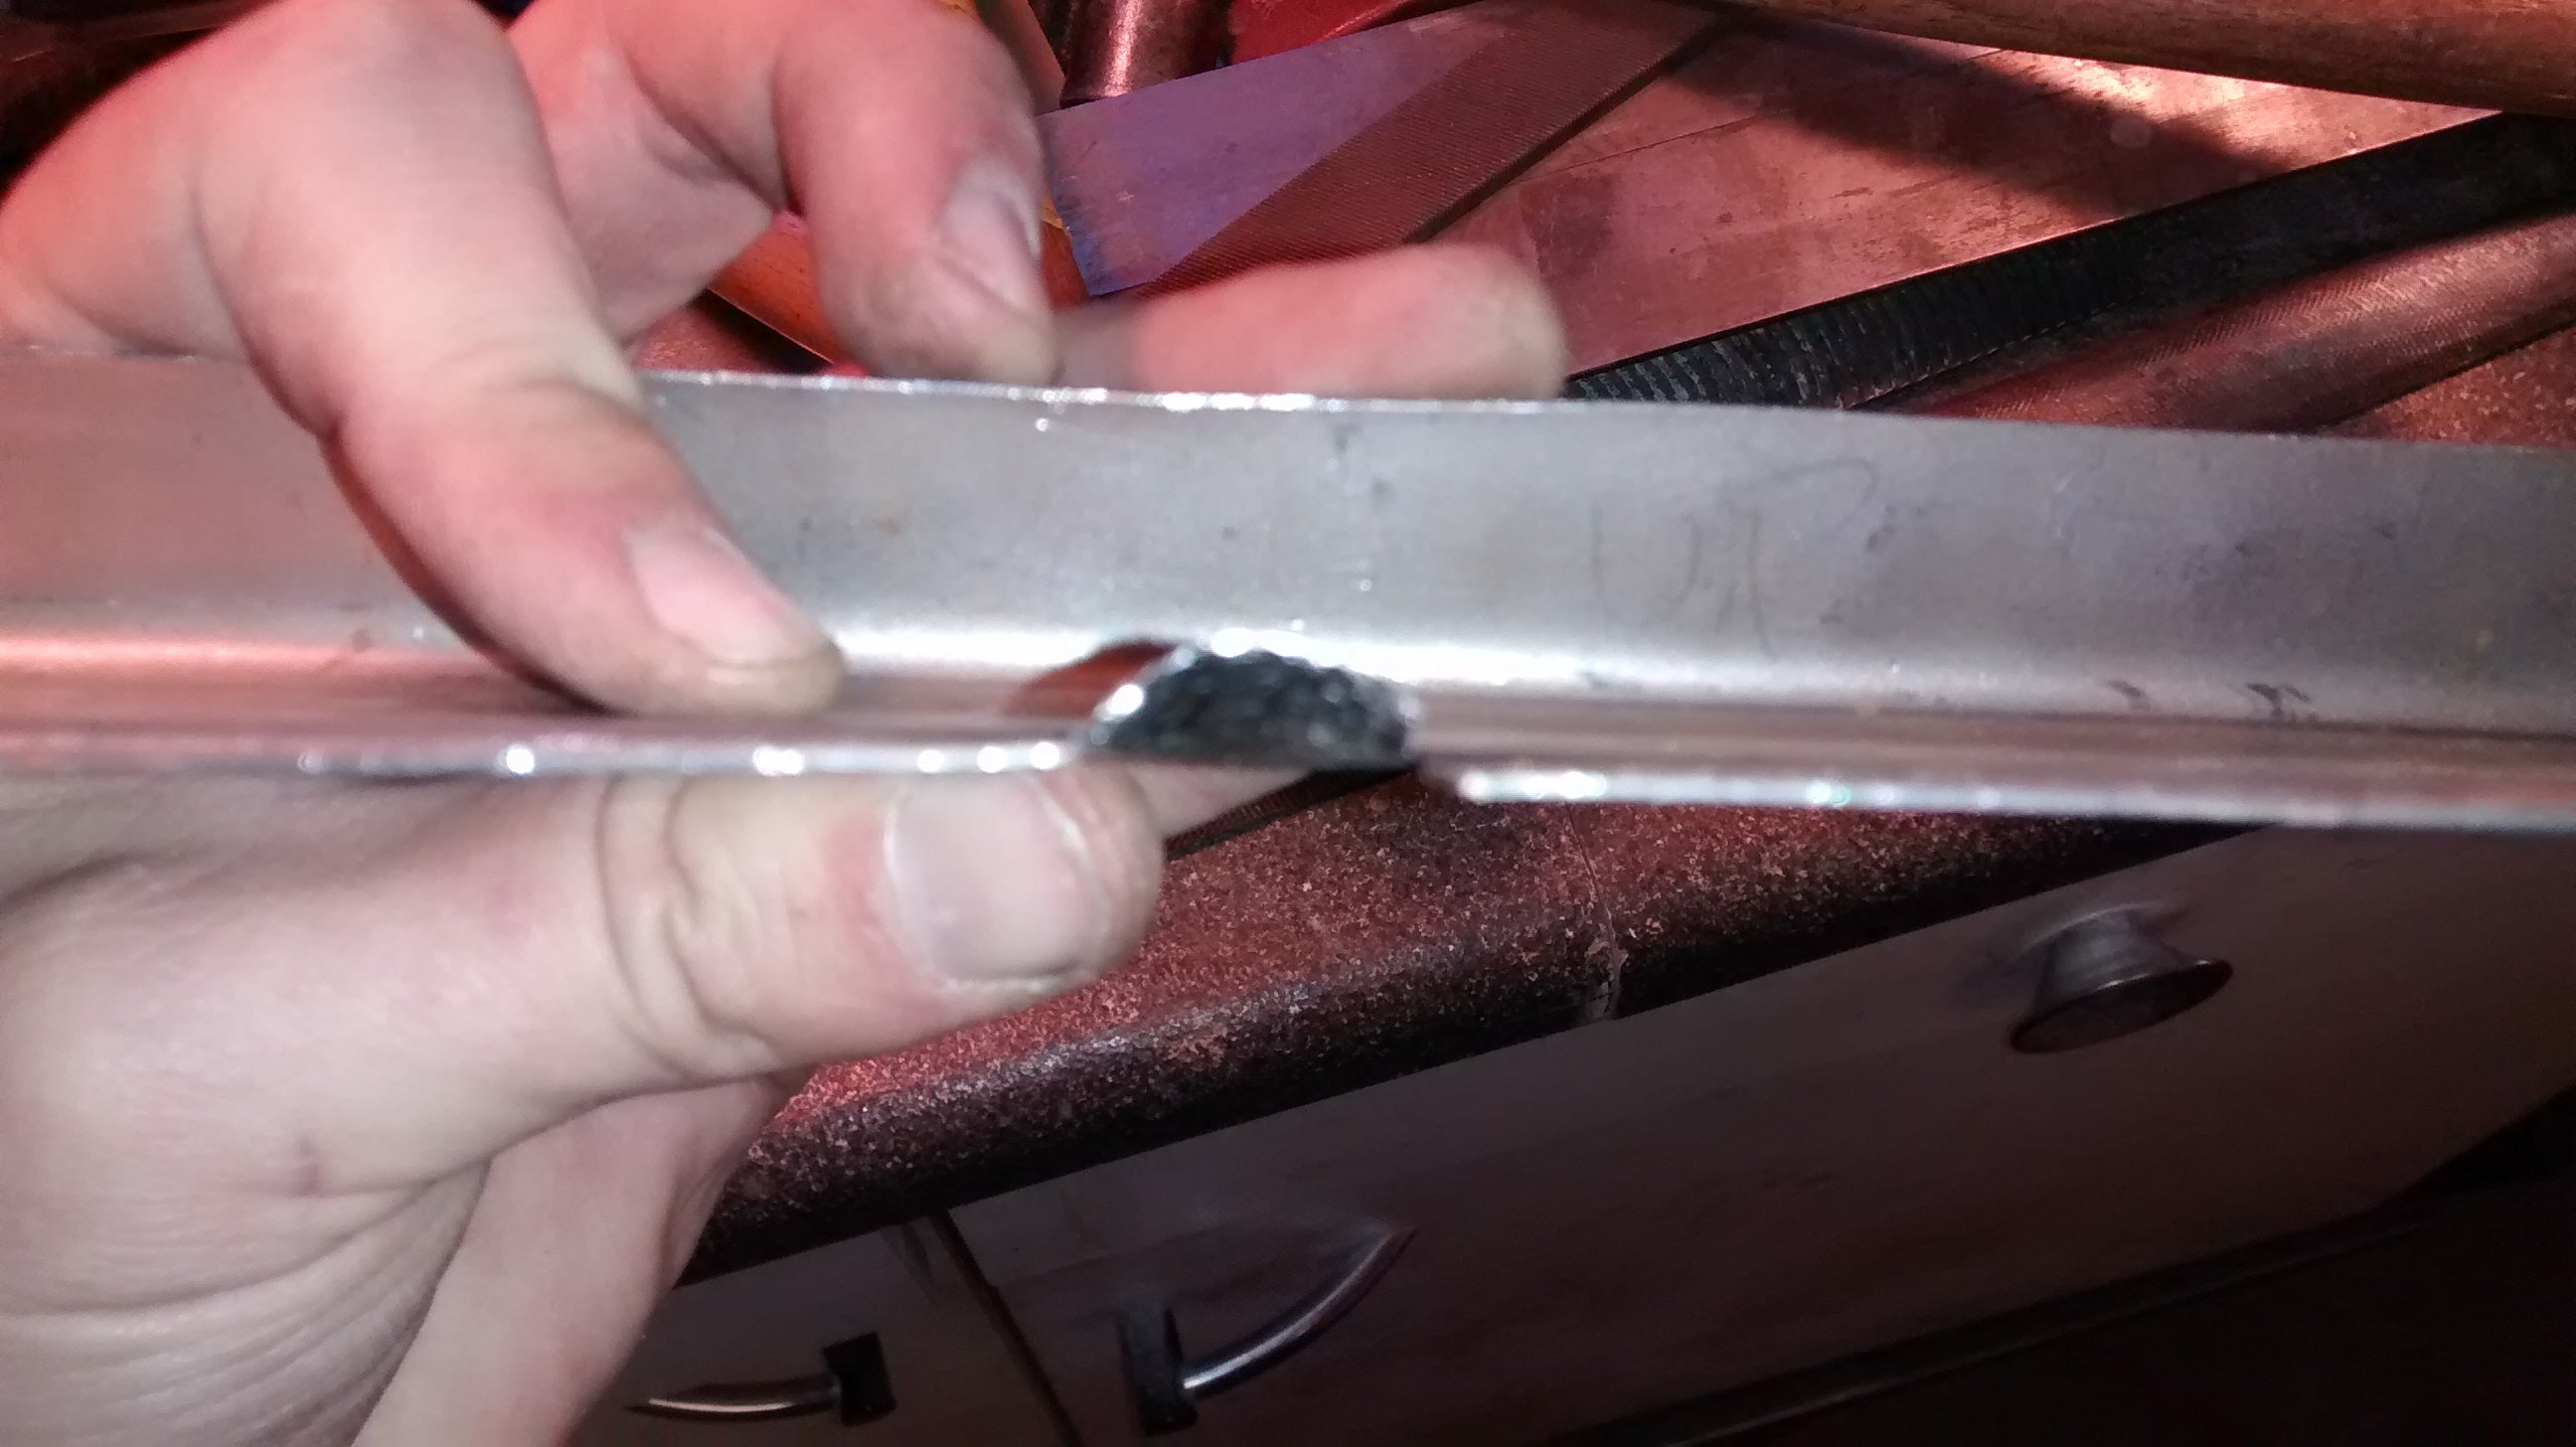
Test fitted on the car, then spot welded on the bench.

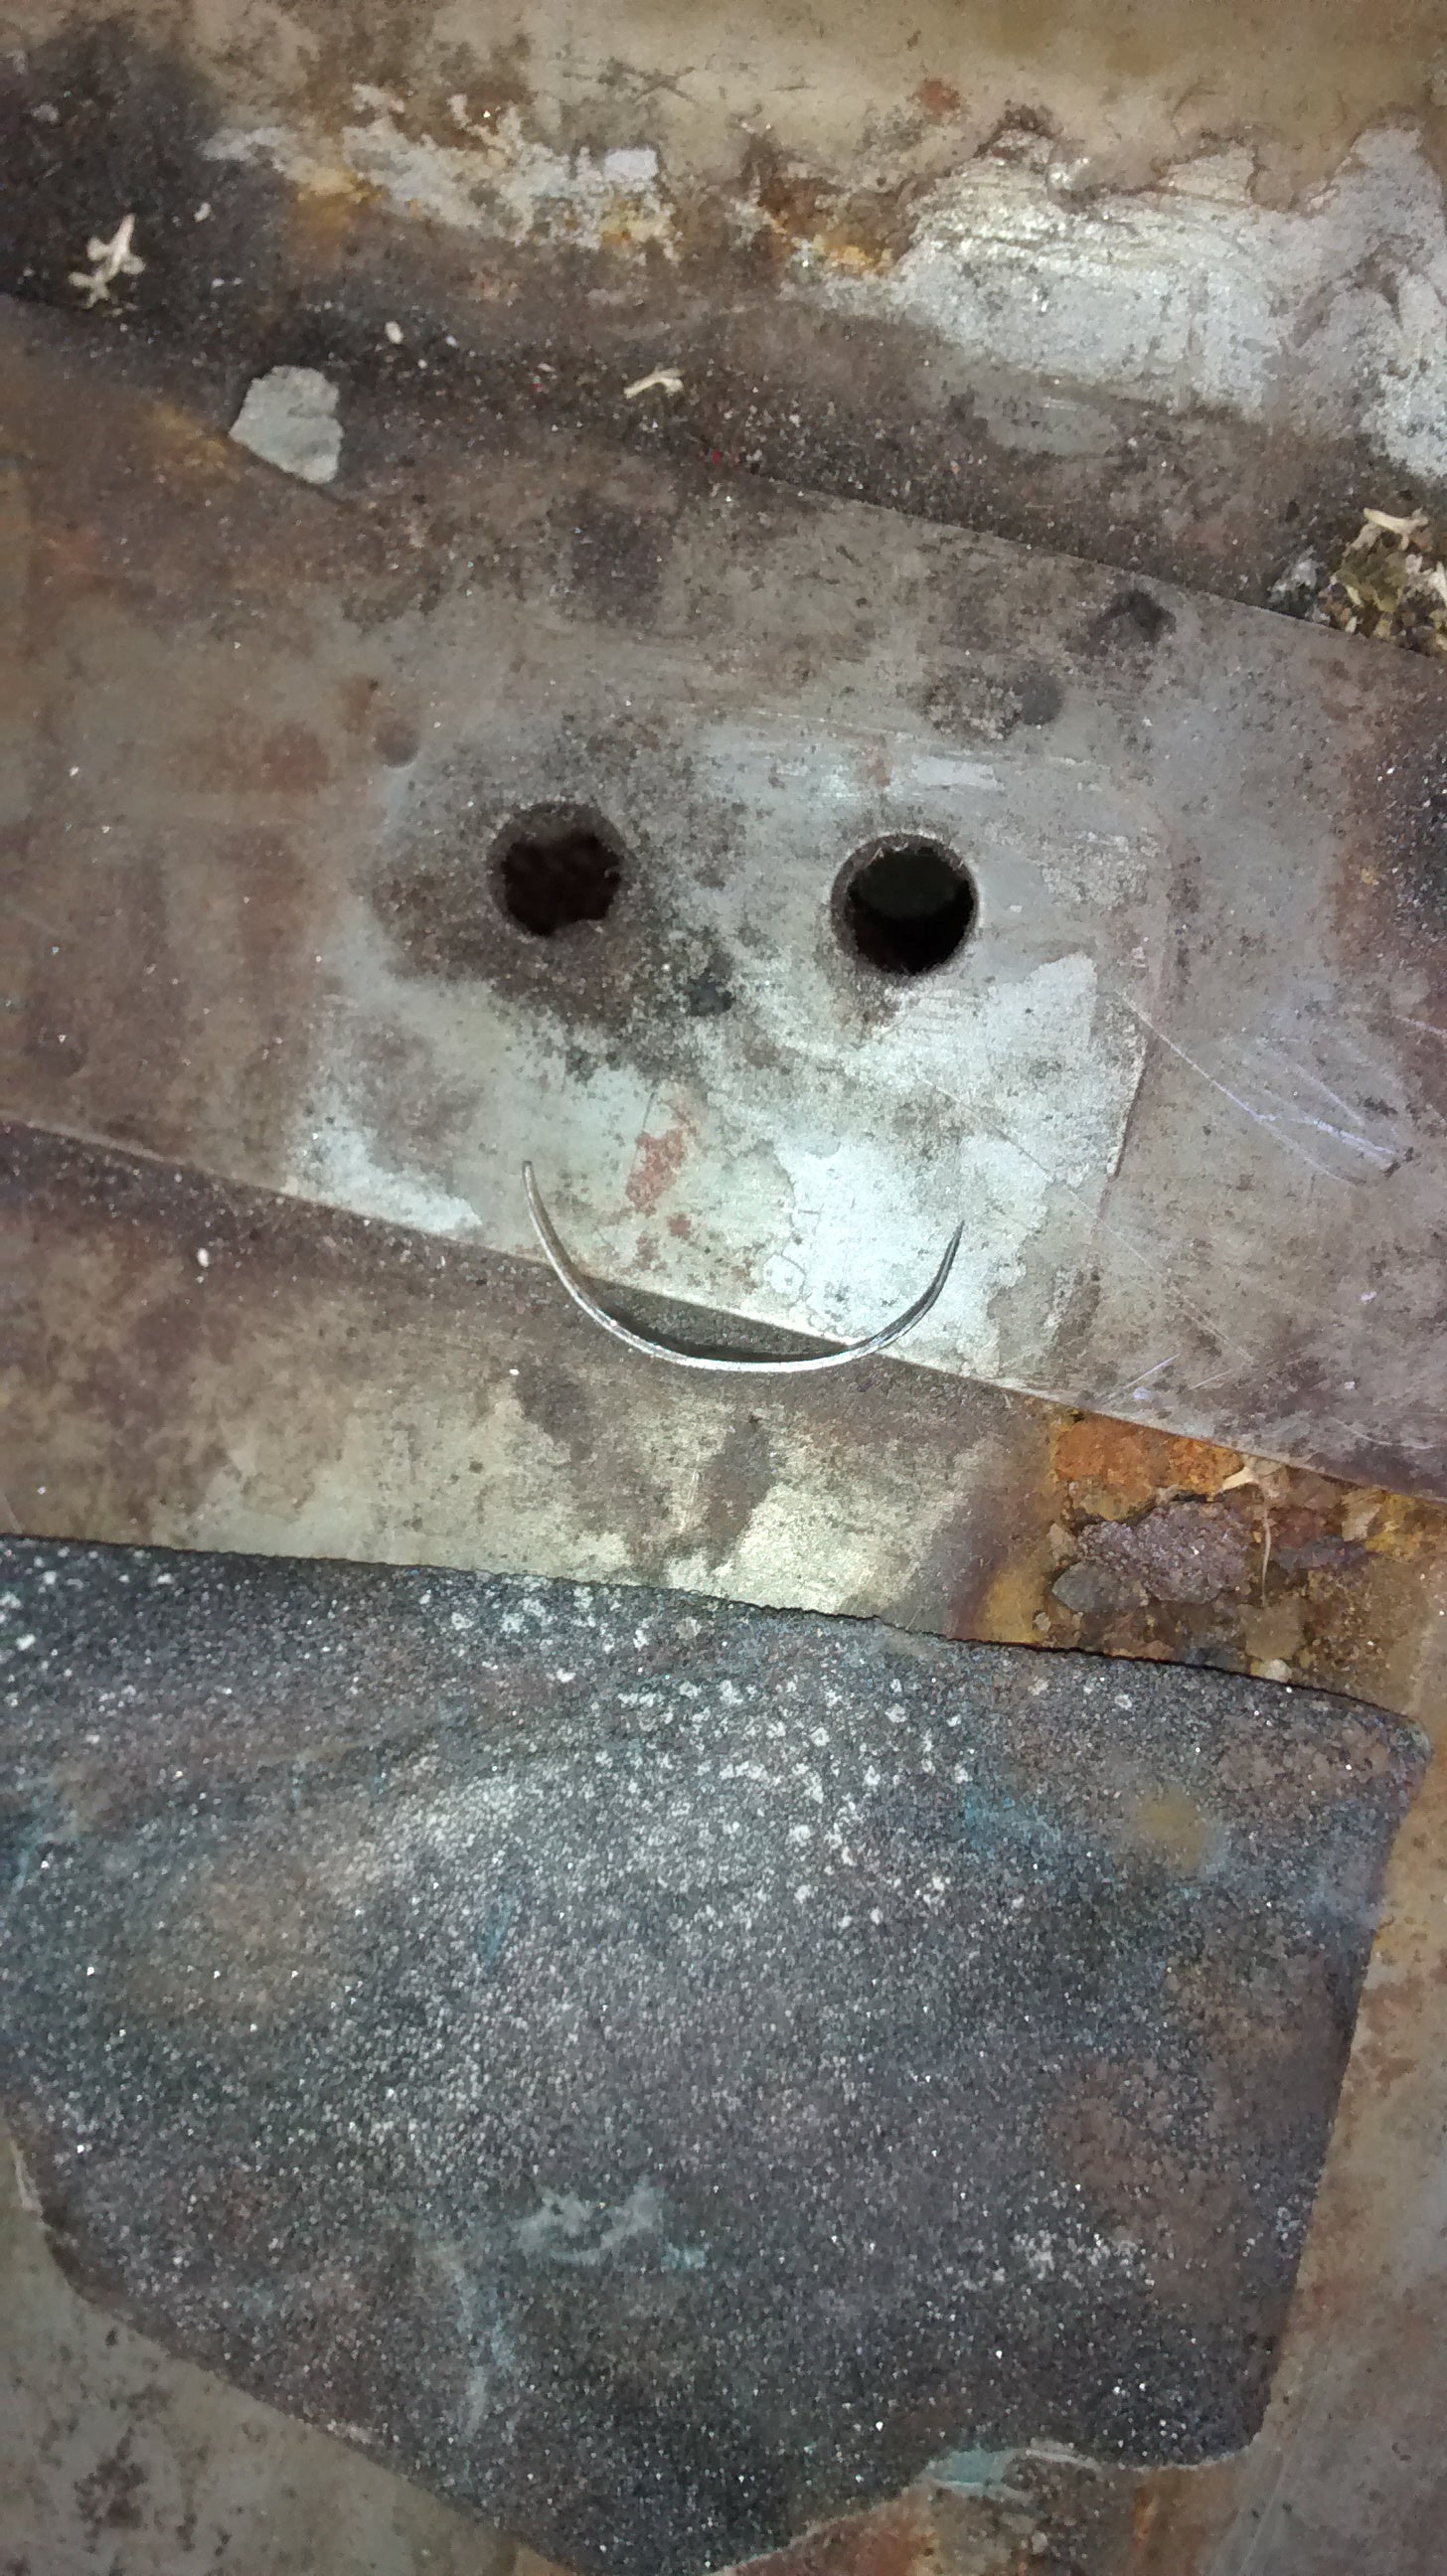
Saw this while working, it let me know that everything was going to be OK.
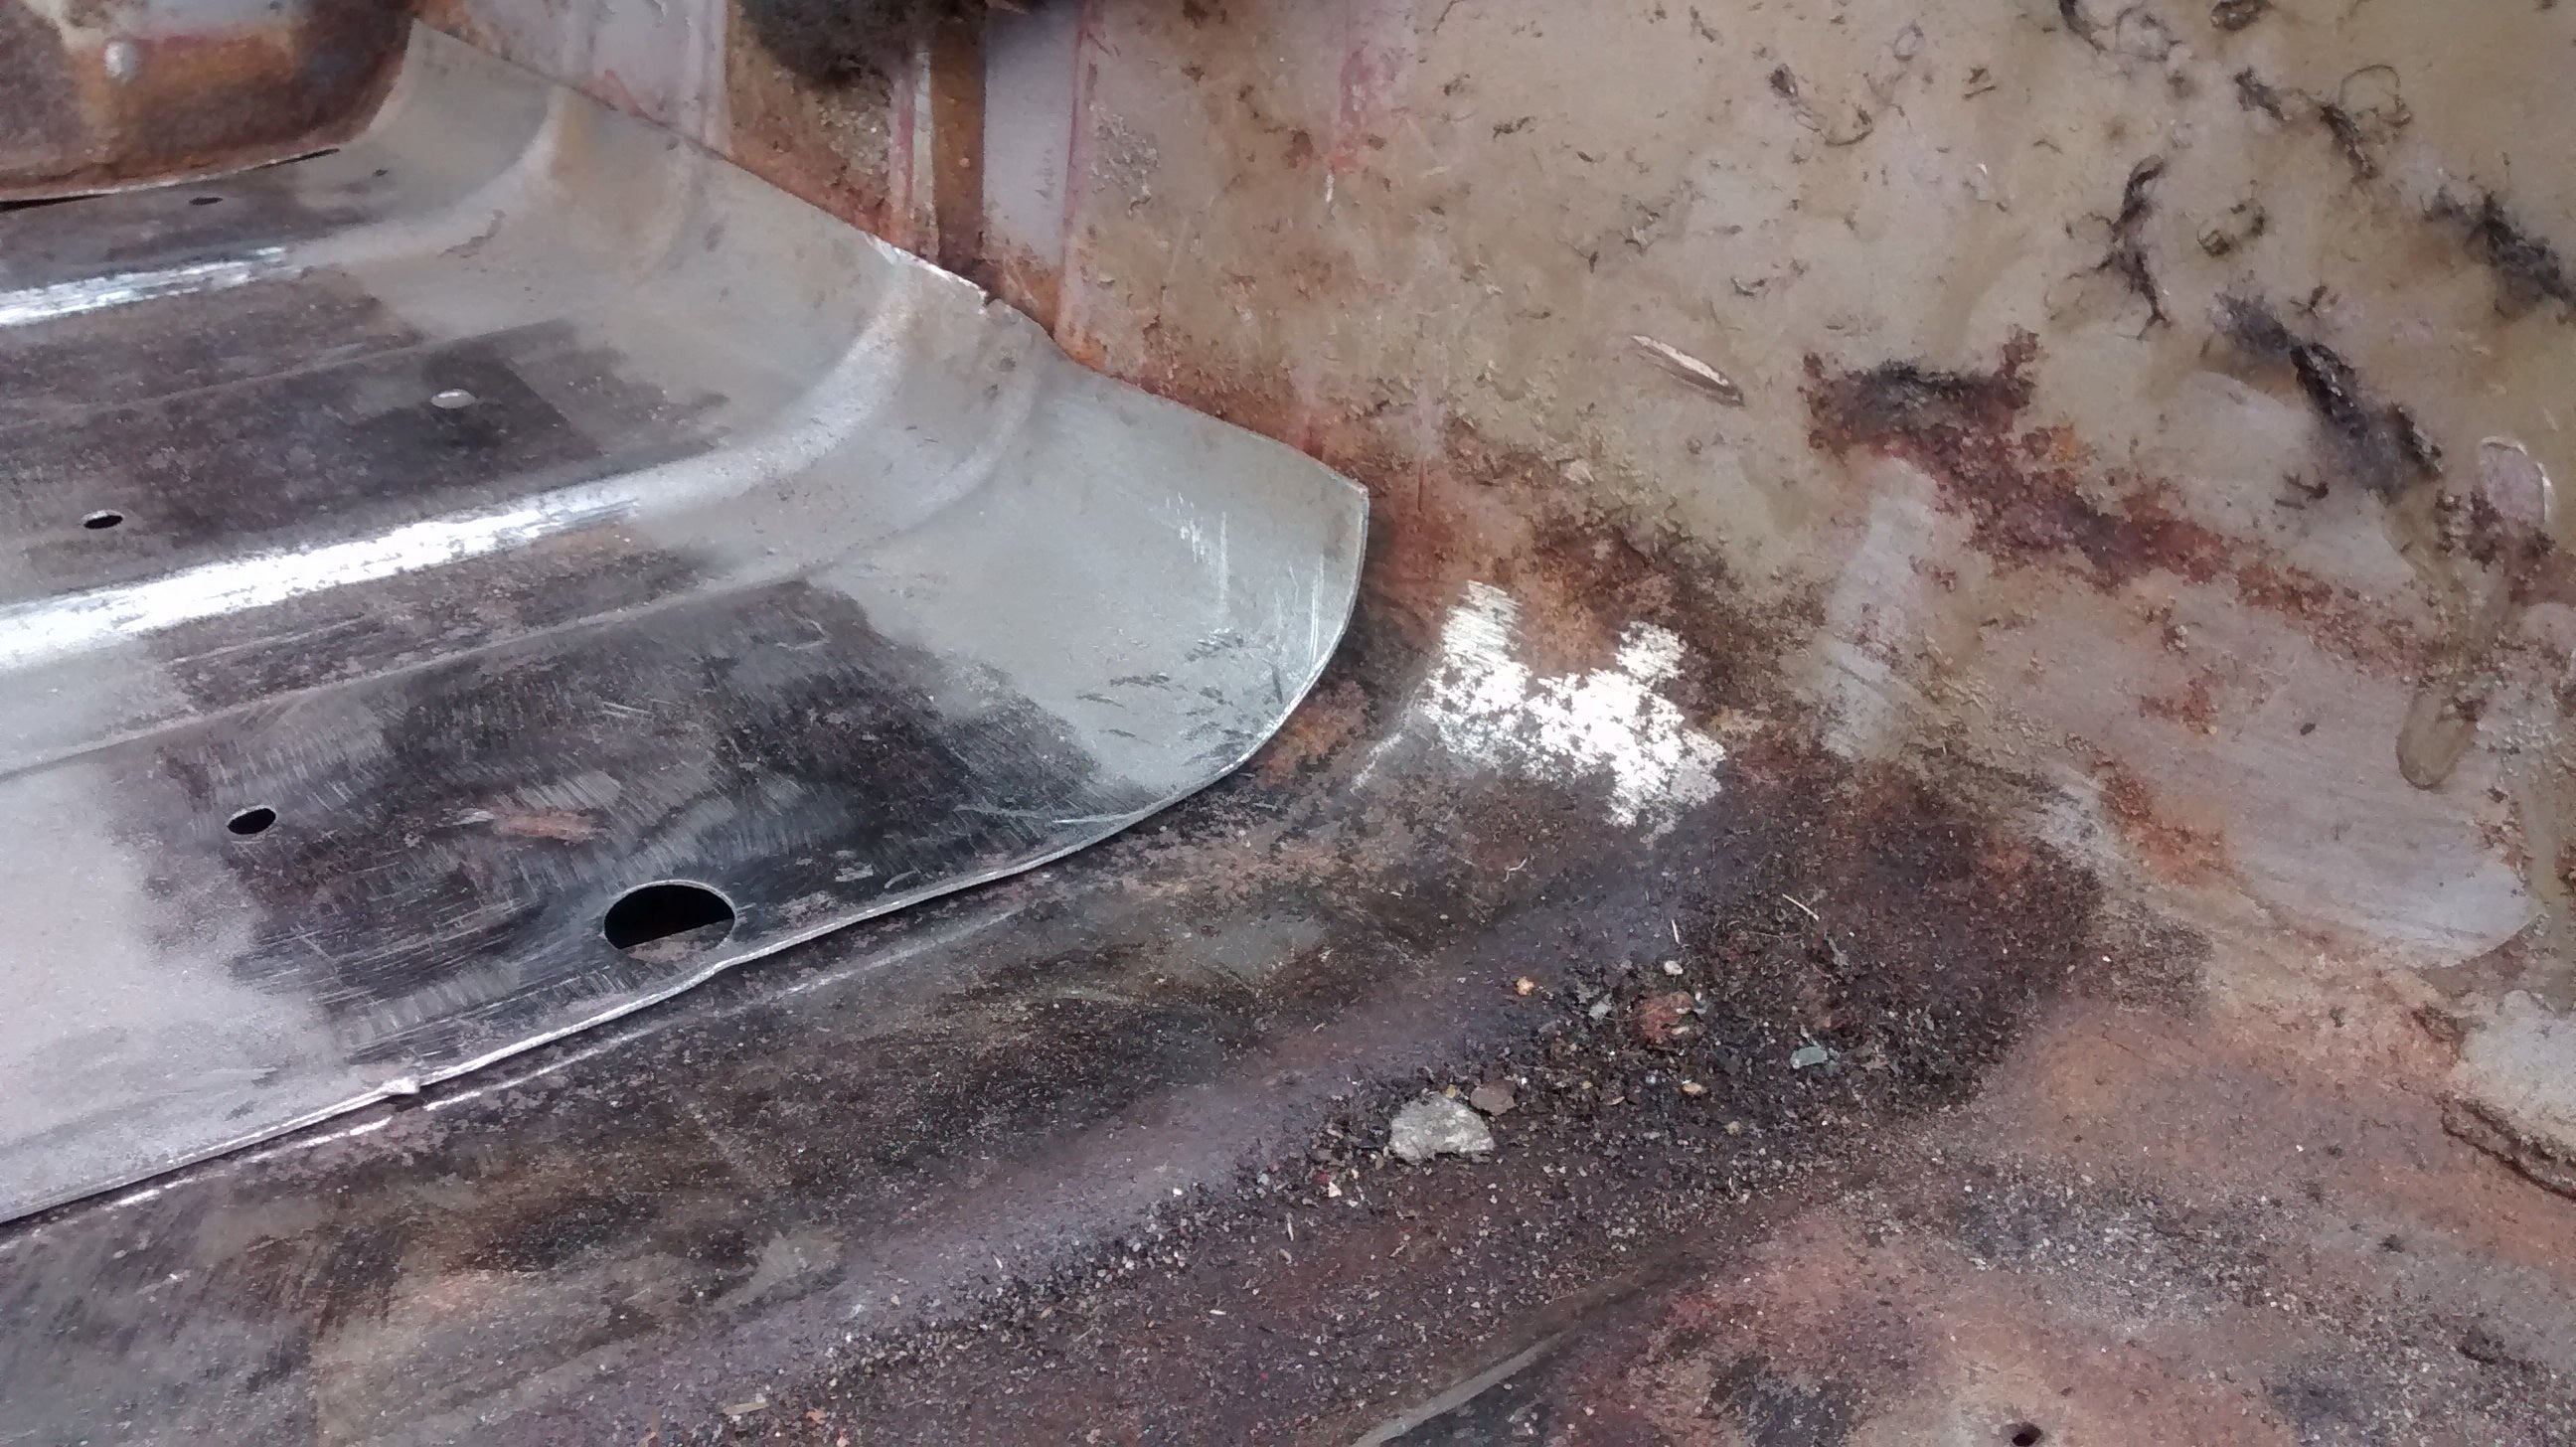
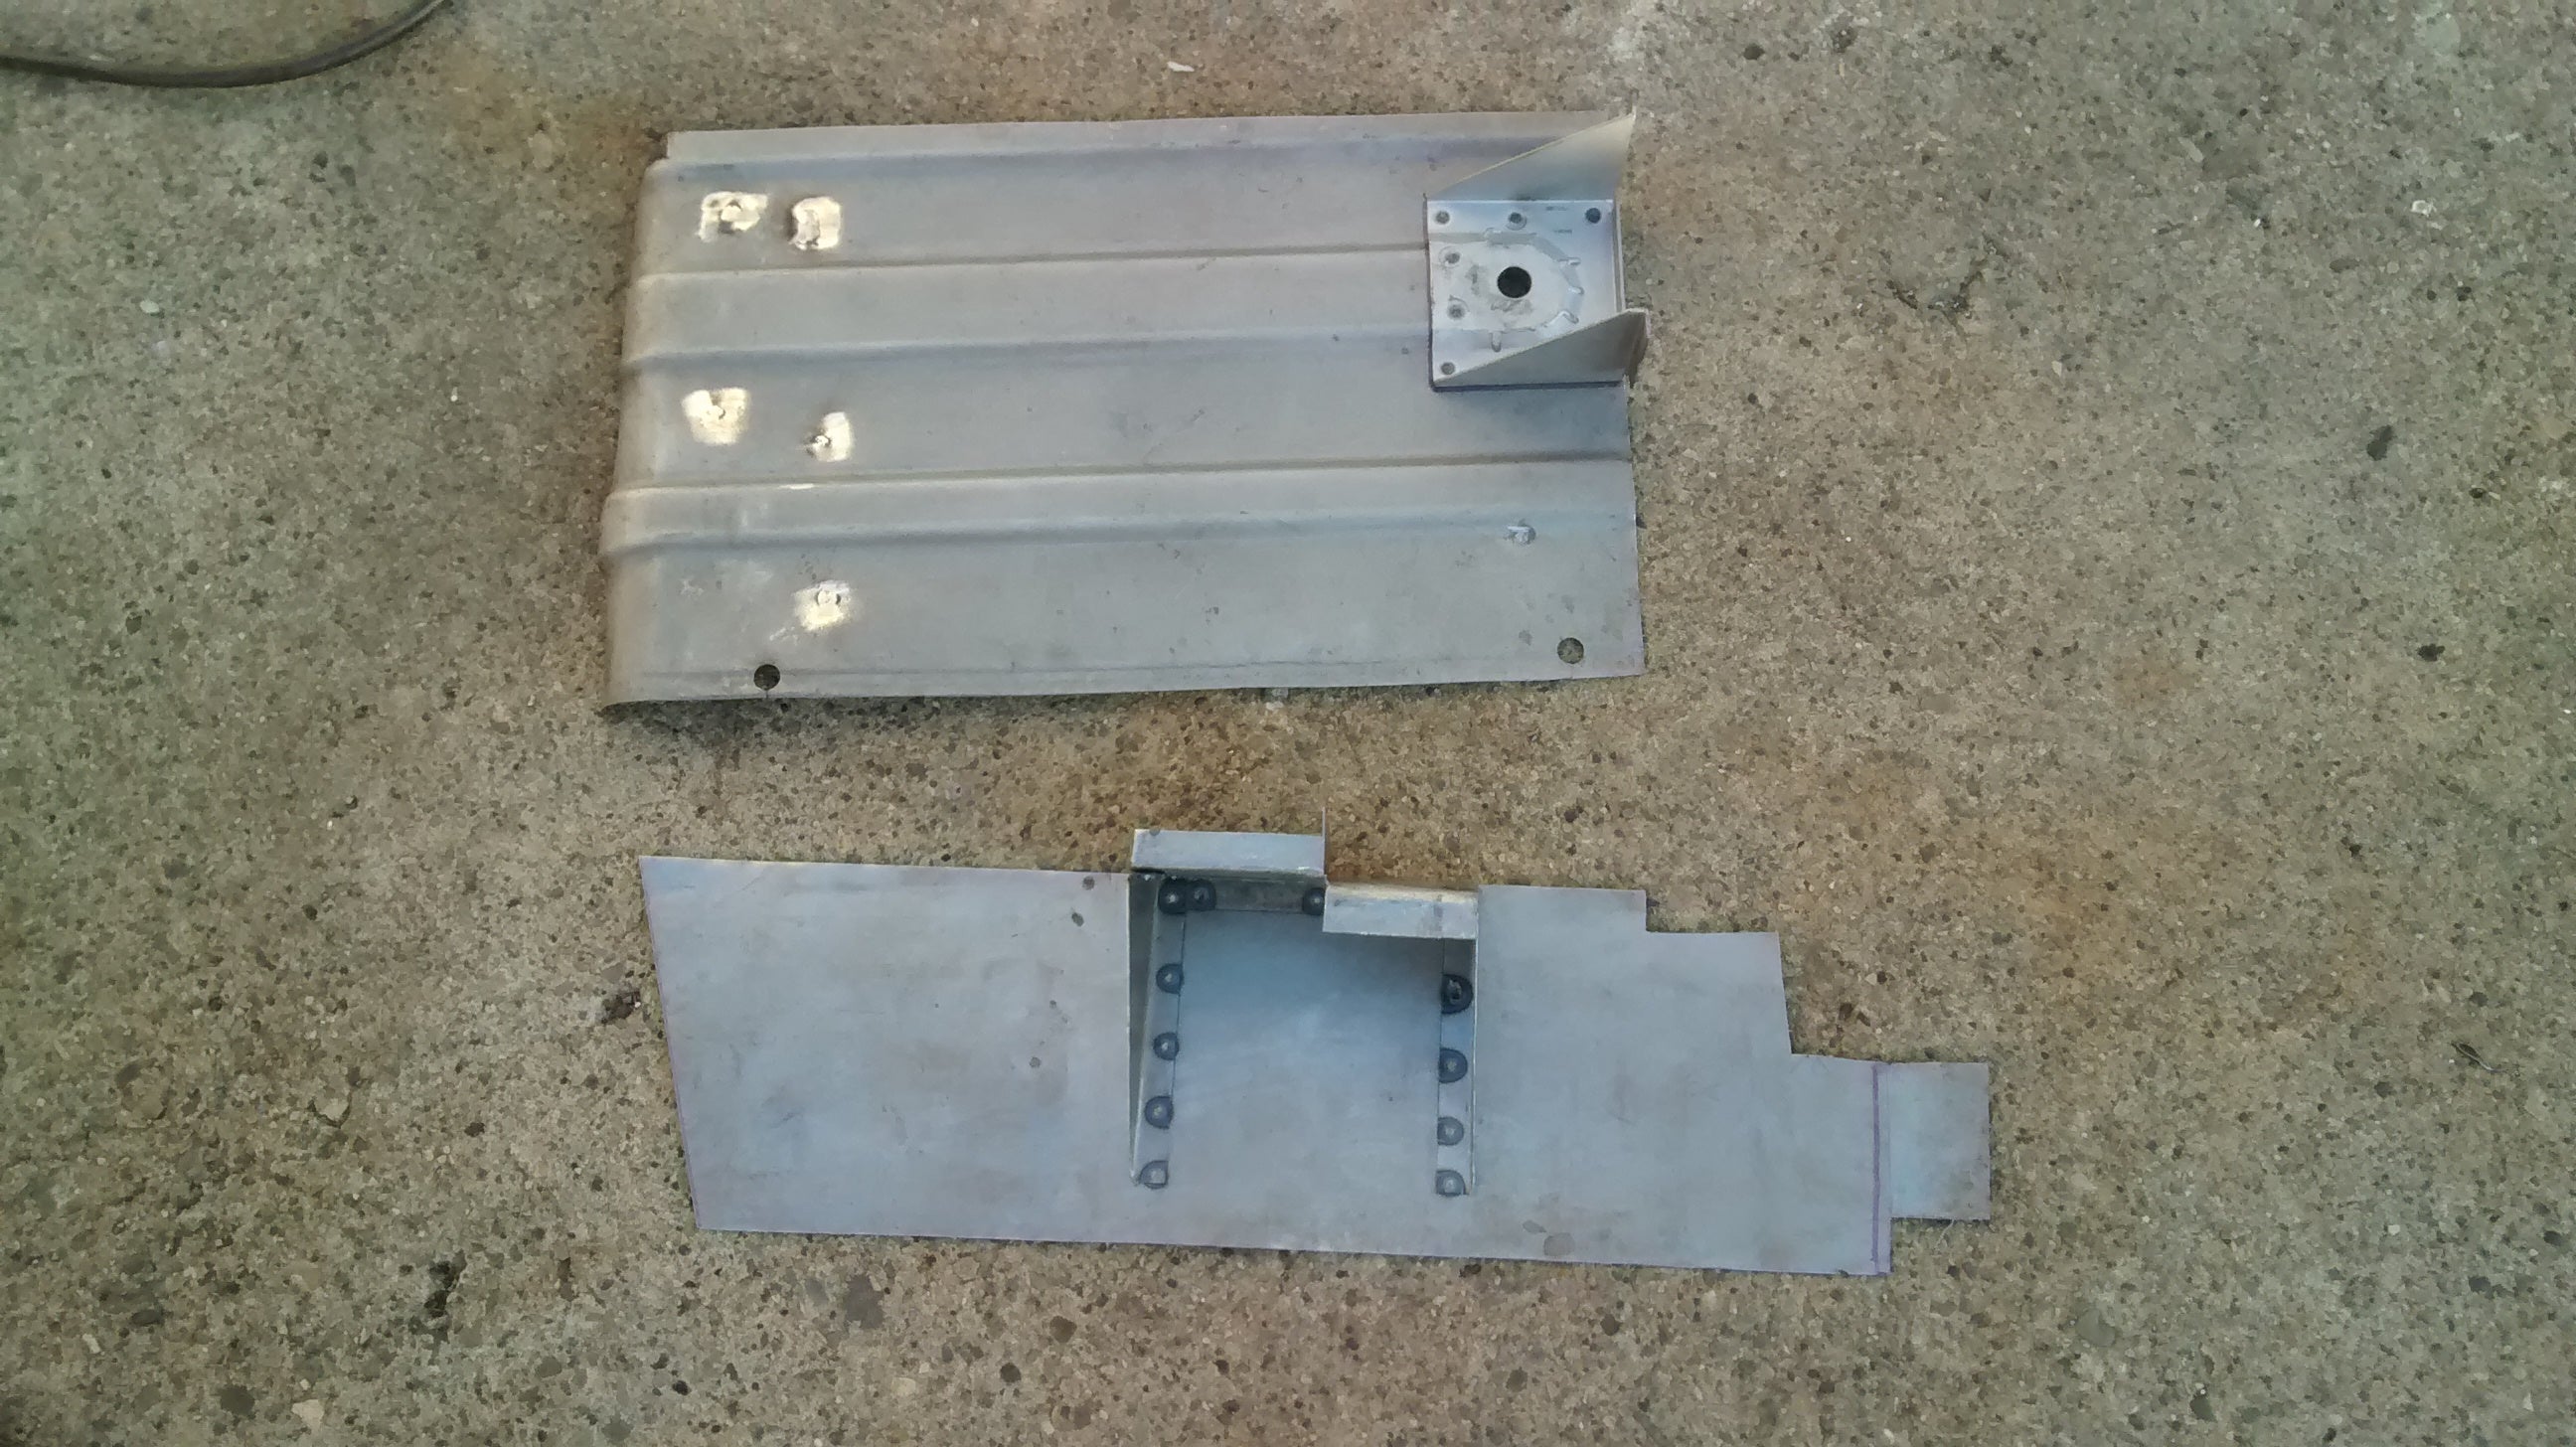
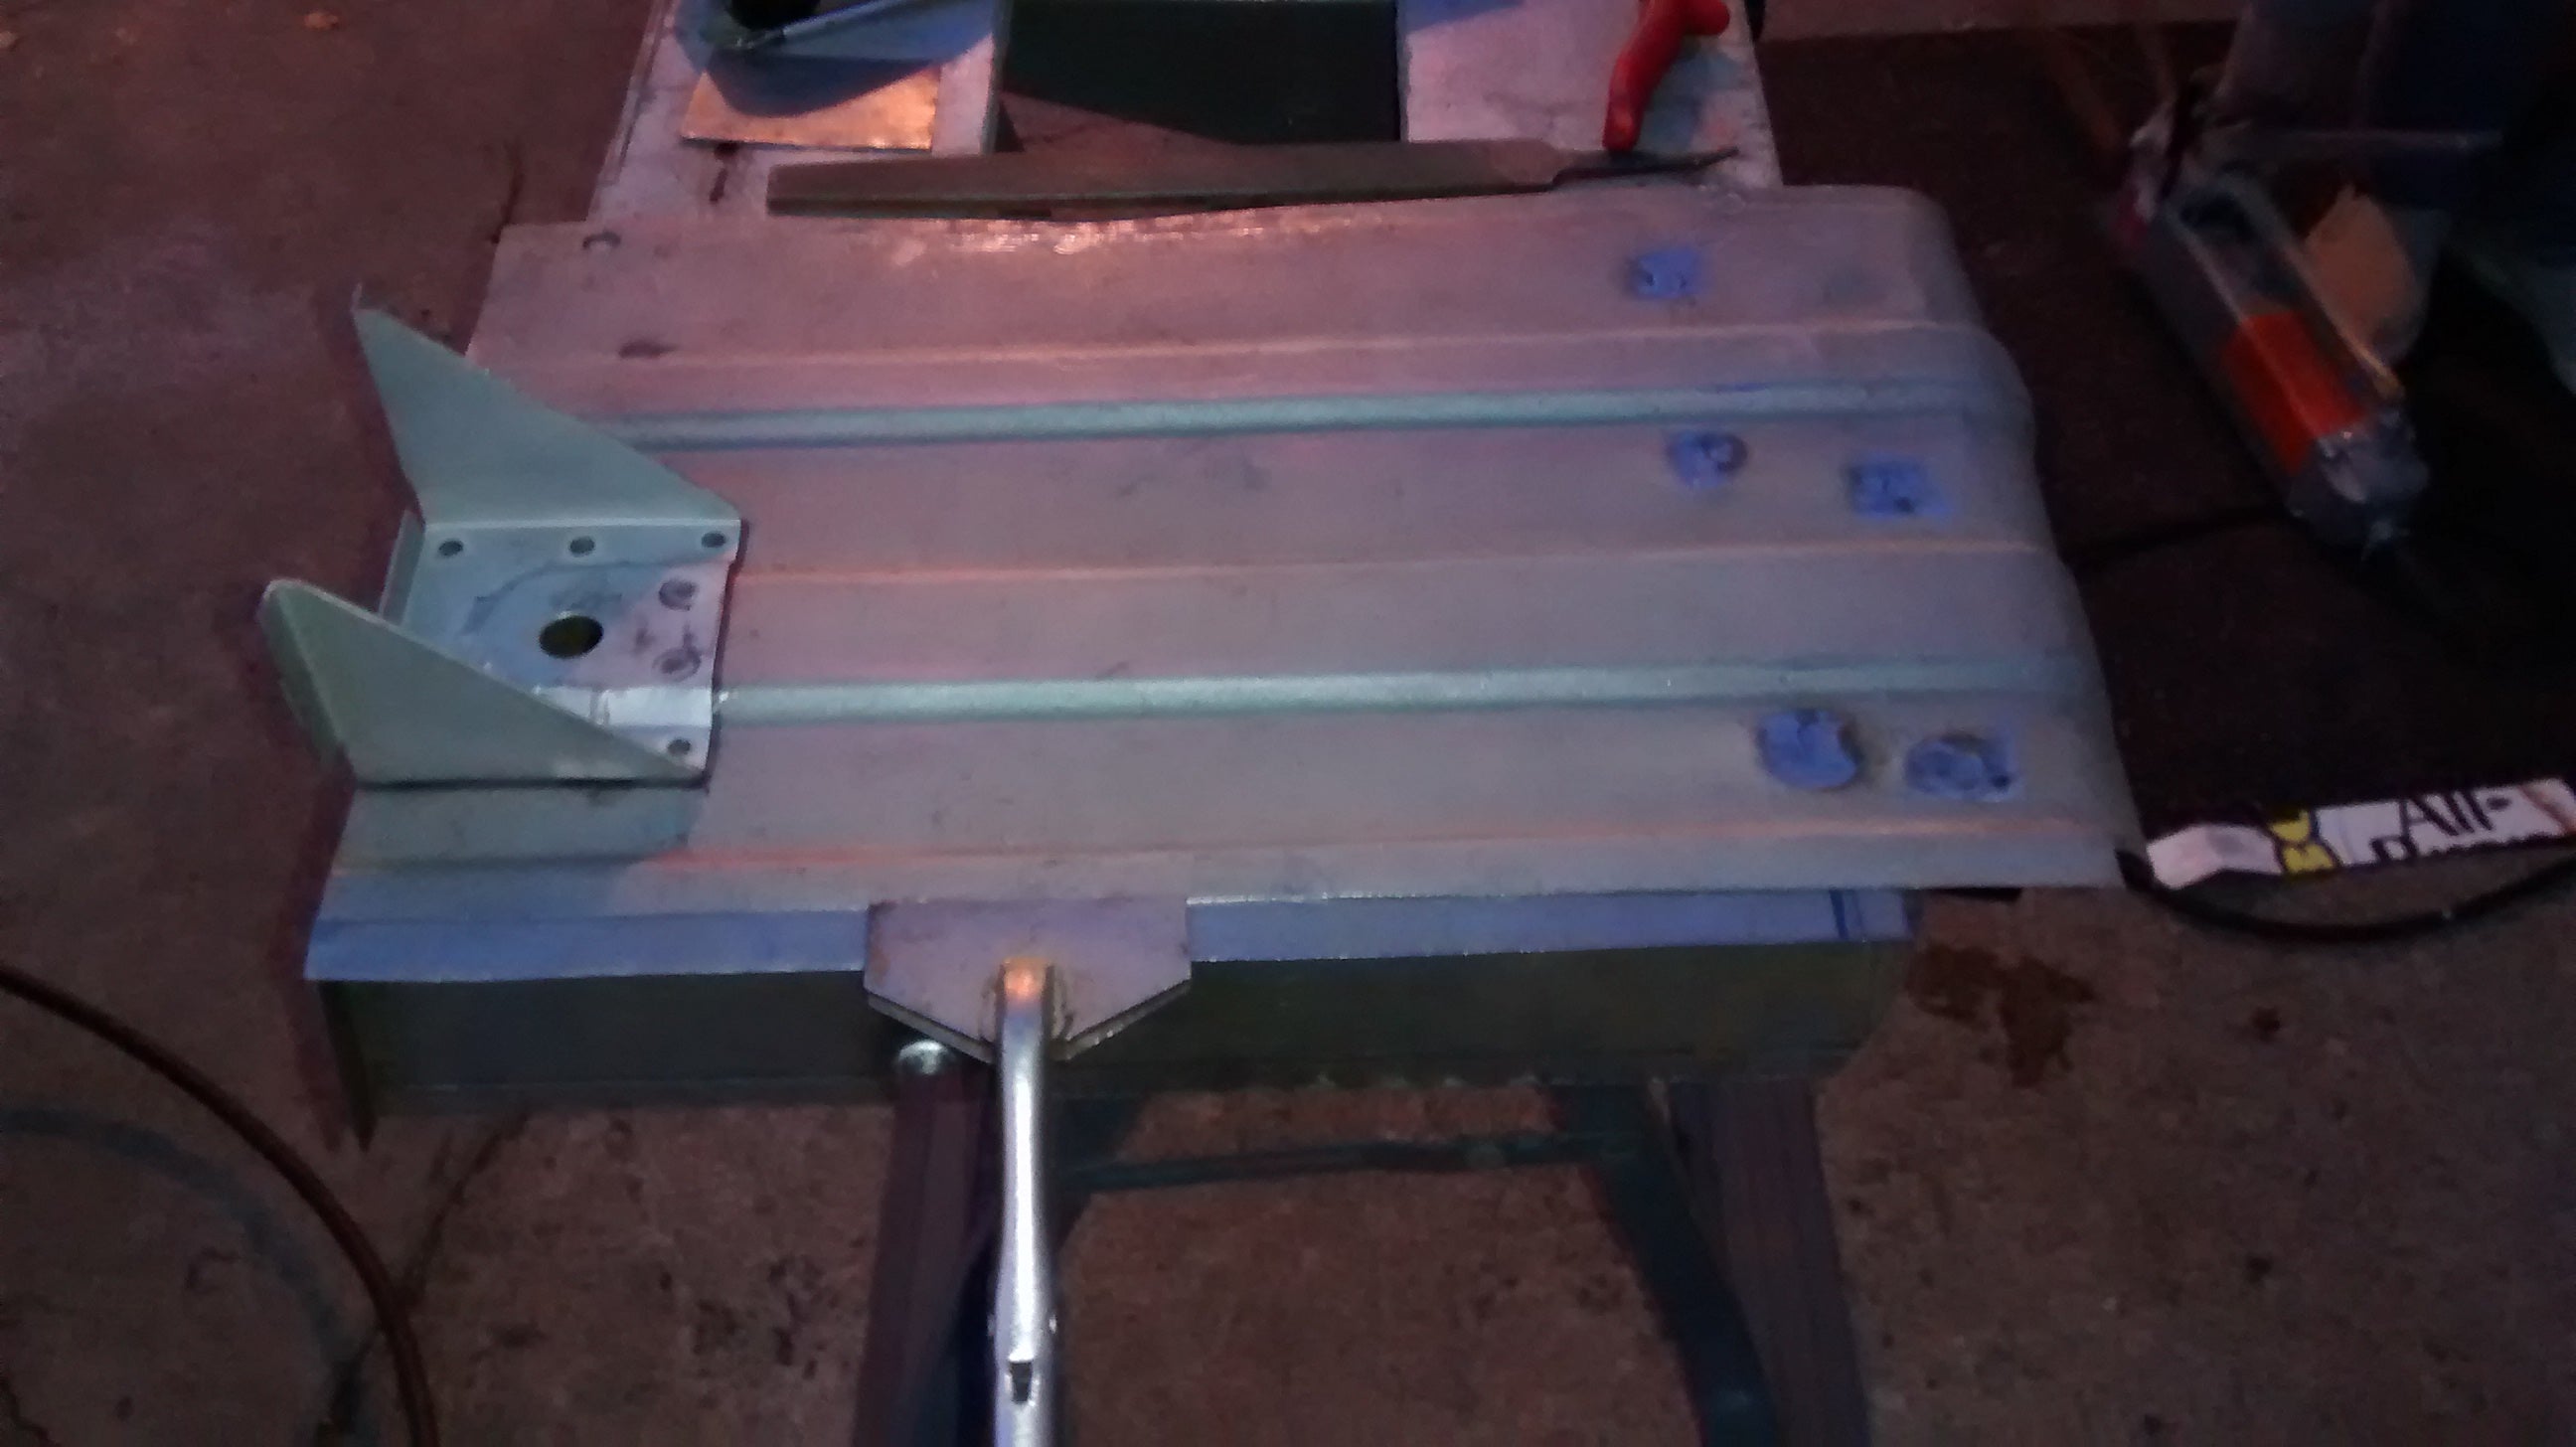
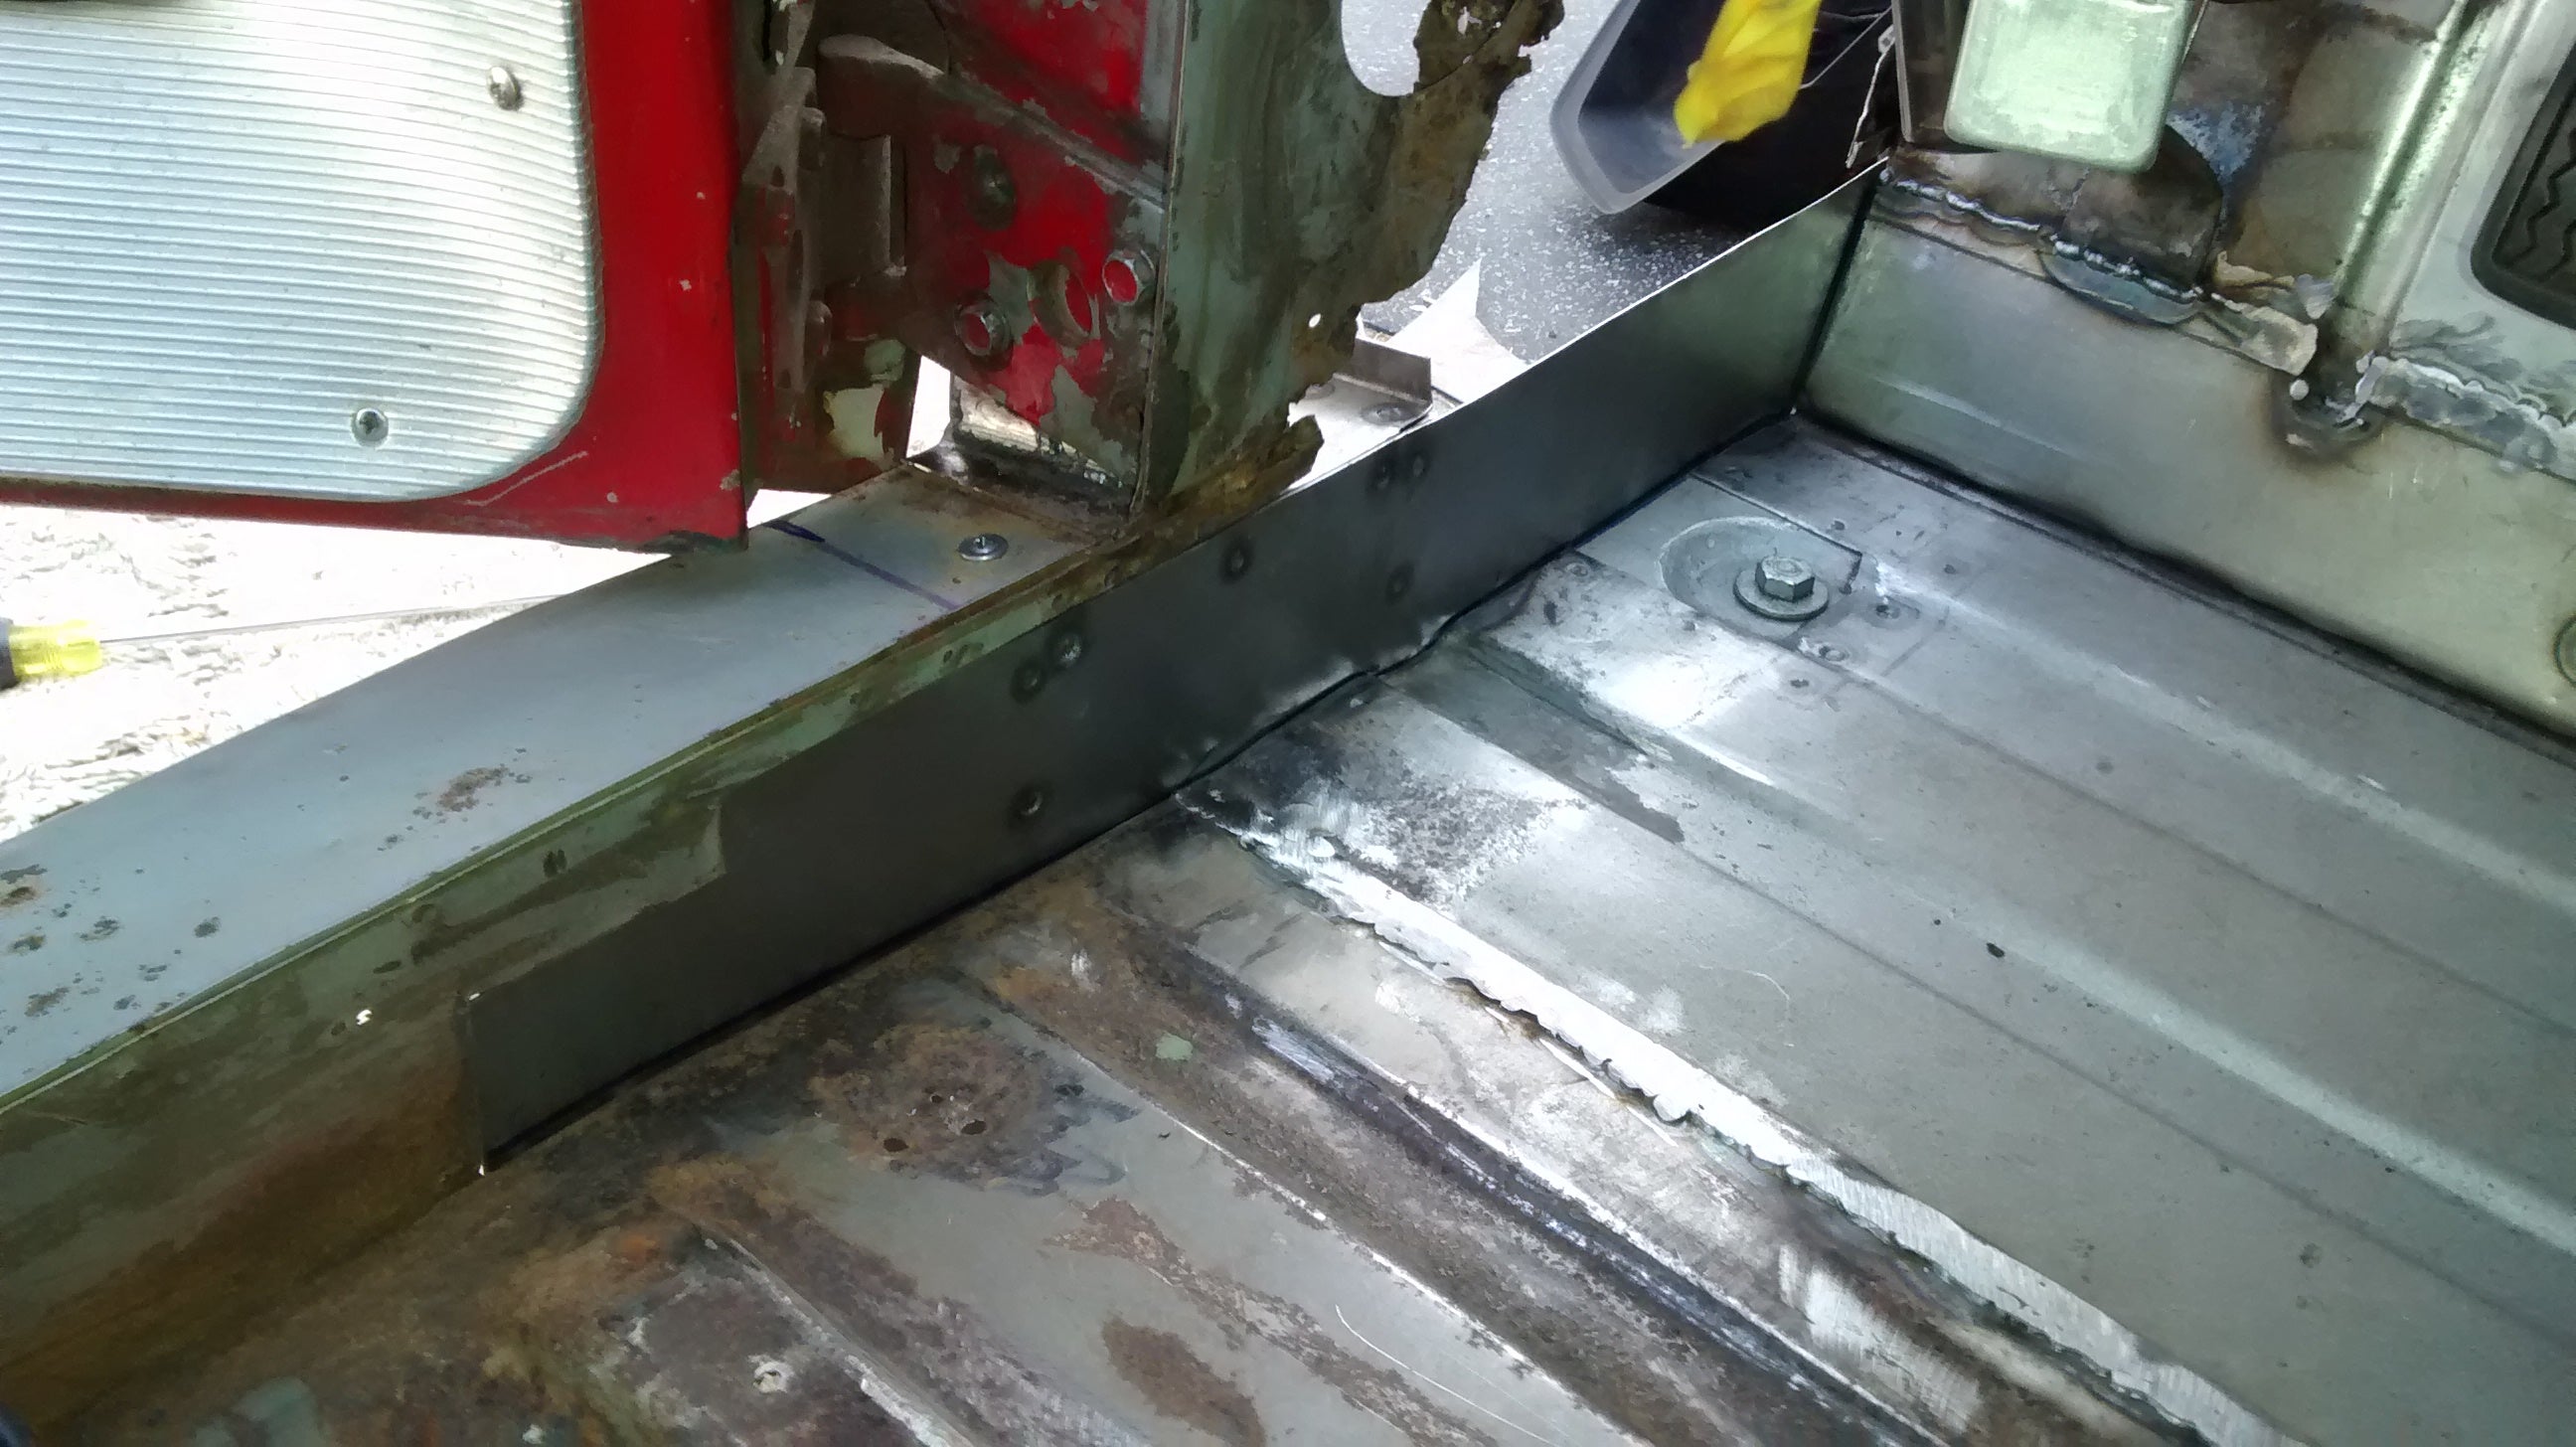
Floor and rocker ready to rock.
Had to add in a small bubble in the firewall patch in order to match nicely. I also flanged the edges to so it would fit flush to the car.
It works! The firewall patch is welded to the floor patch, along with a body mount gusset.
Gettin’ dark! Canada is cold at night. Also cold during the day.
Everything clamped, final fit, ready to weld.
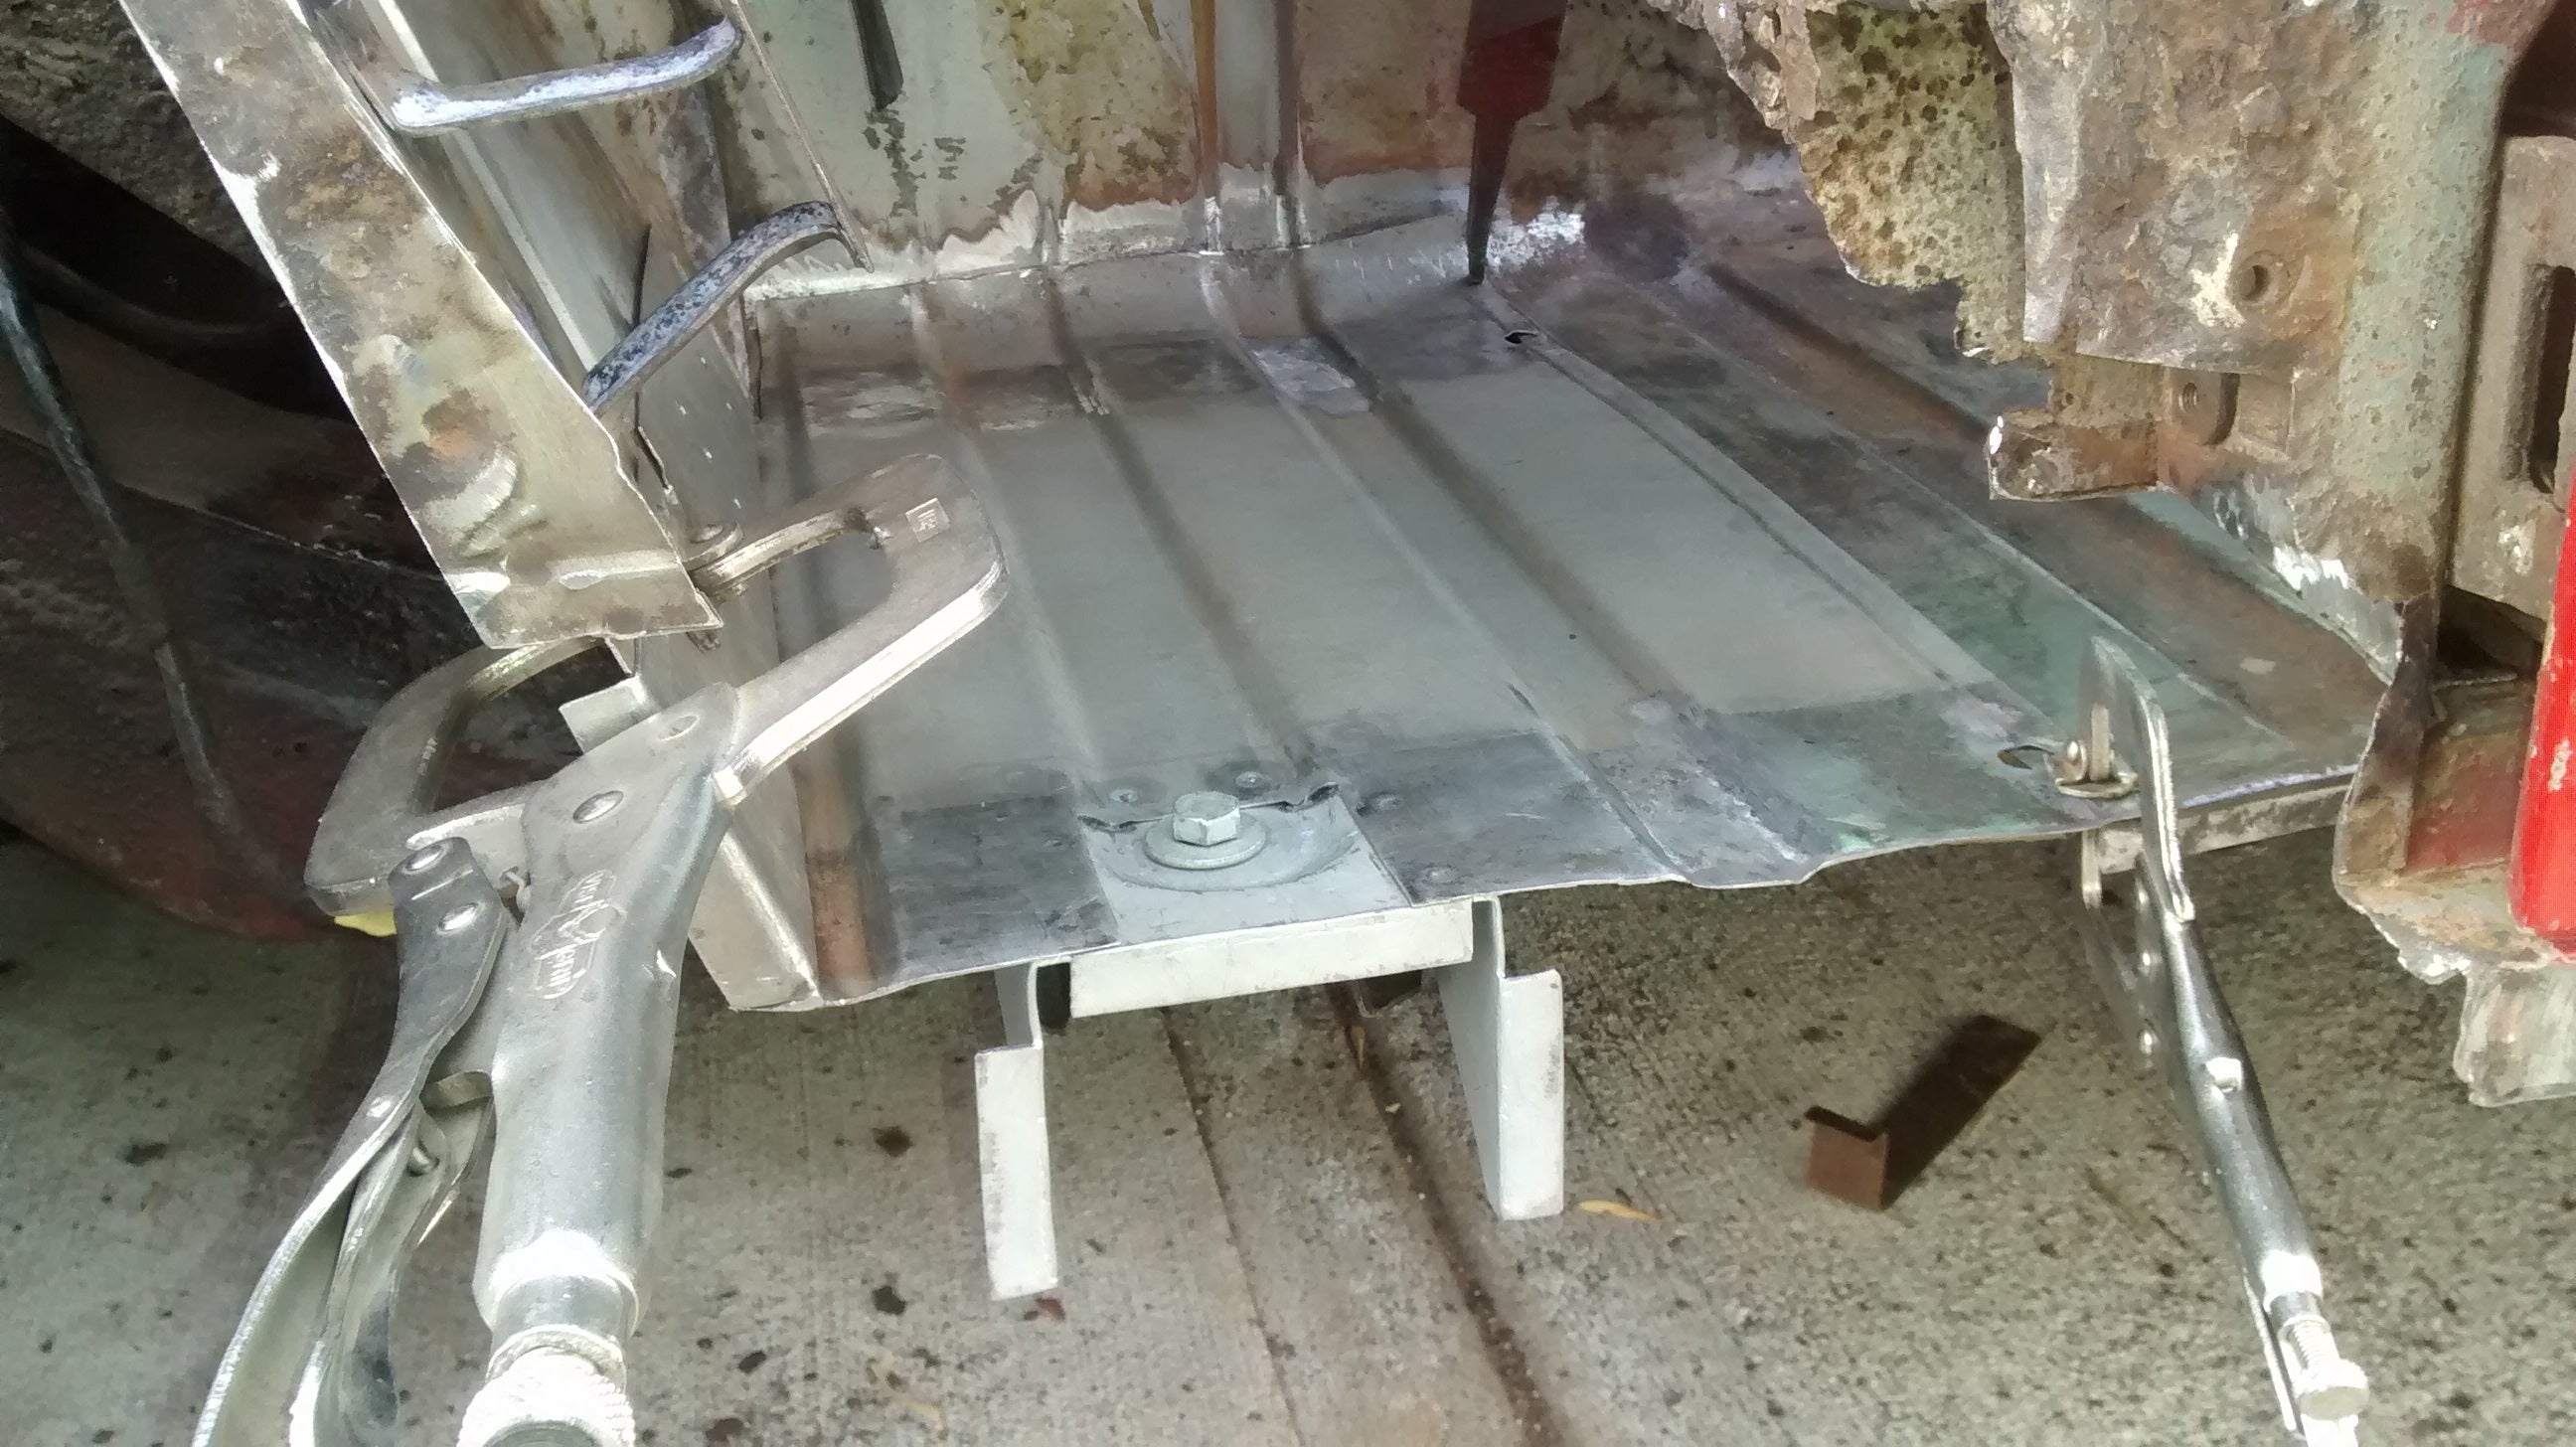
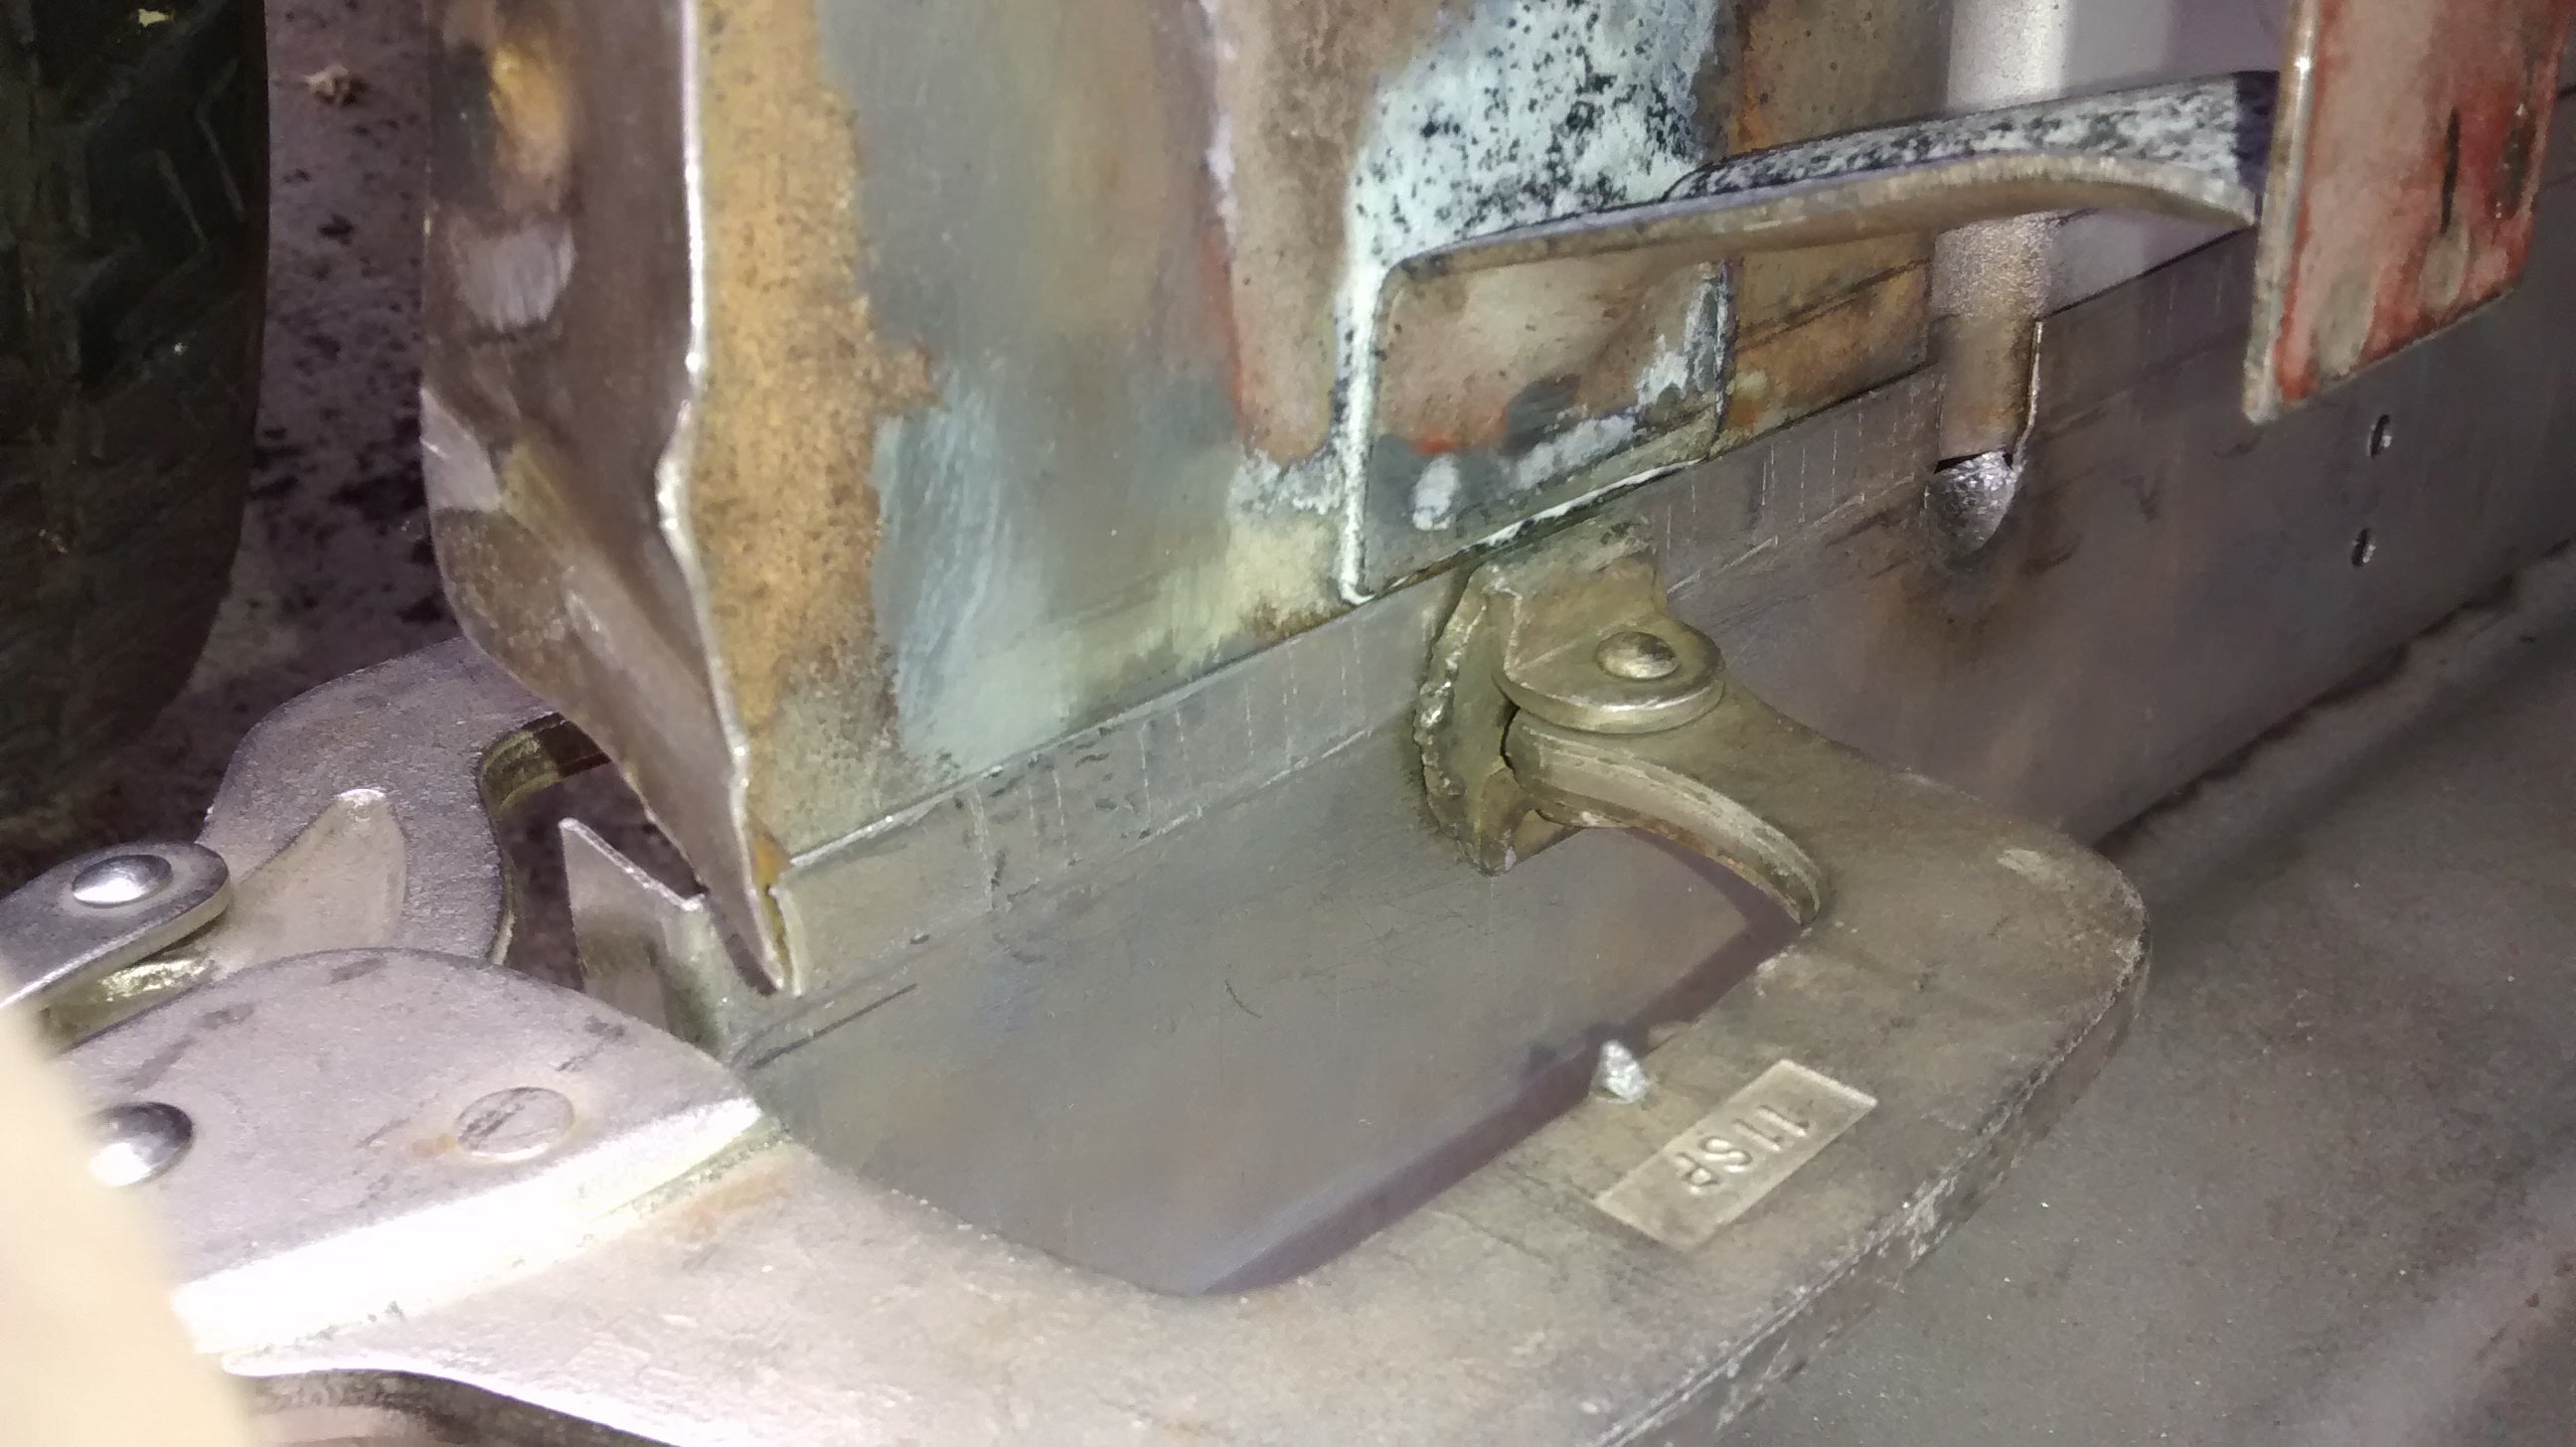
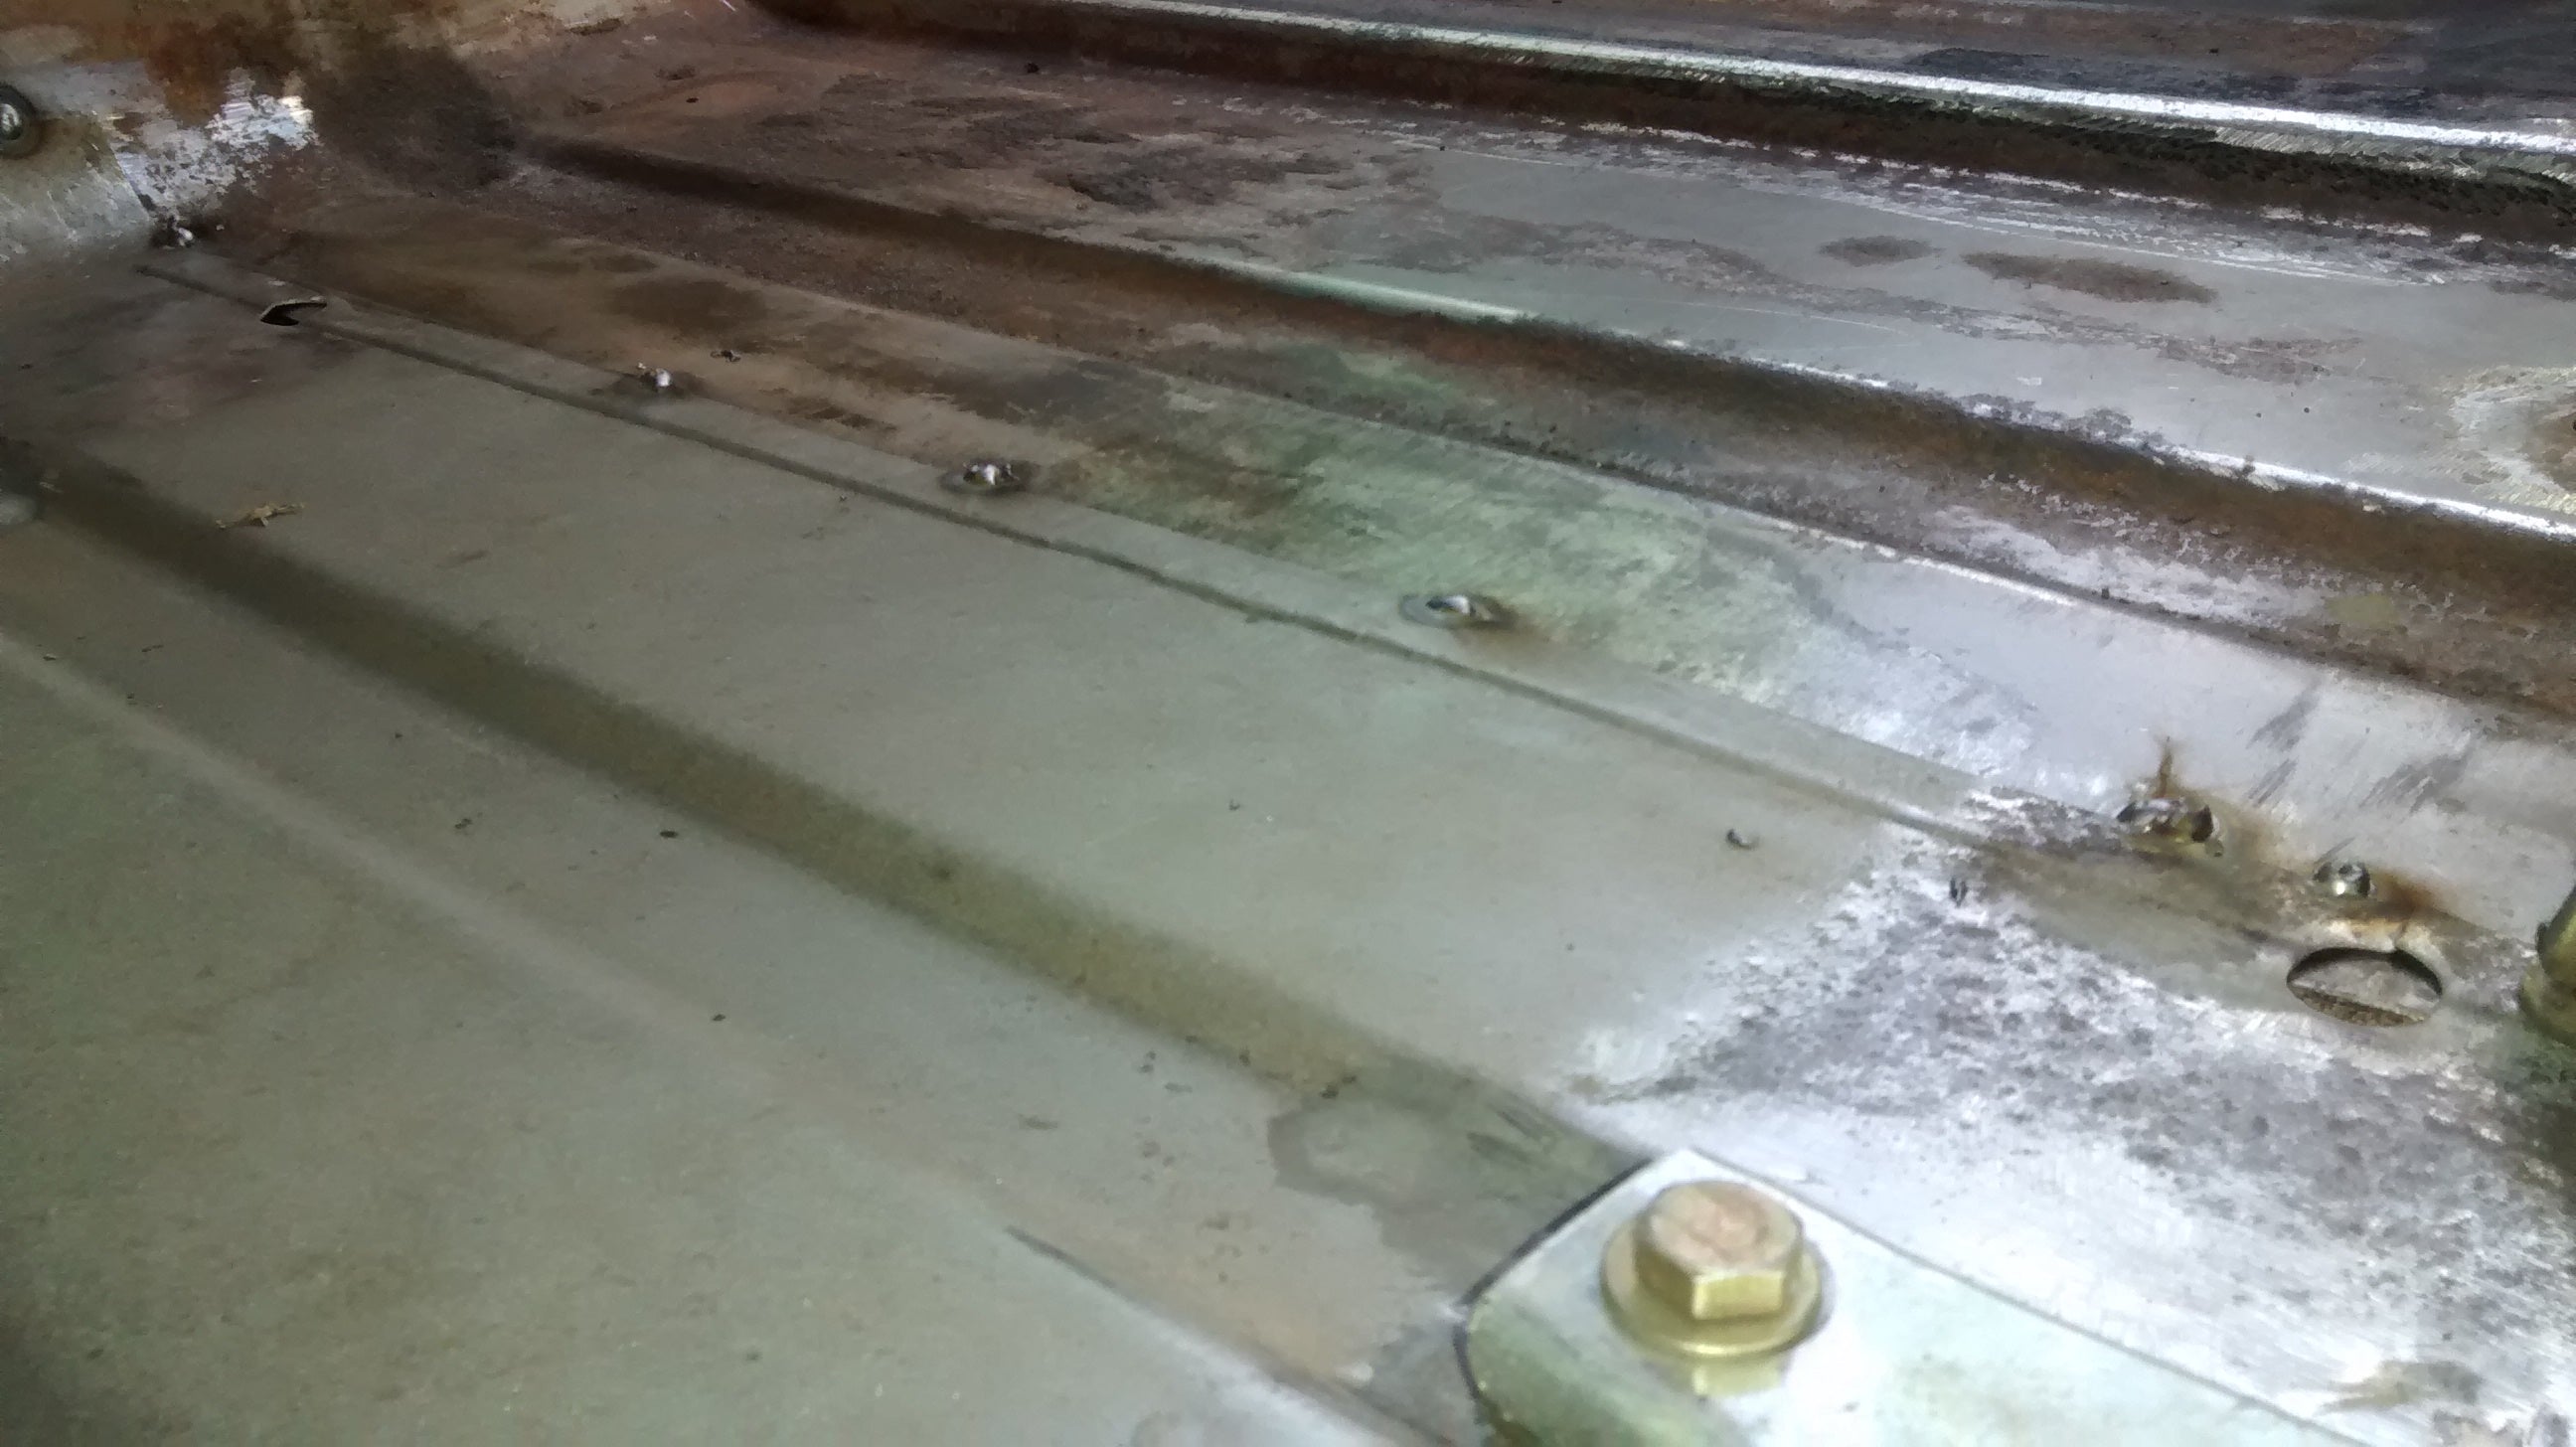

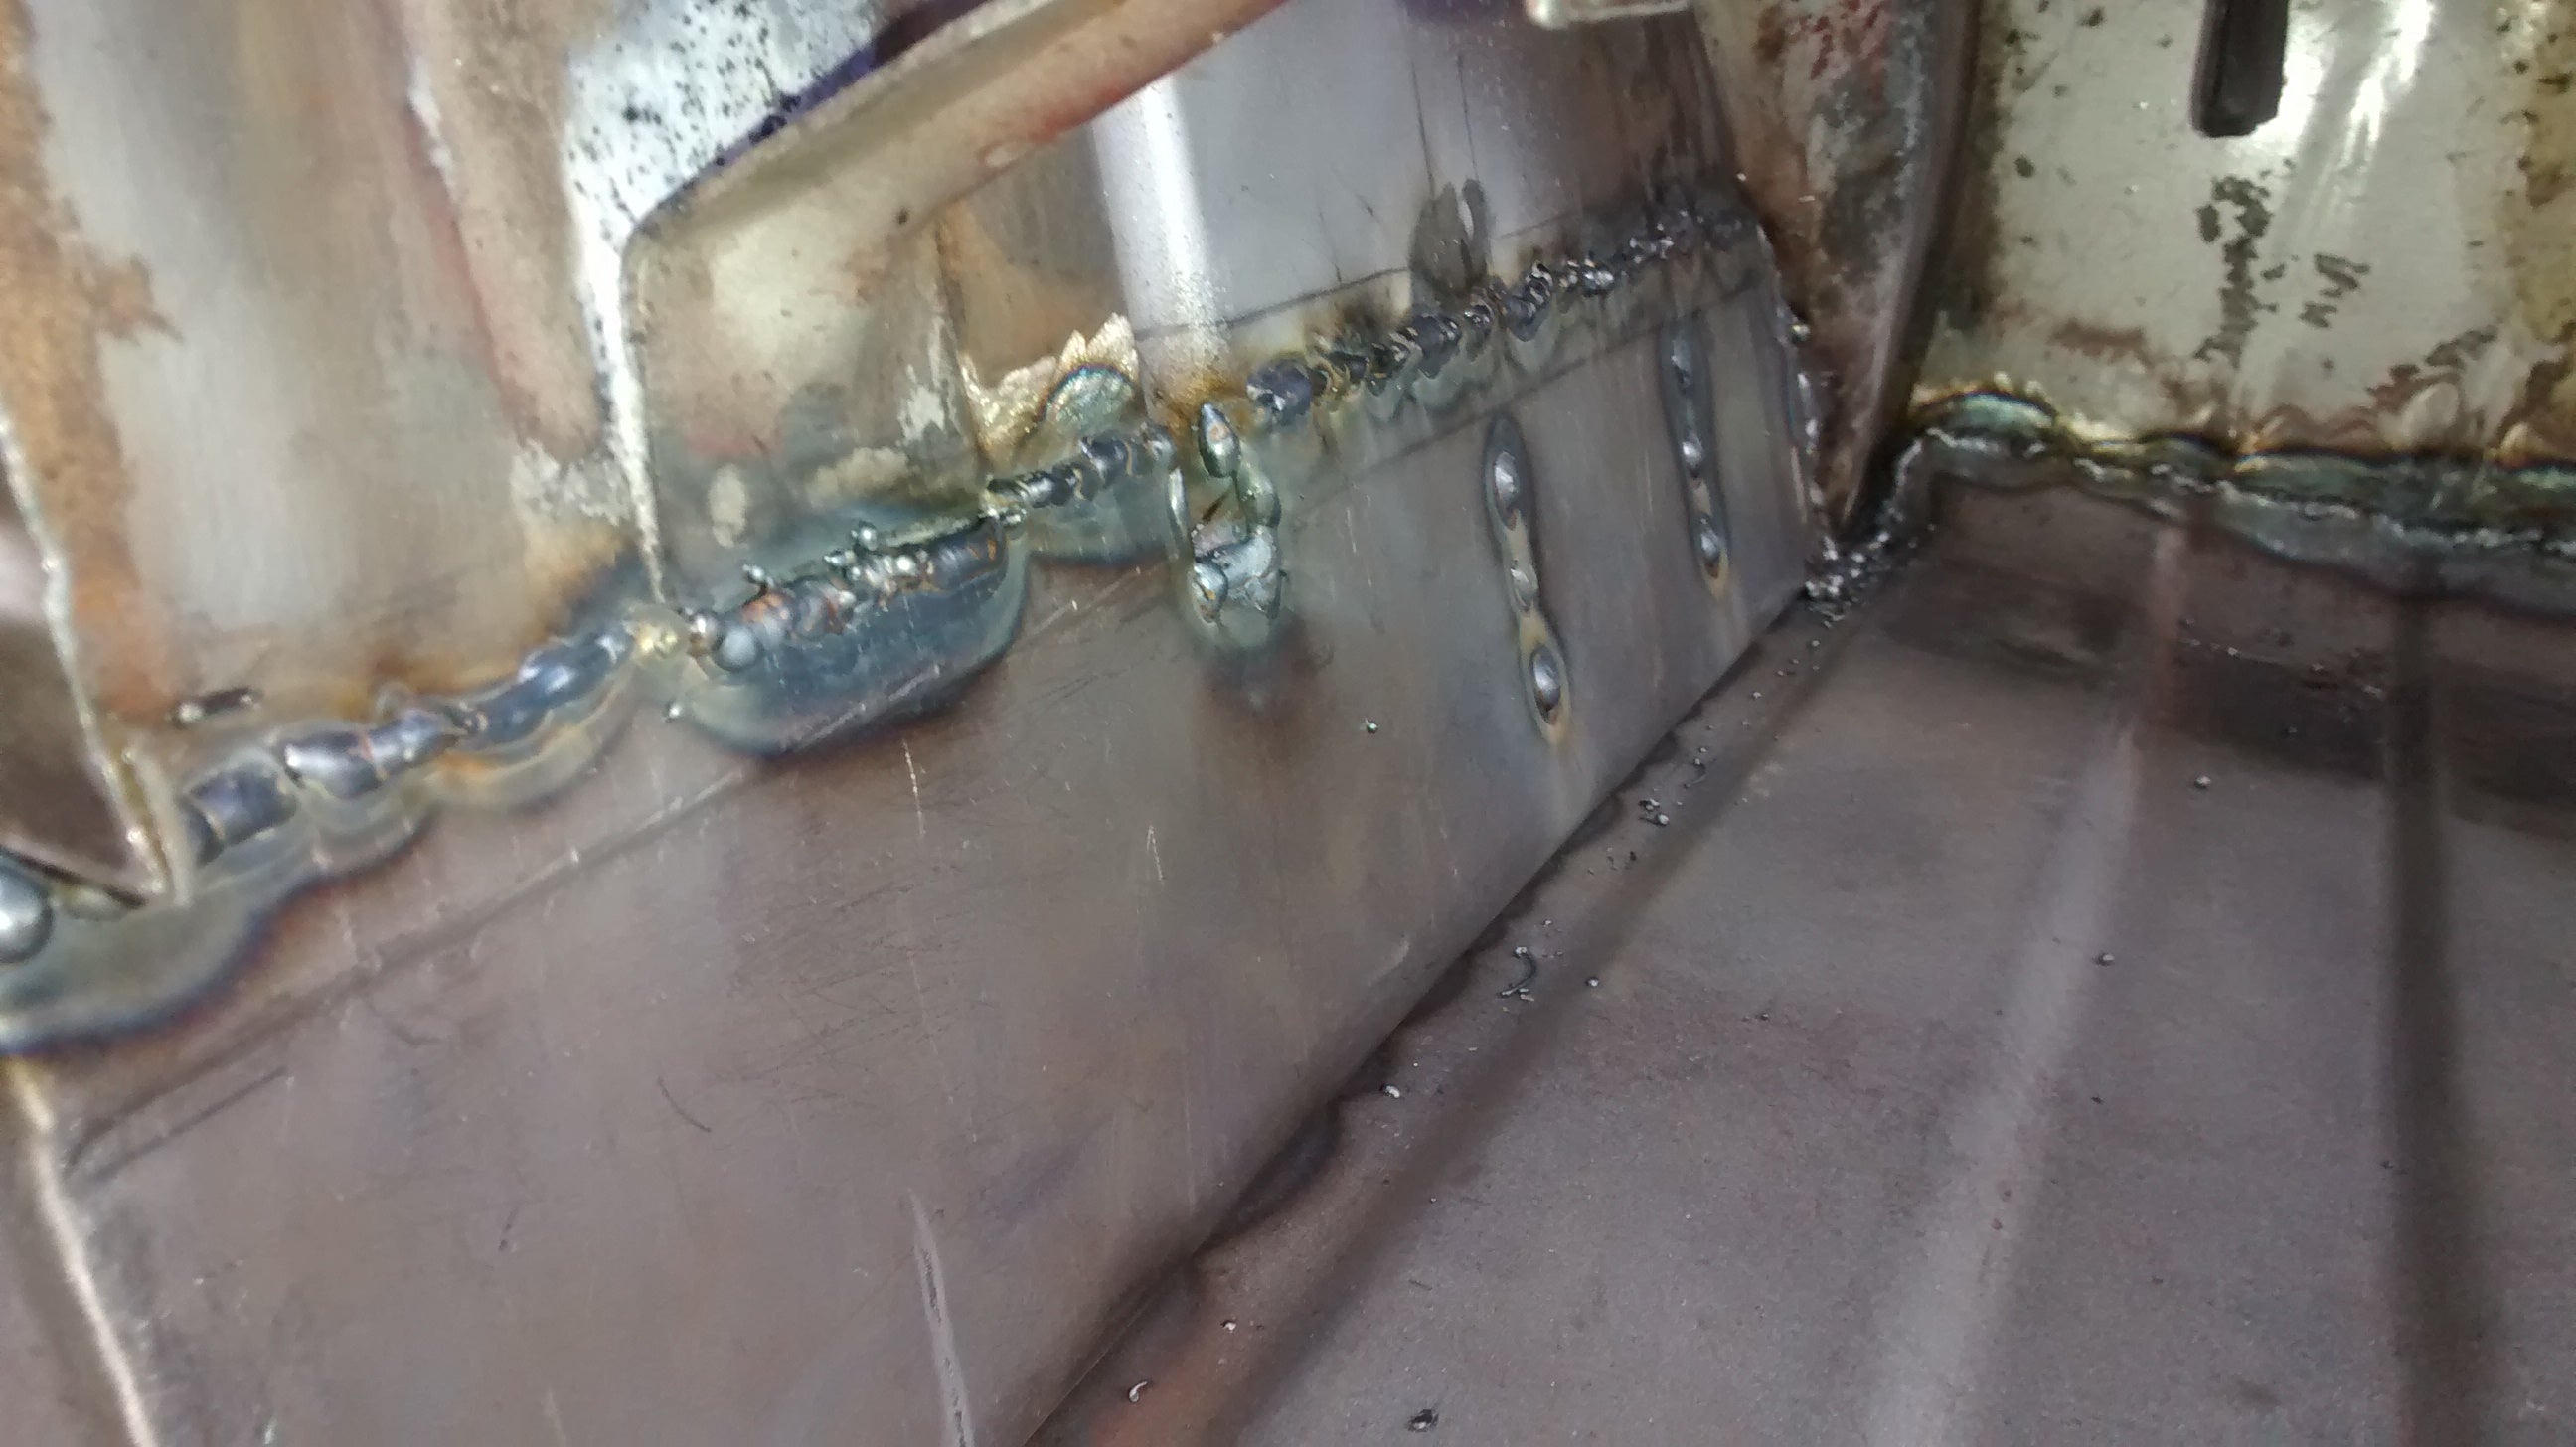
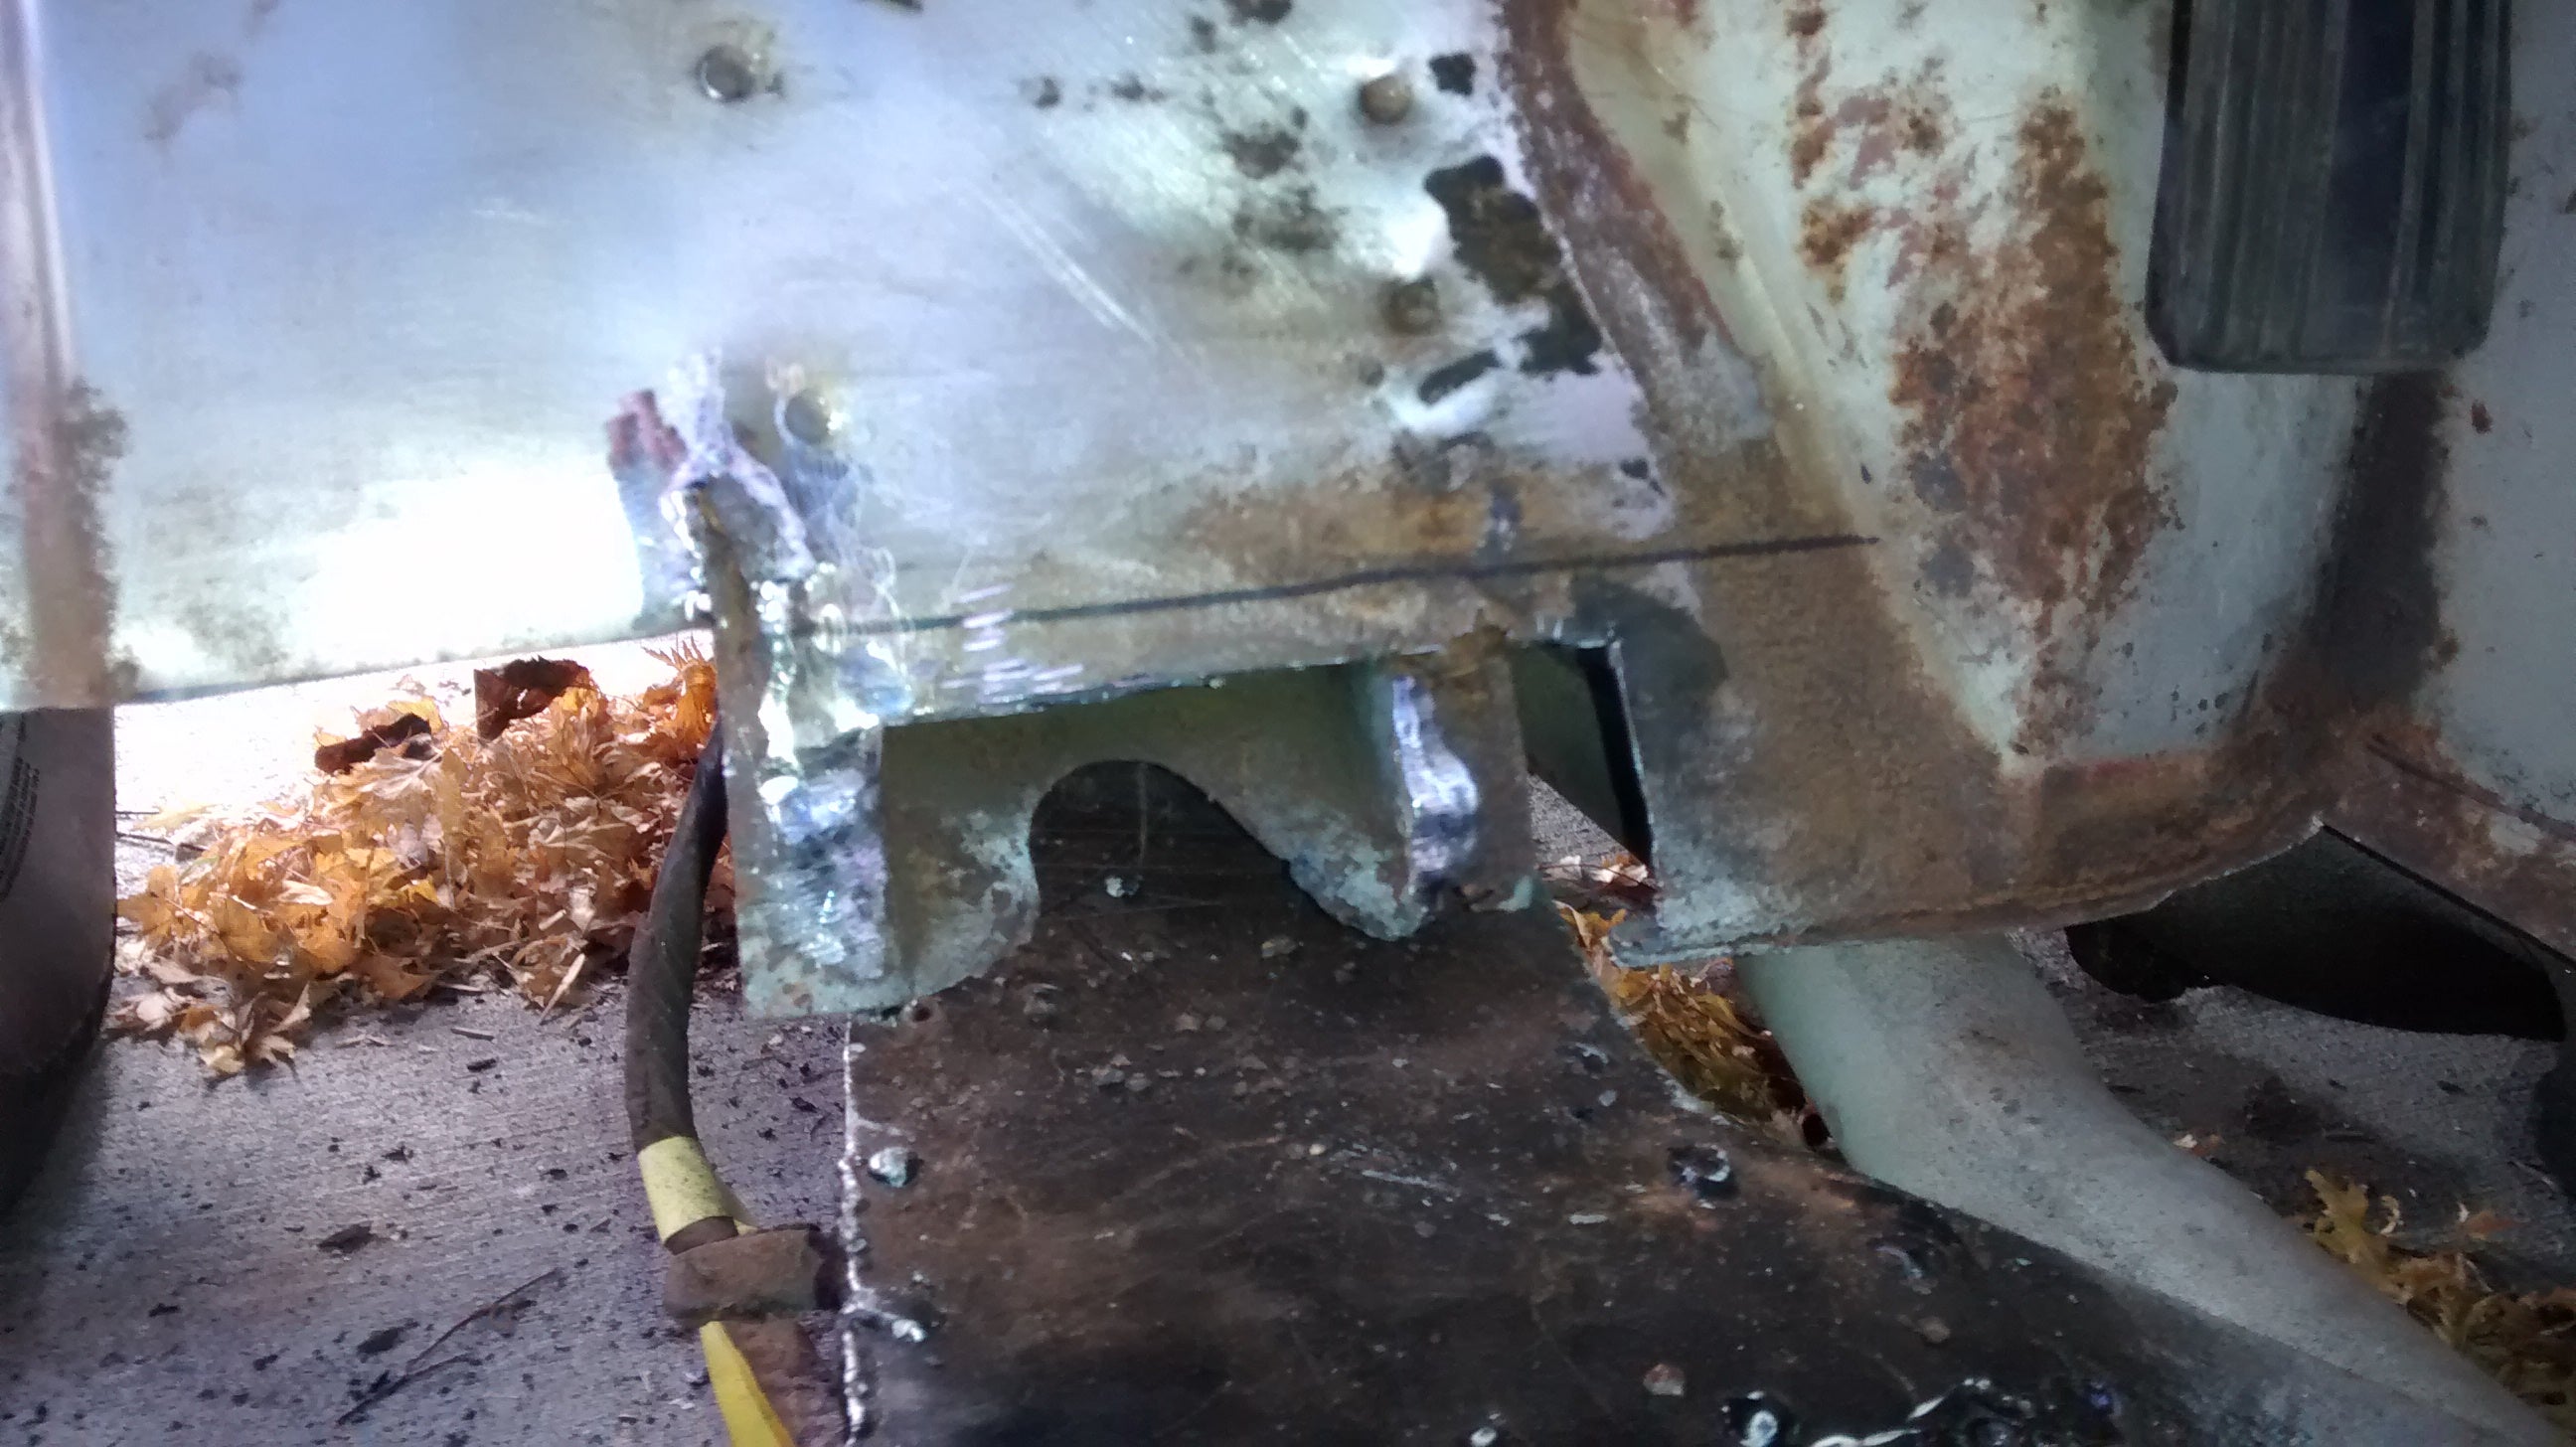
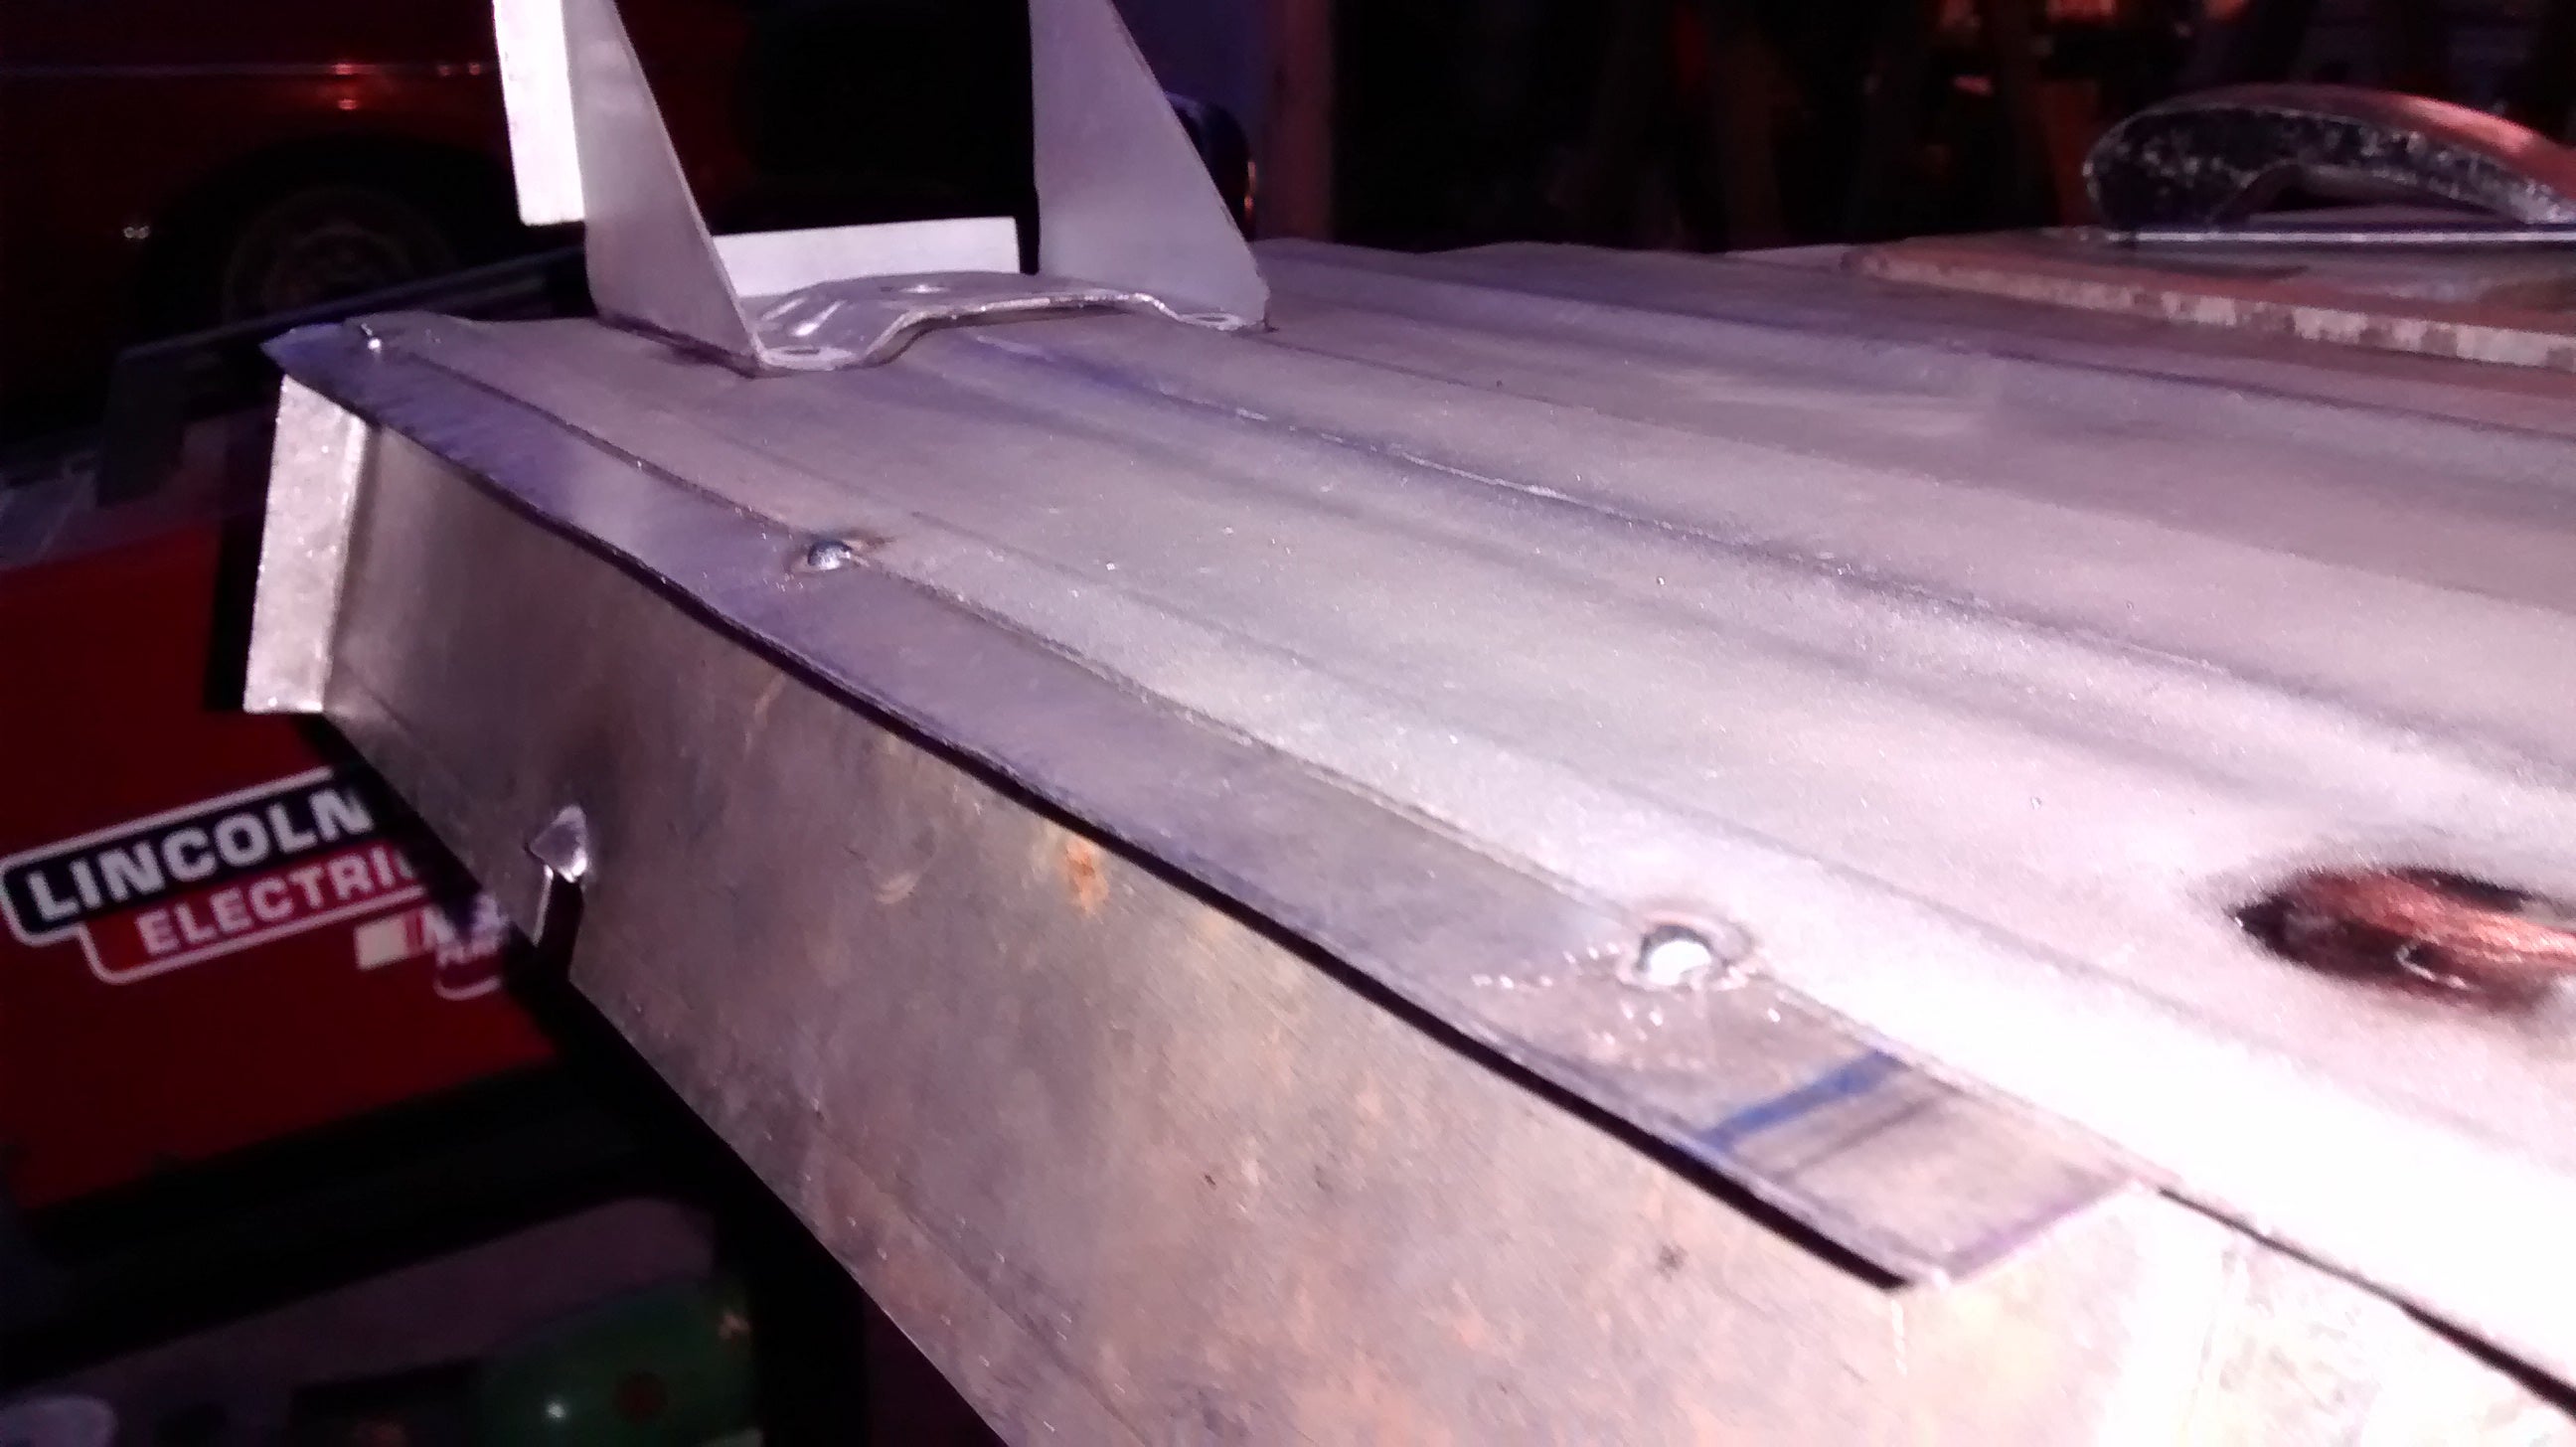
Welded on. Now onto the rockers. Made some feet for the rocker to attach to.

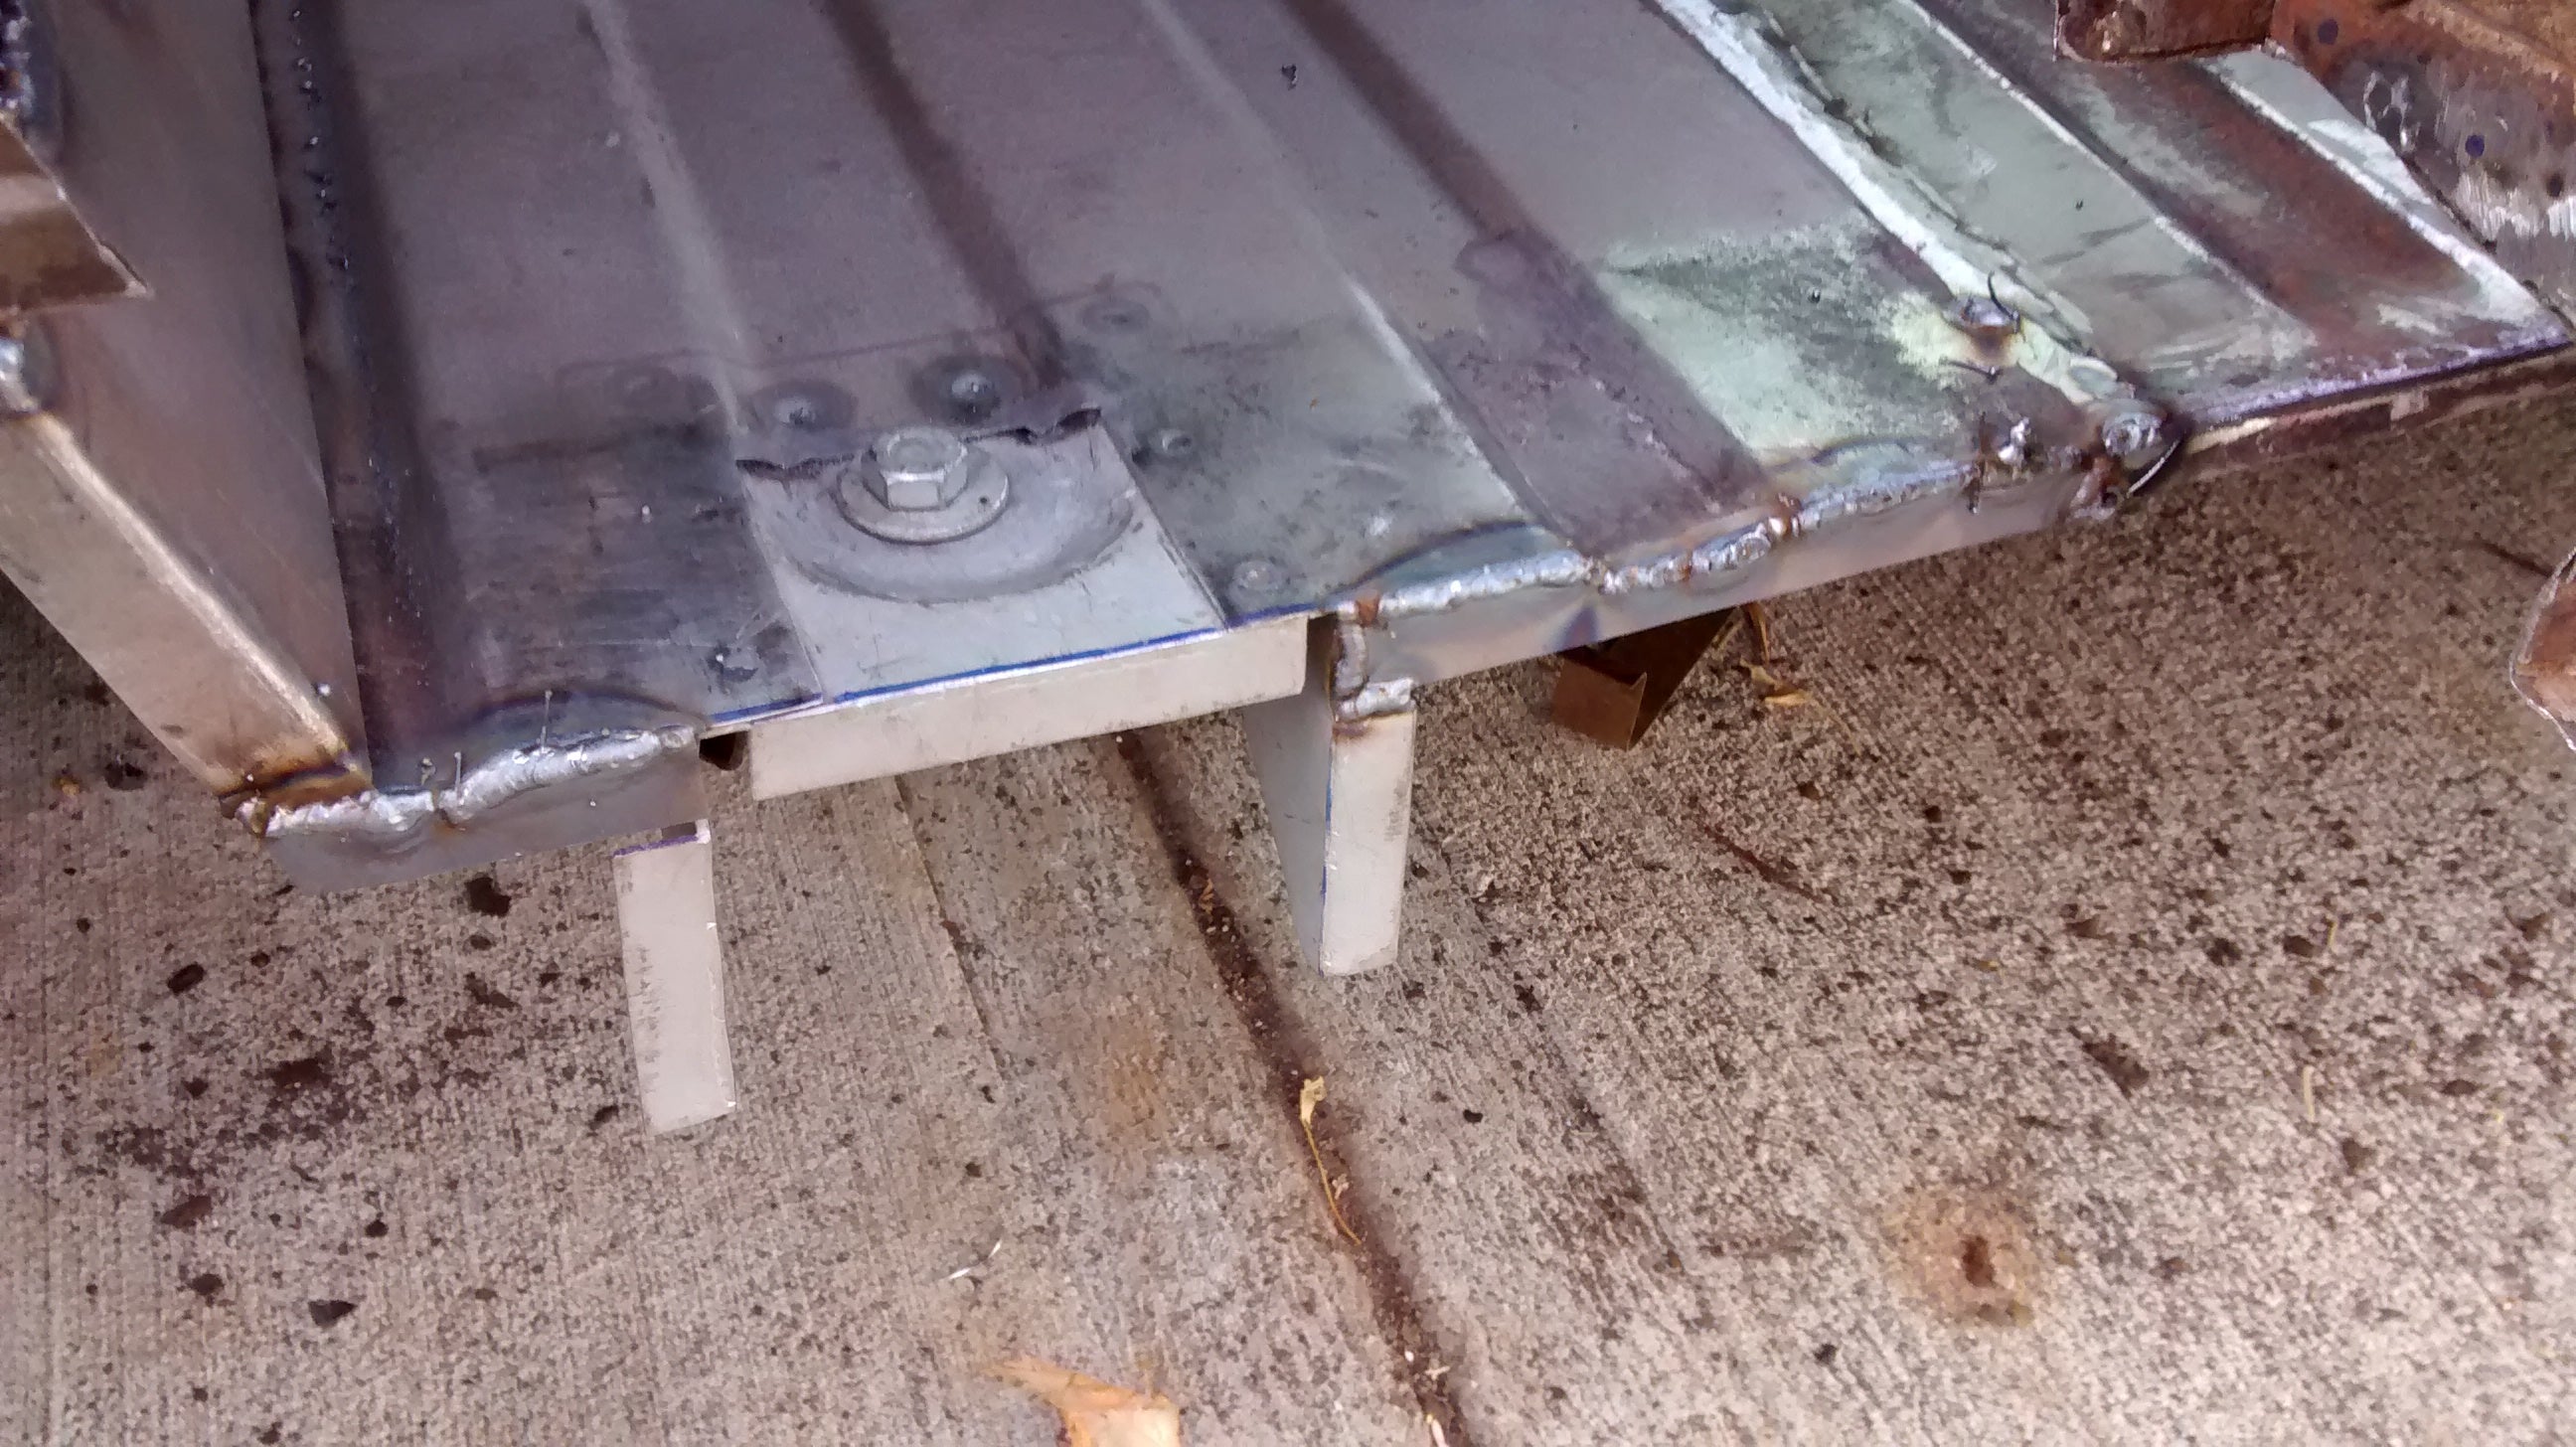
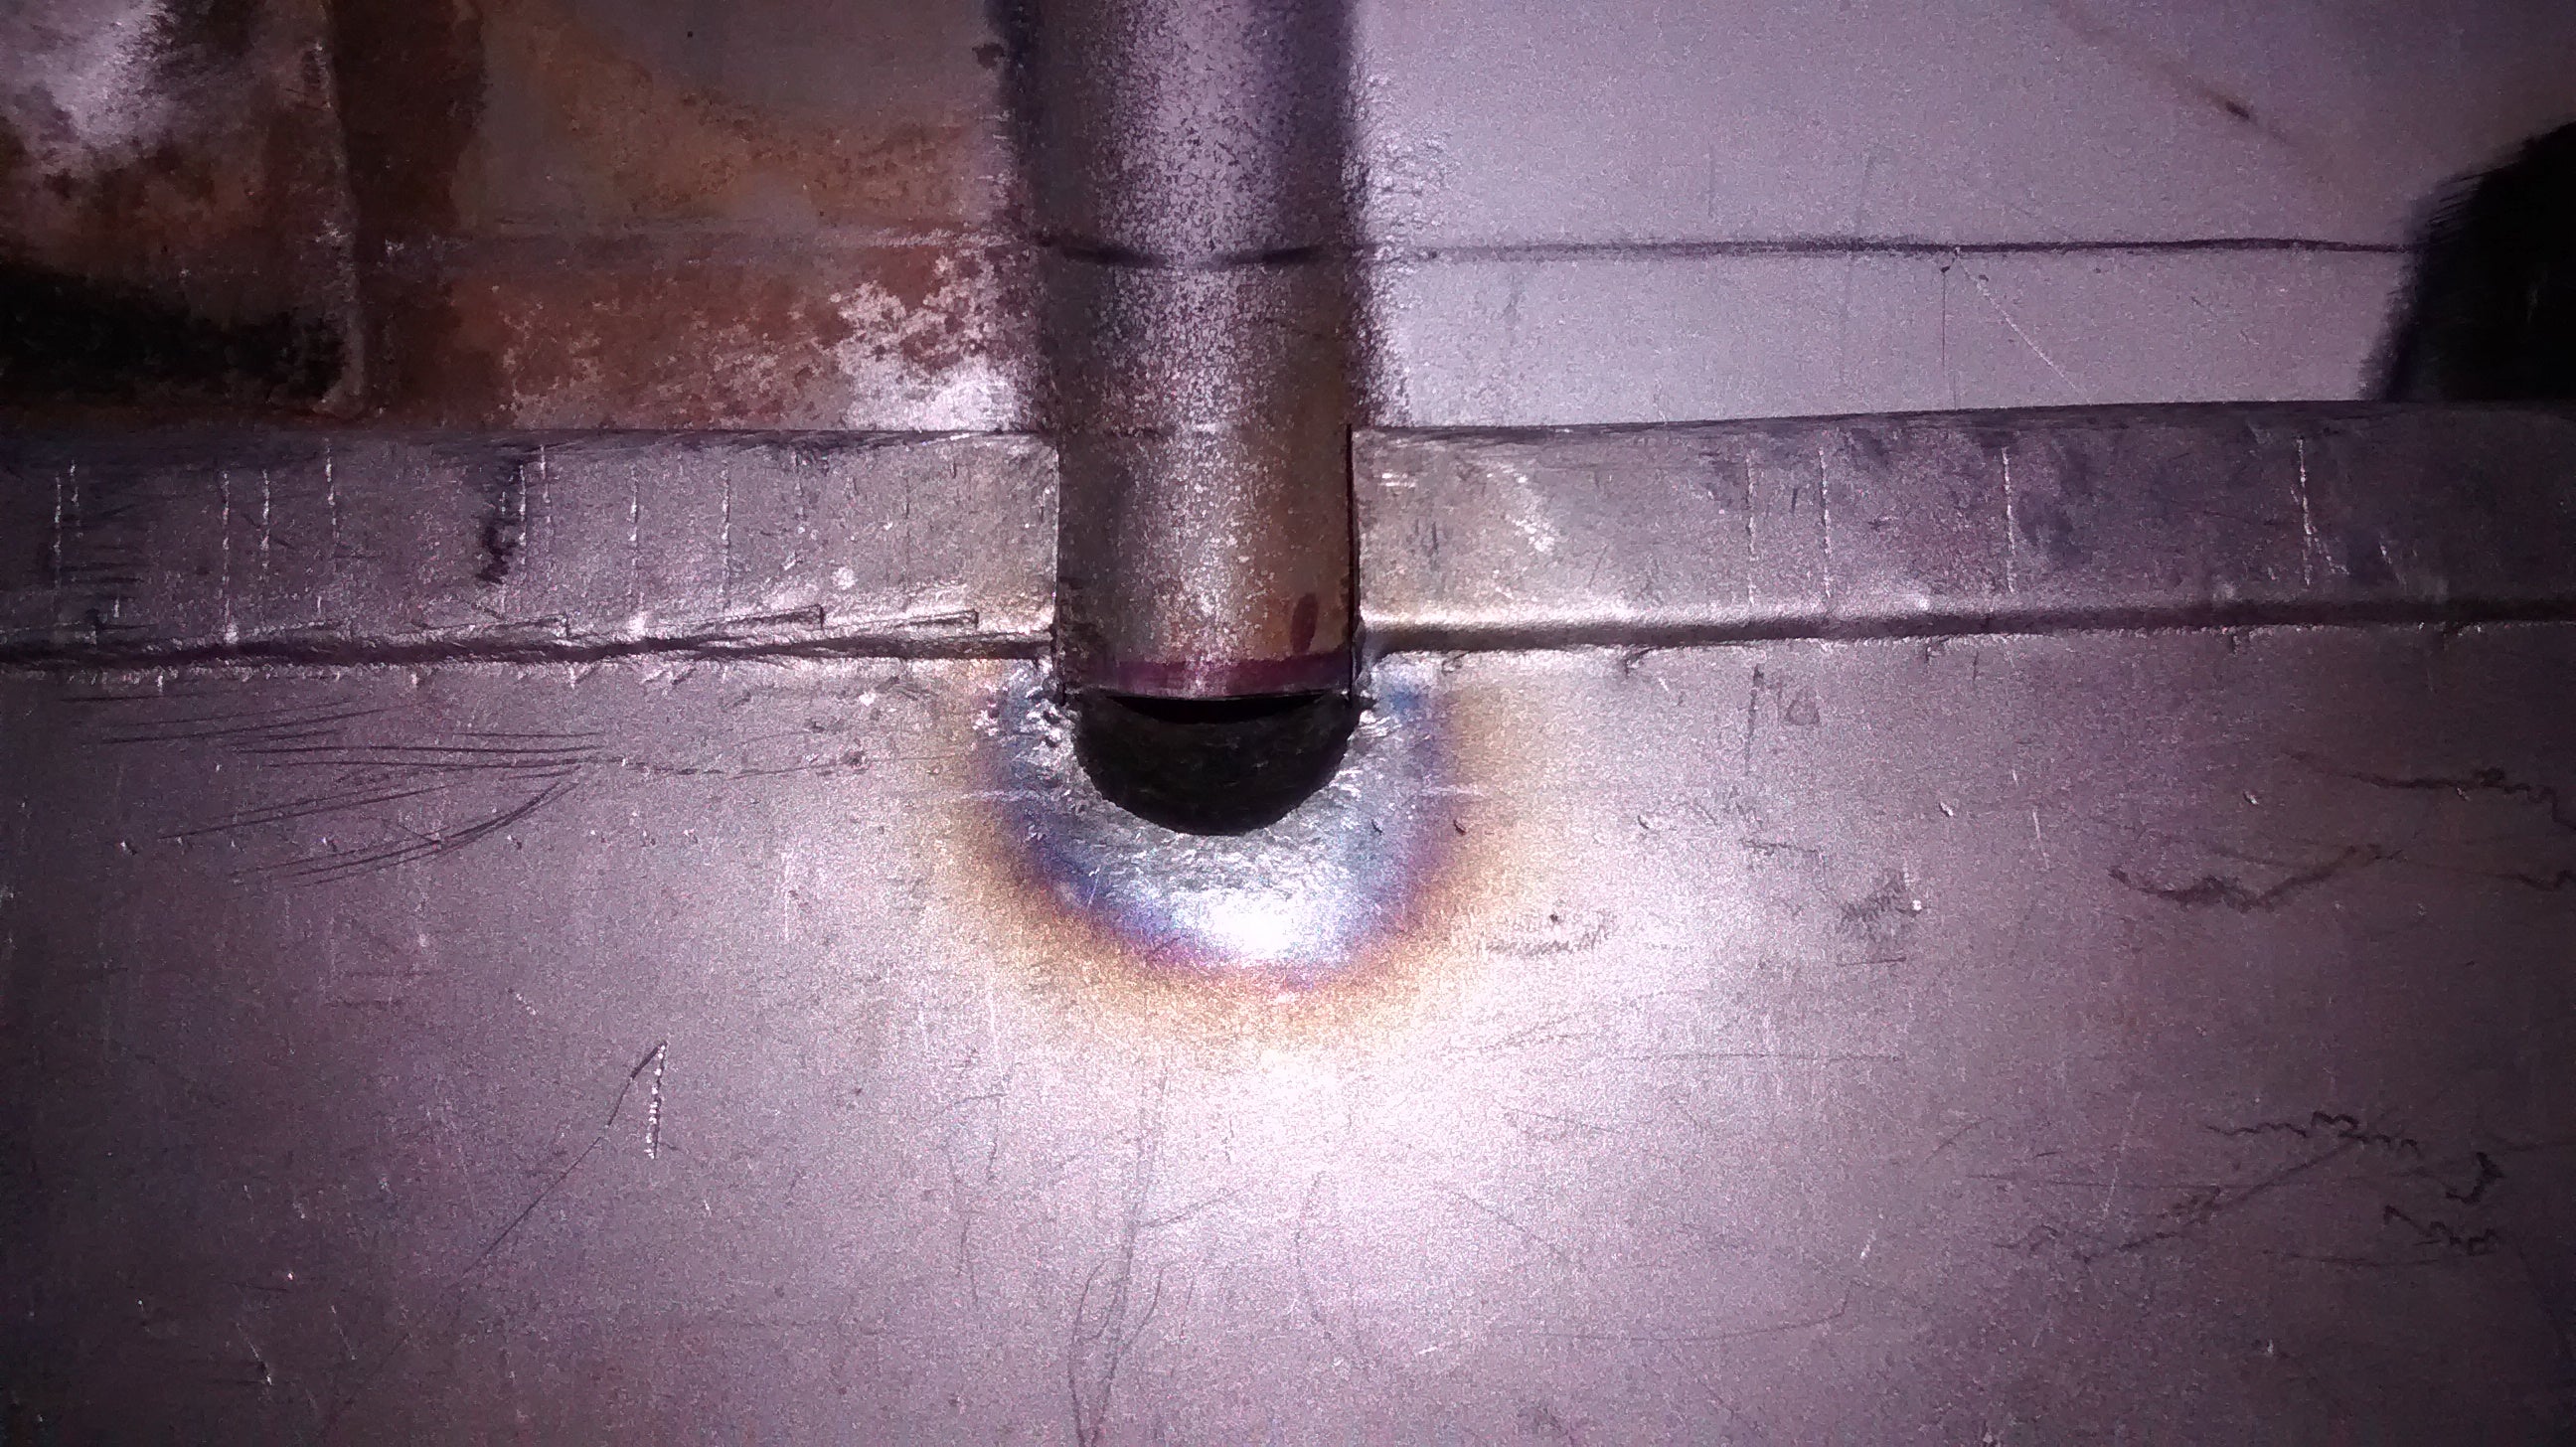
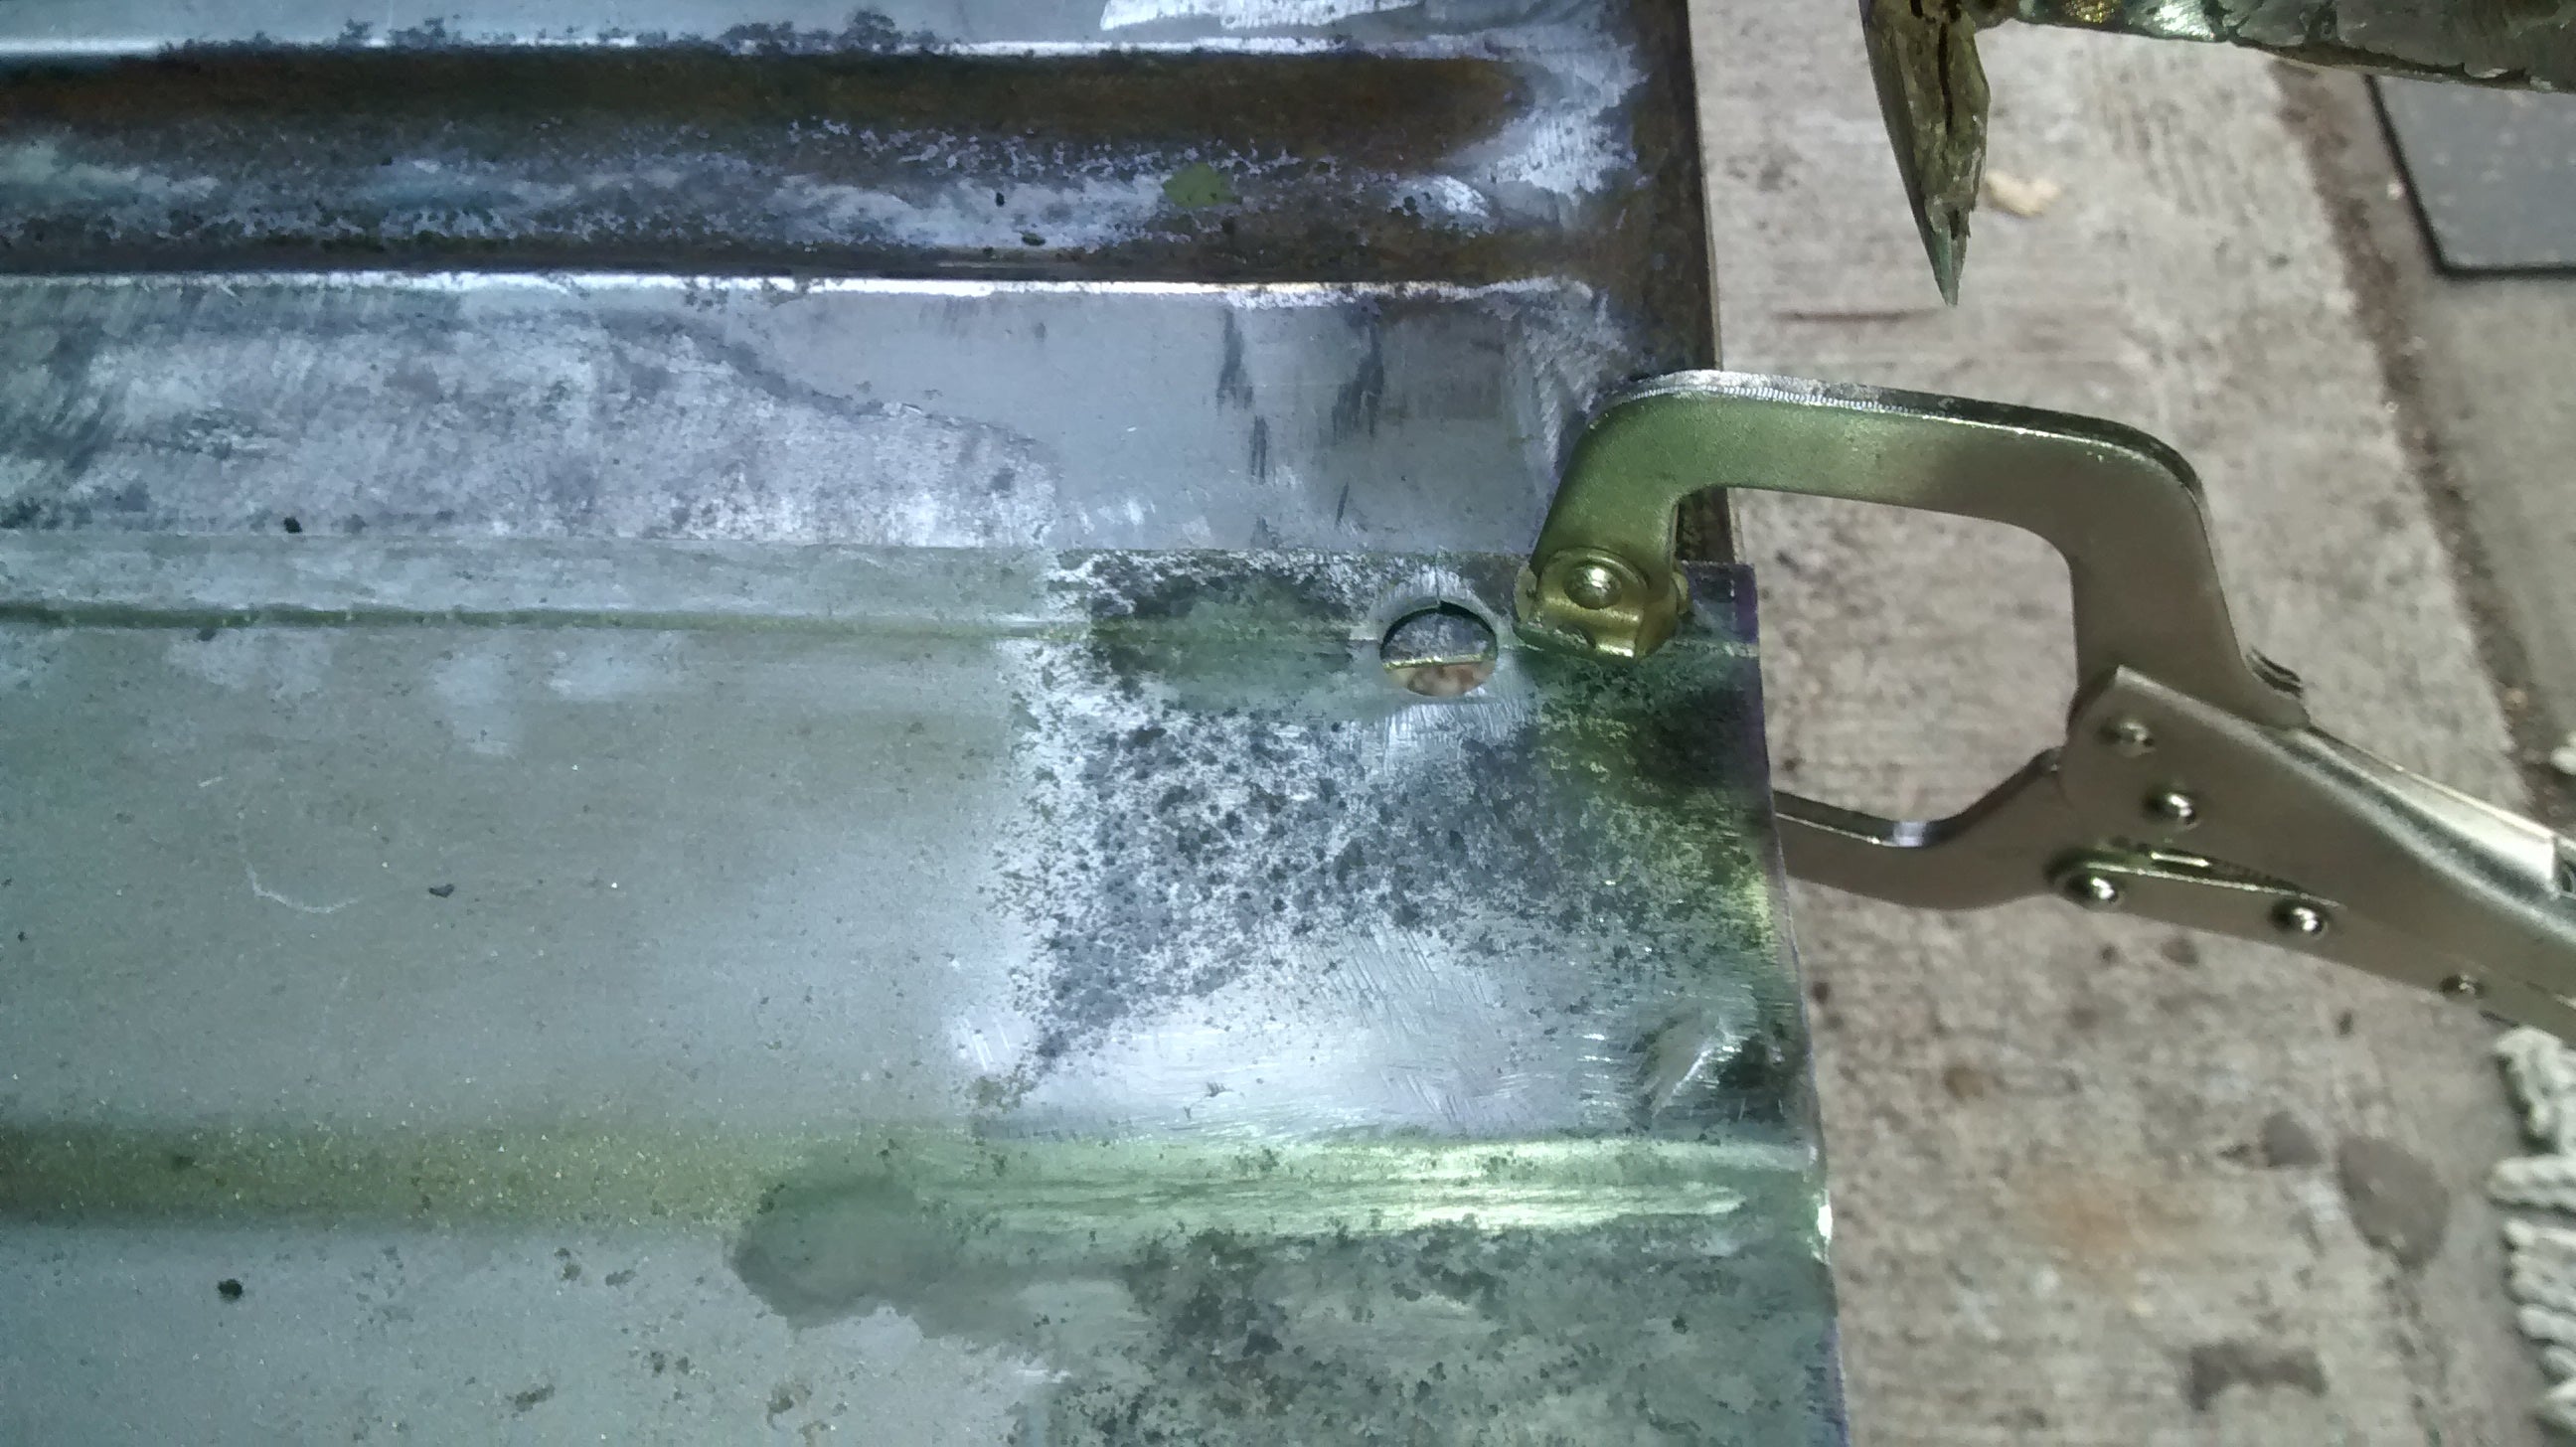
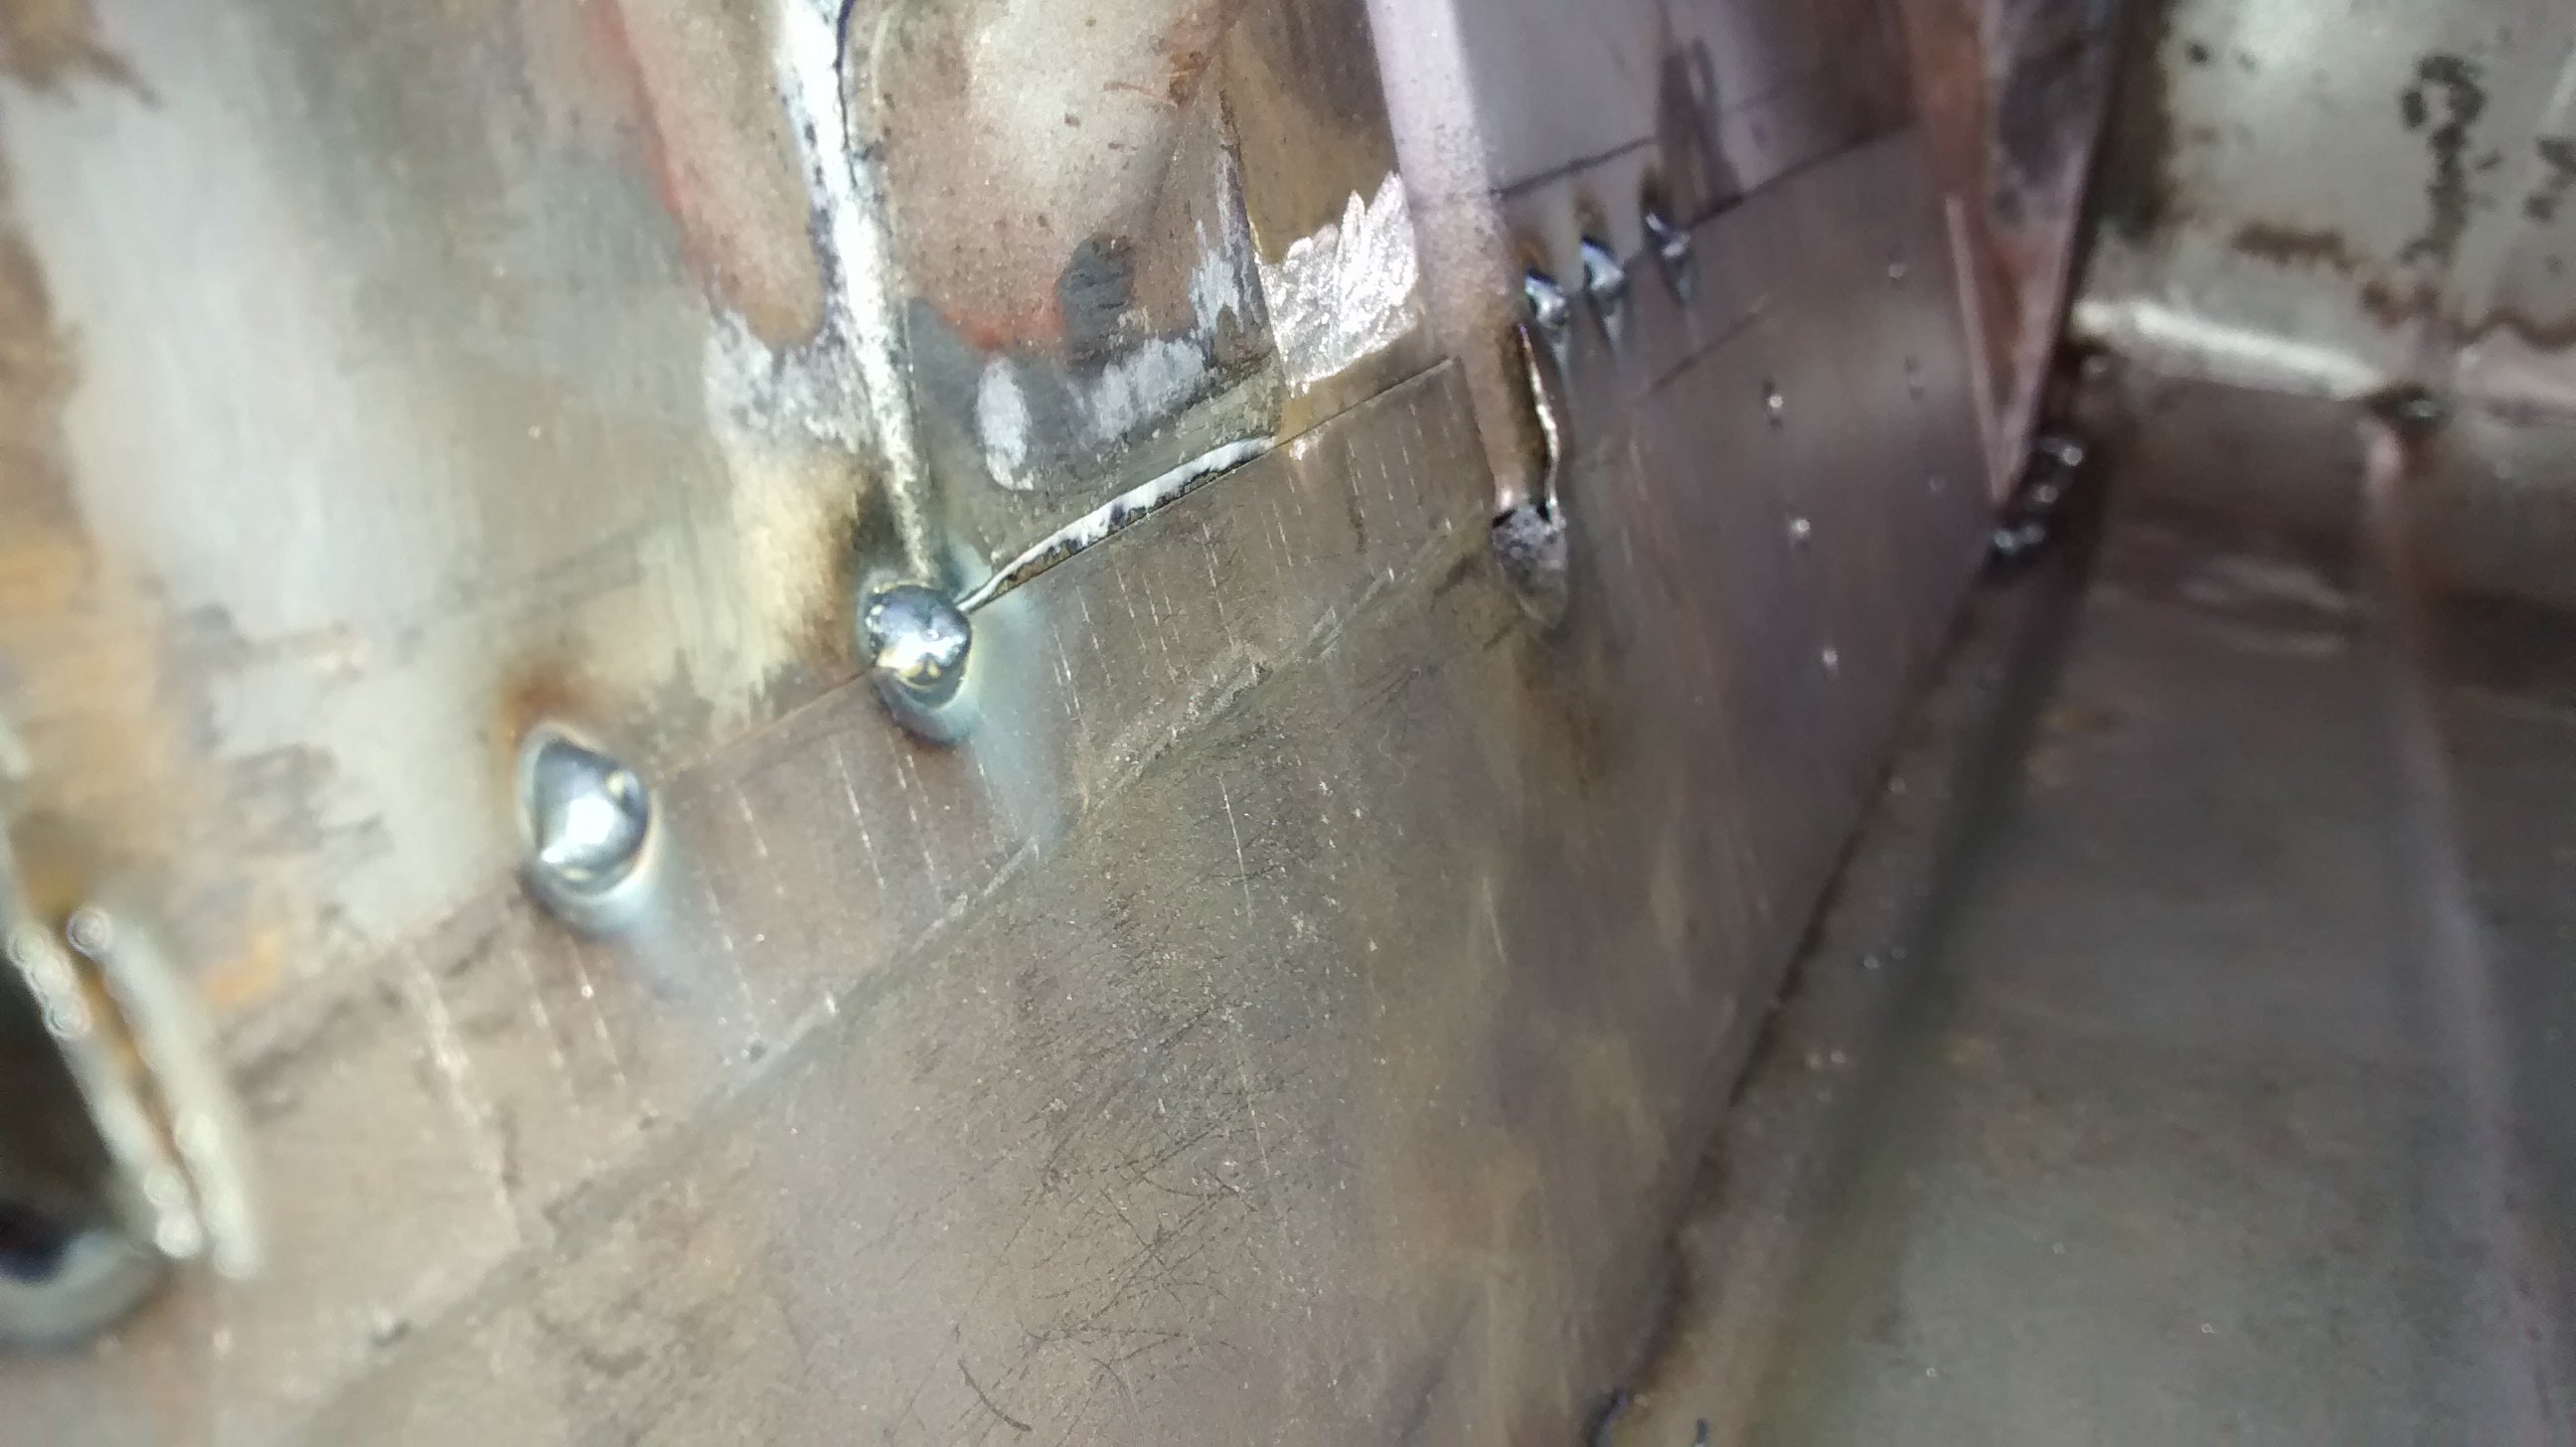
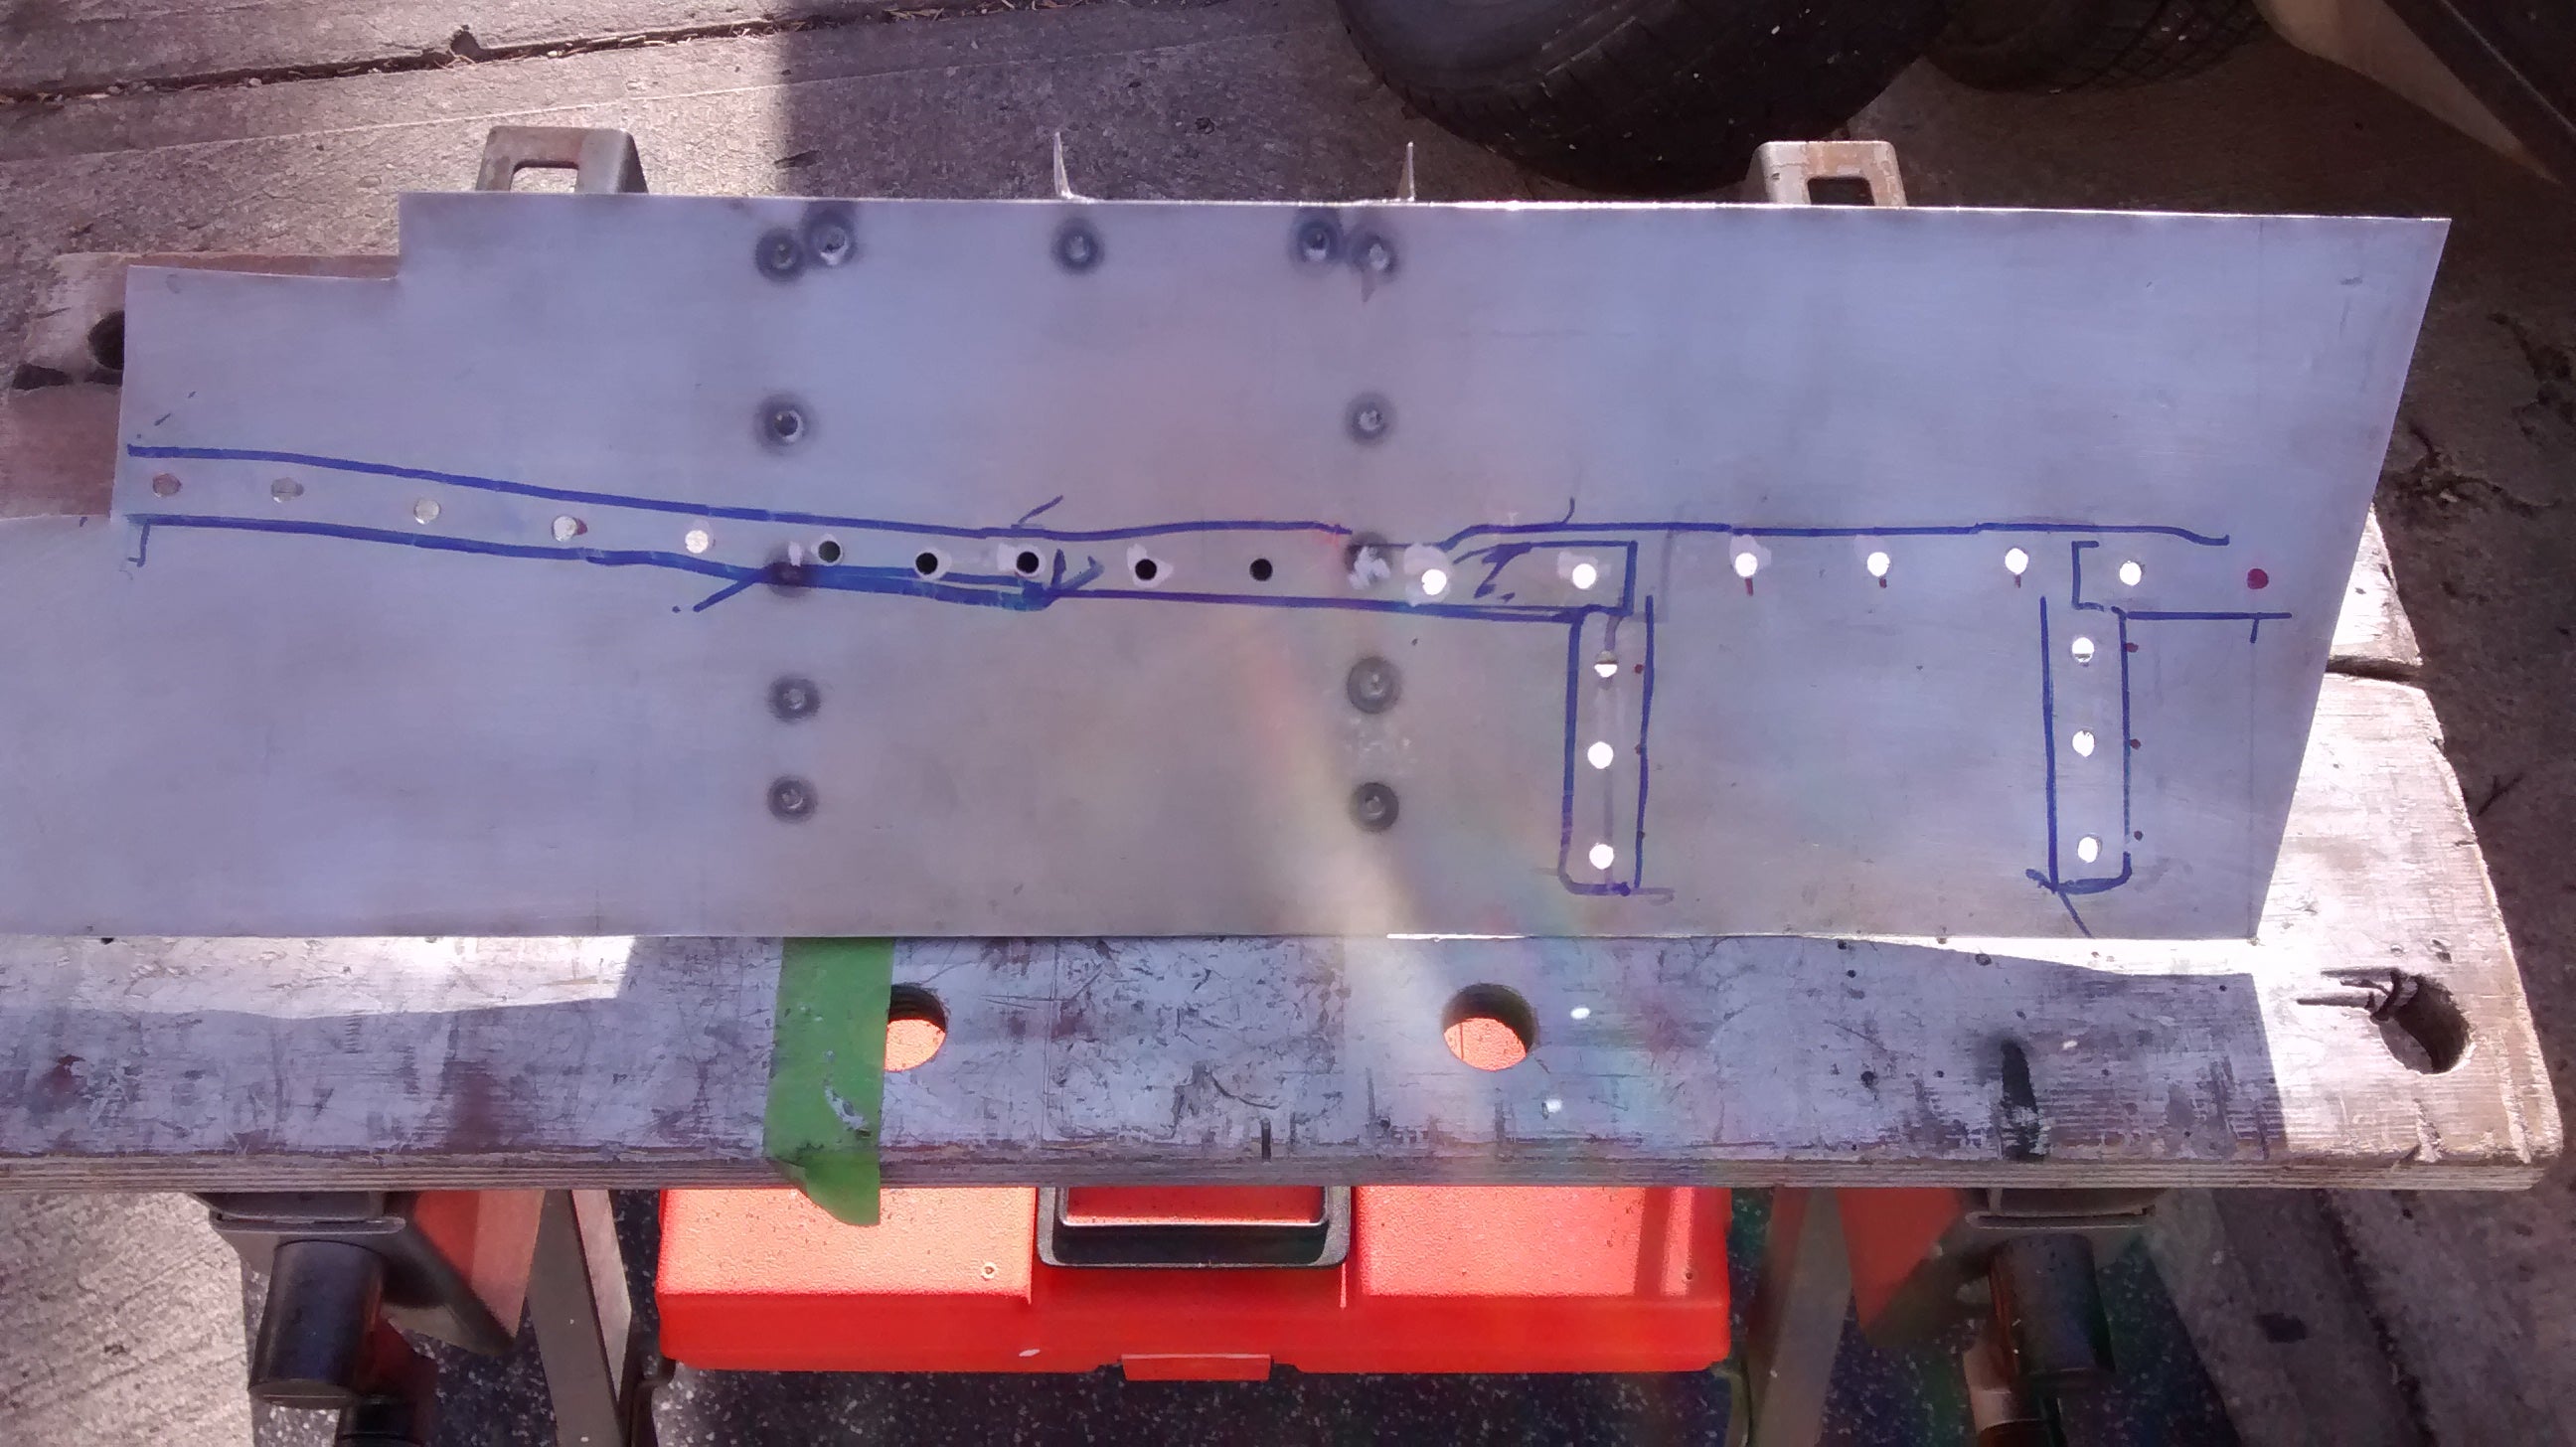
Drilled a ton of holes in the rocker in order for it to be plug welded onto the new floors.
Clamped.
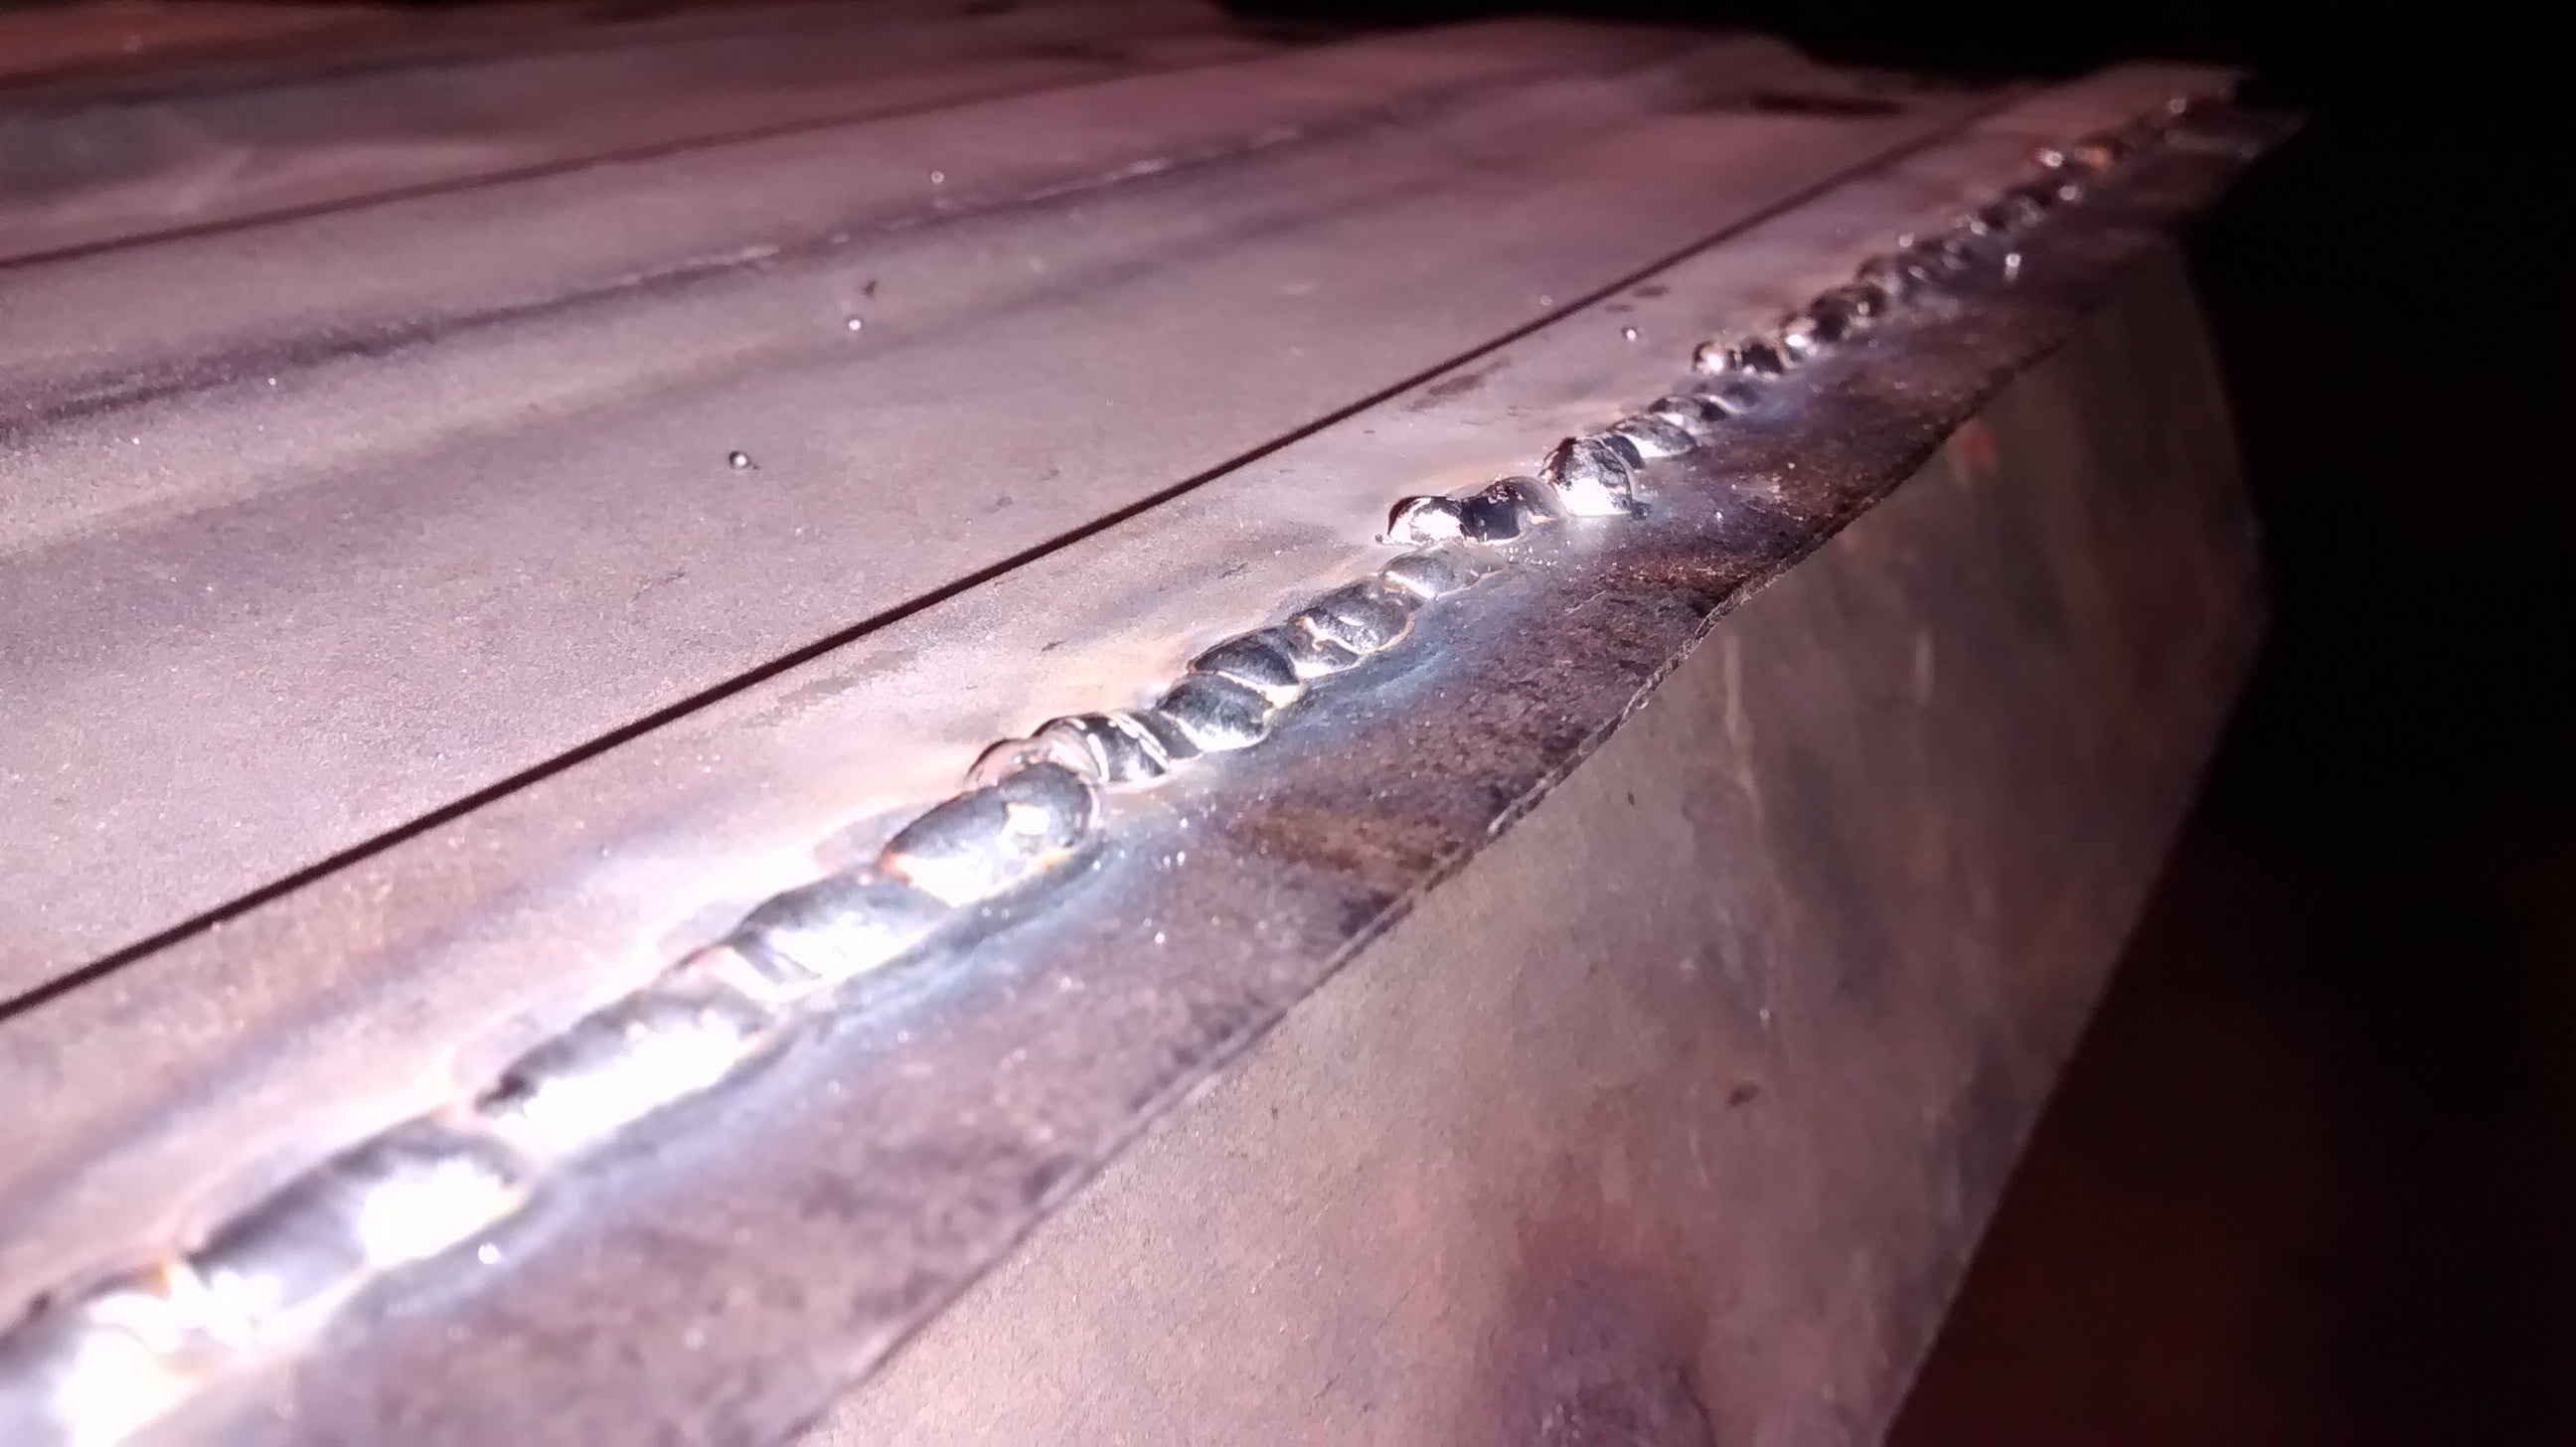
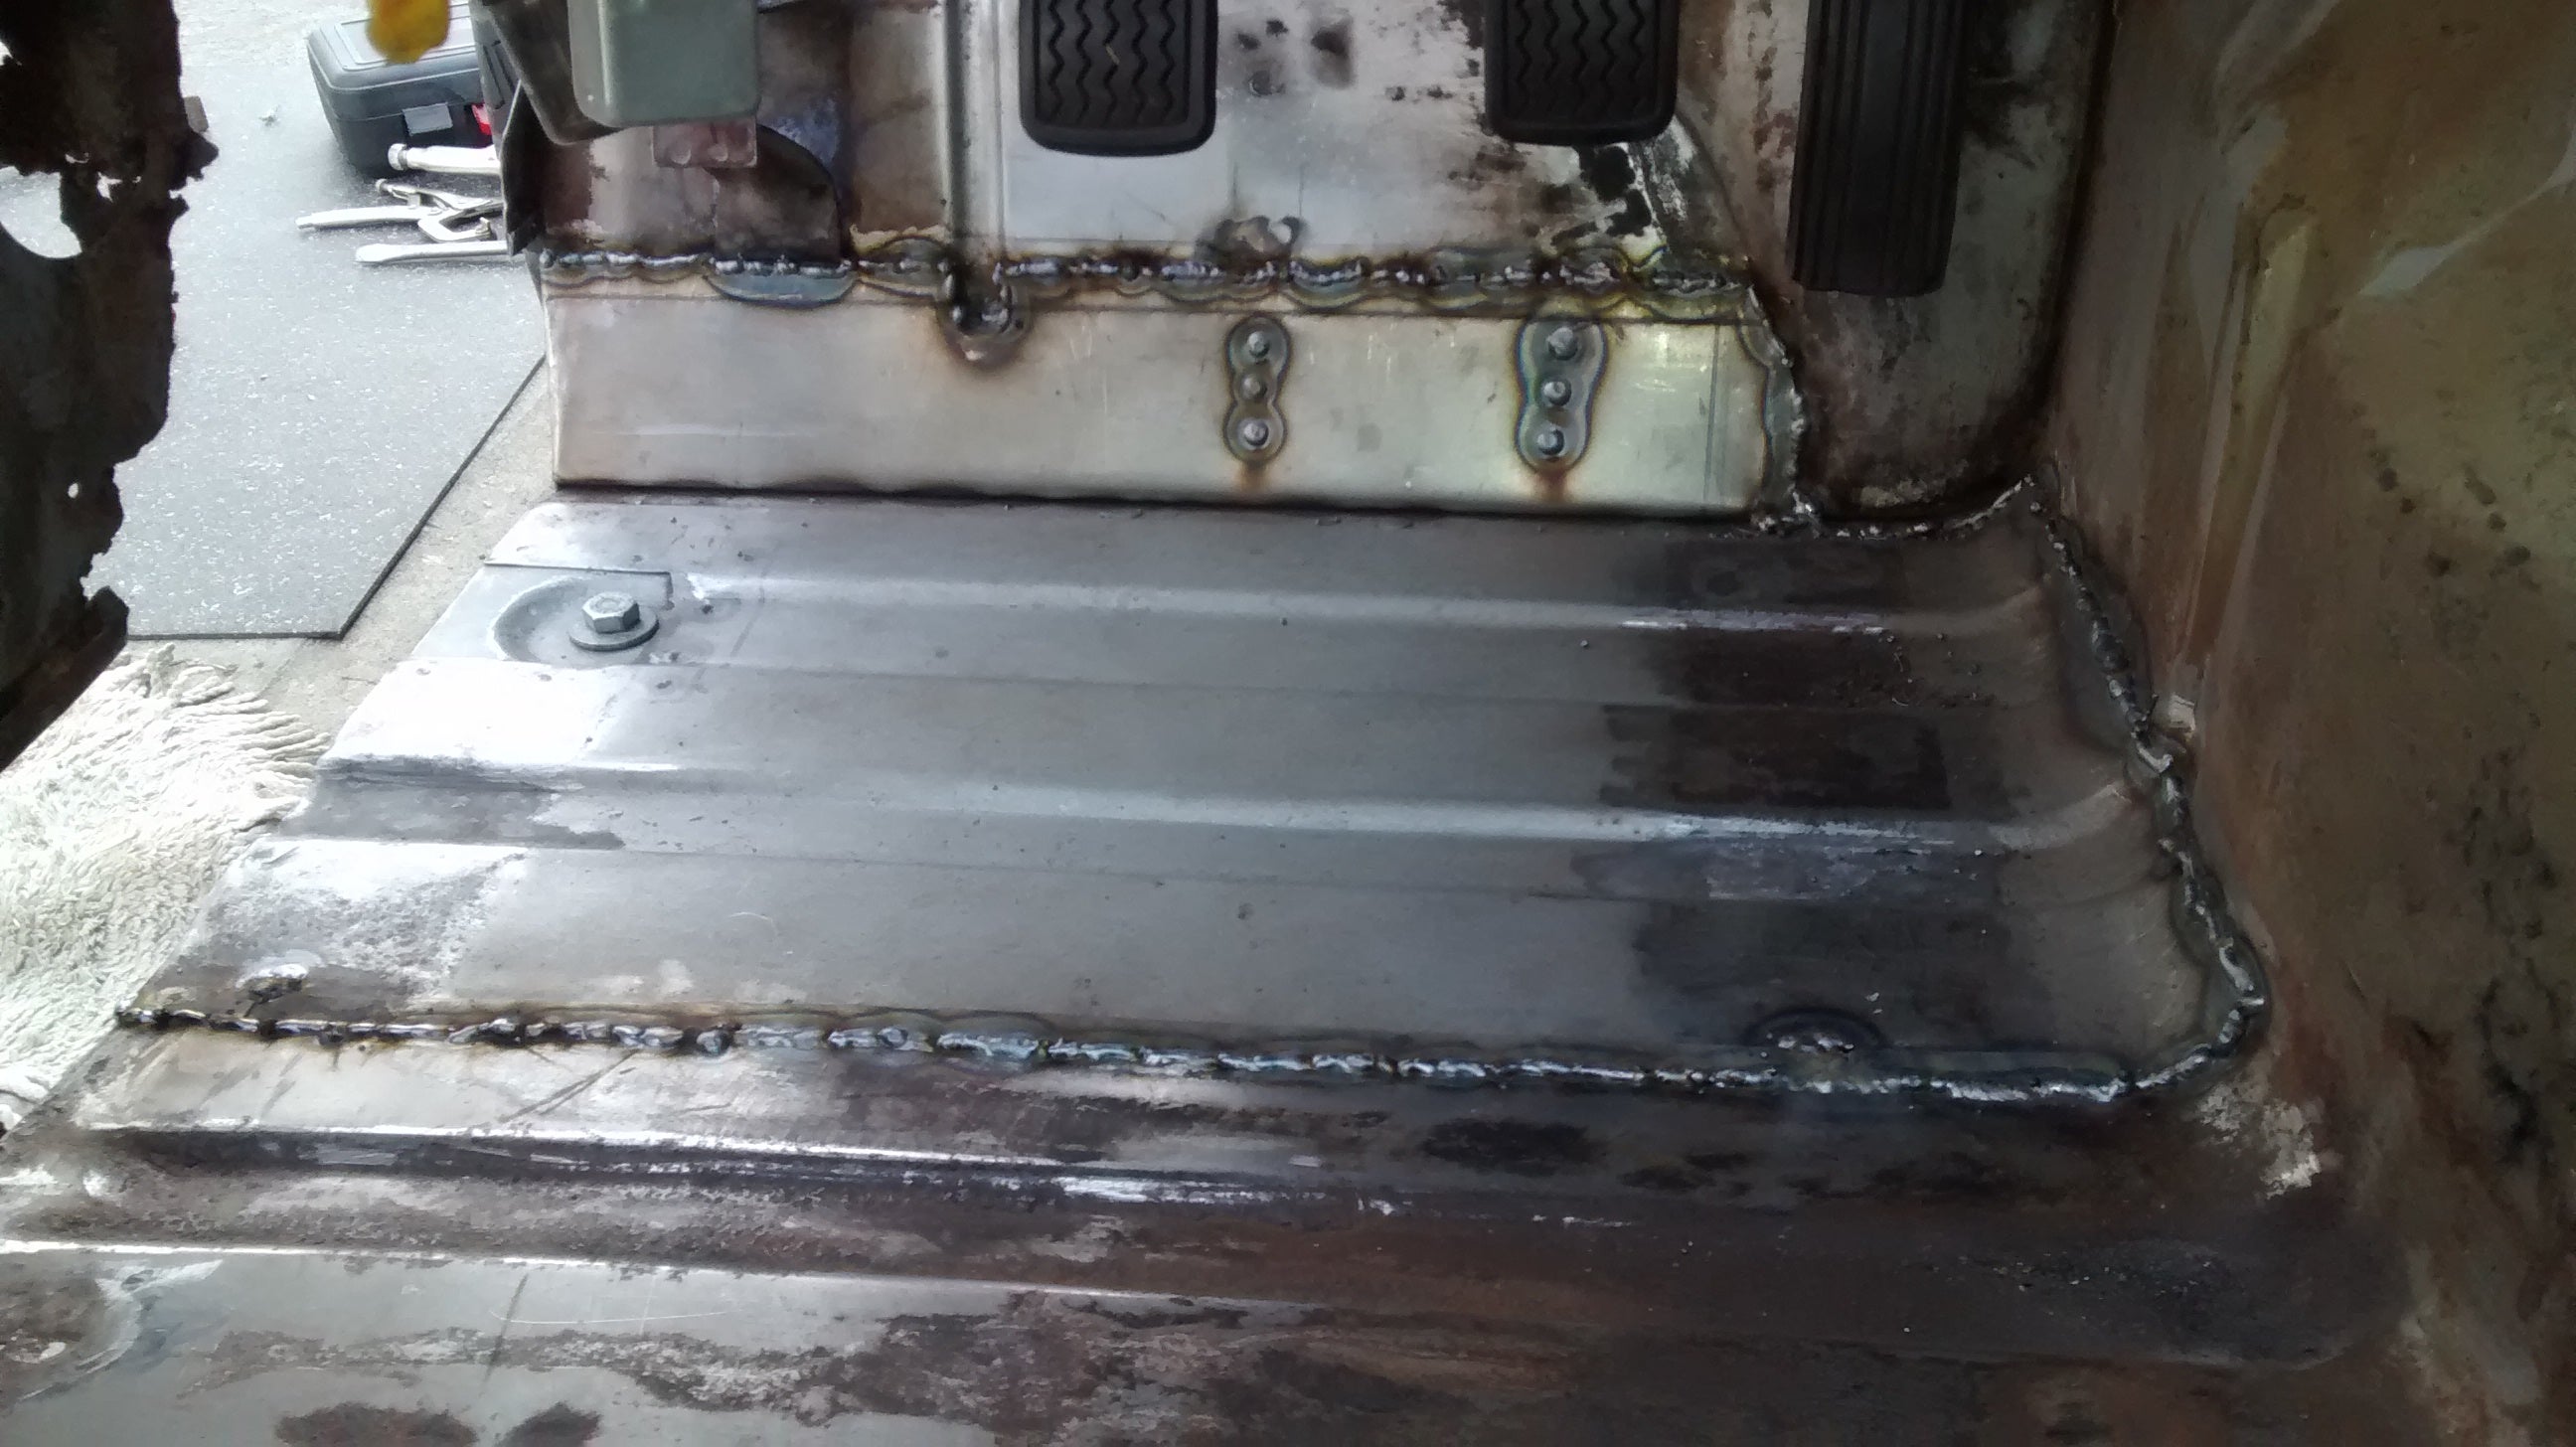
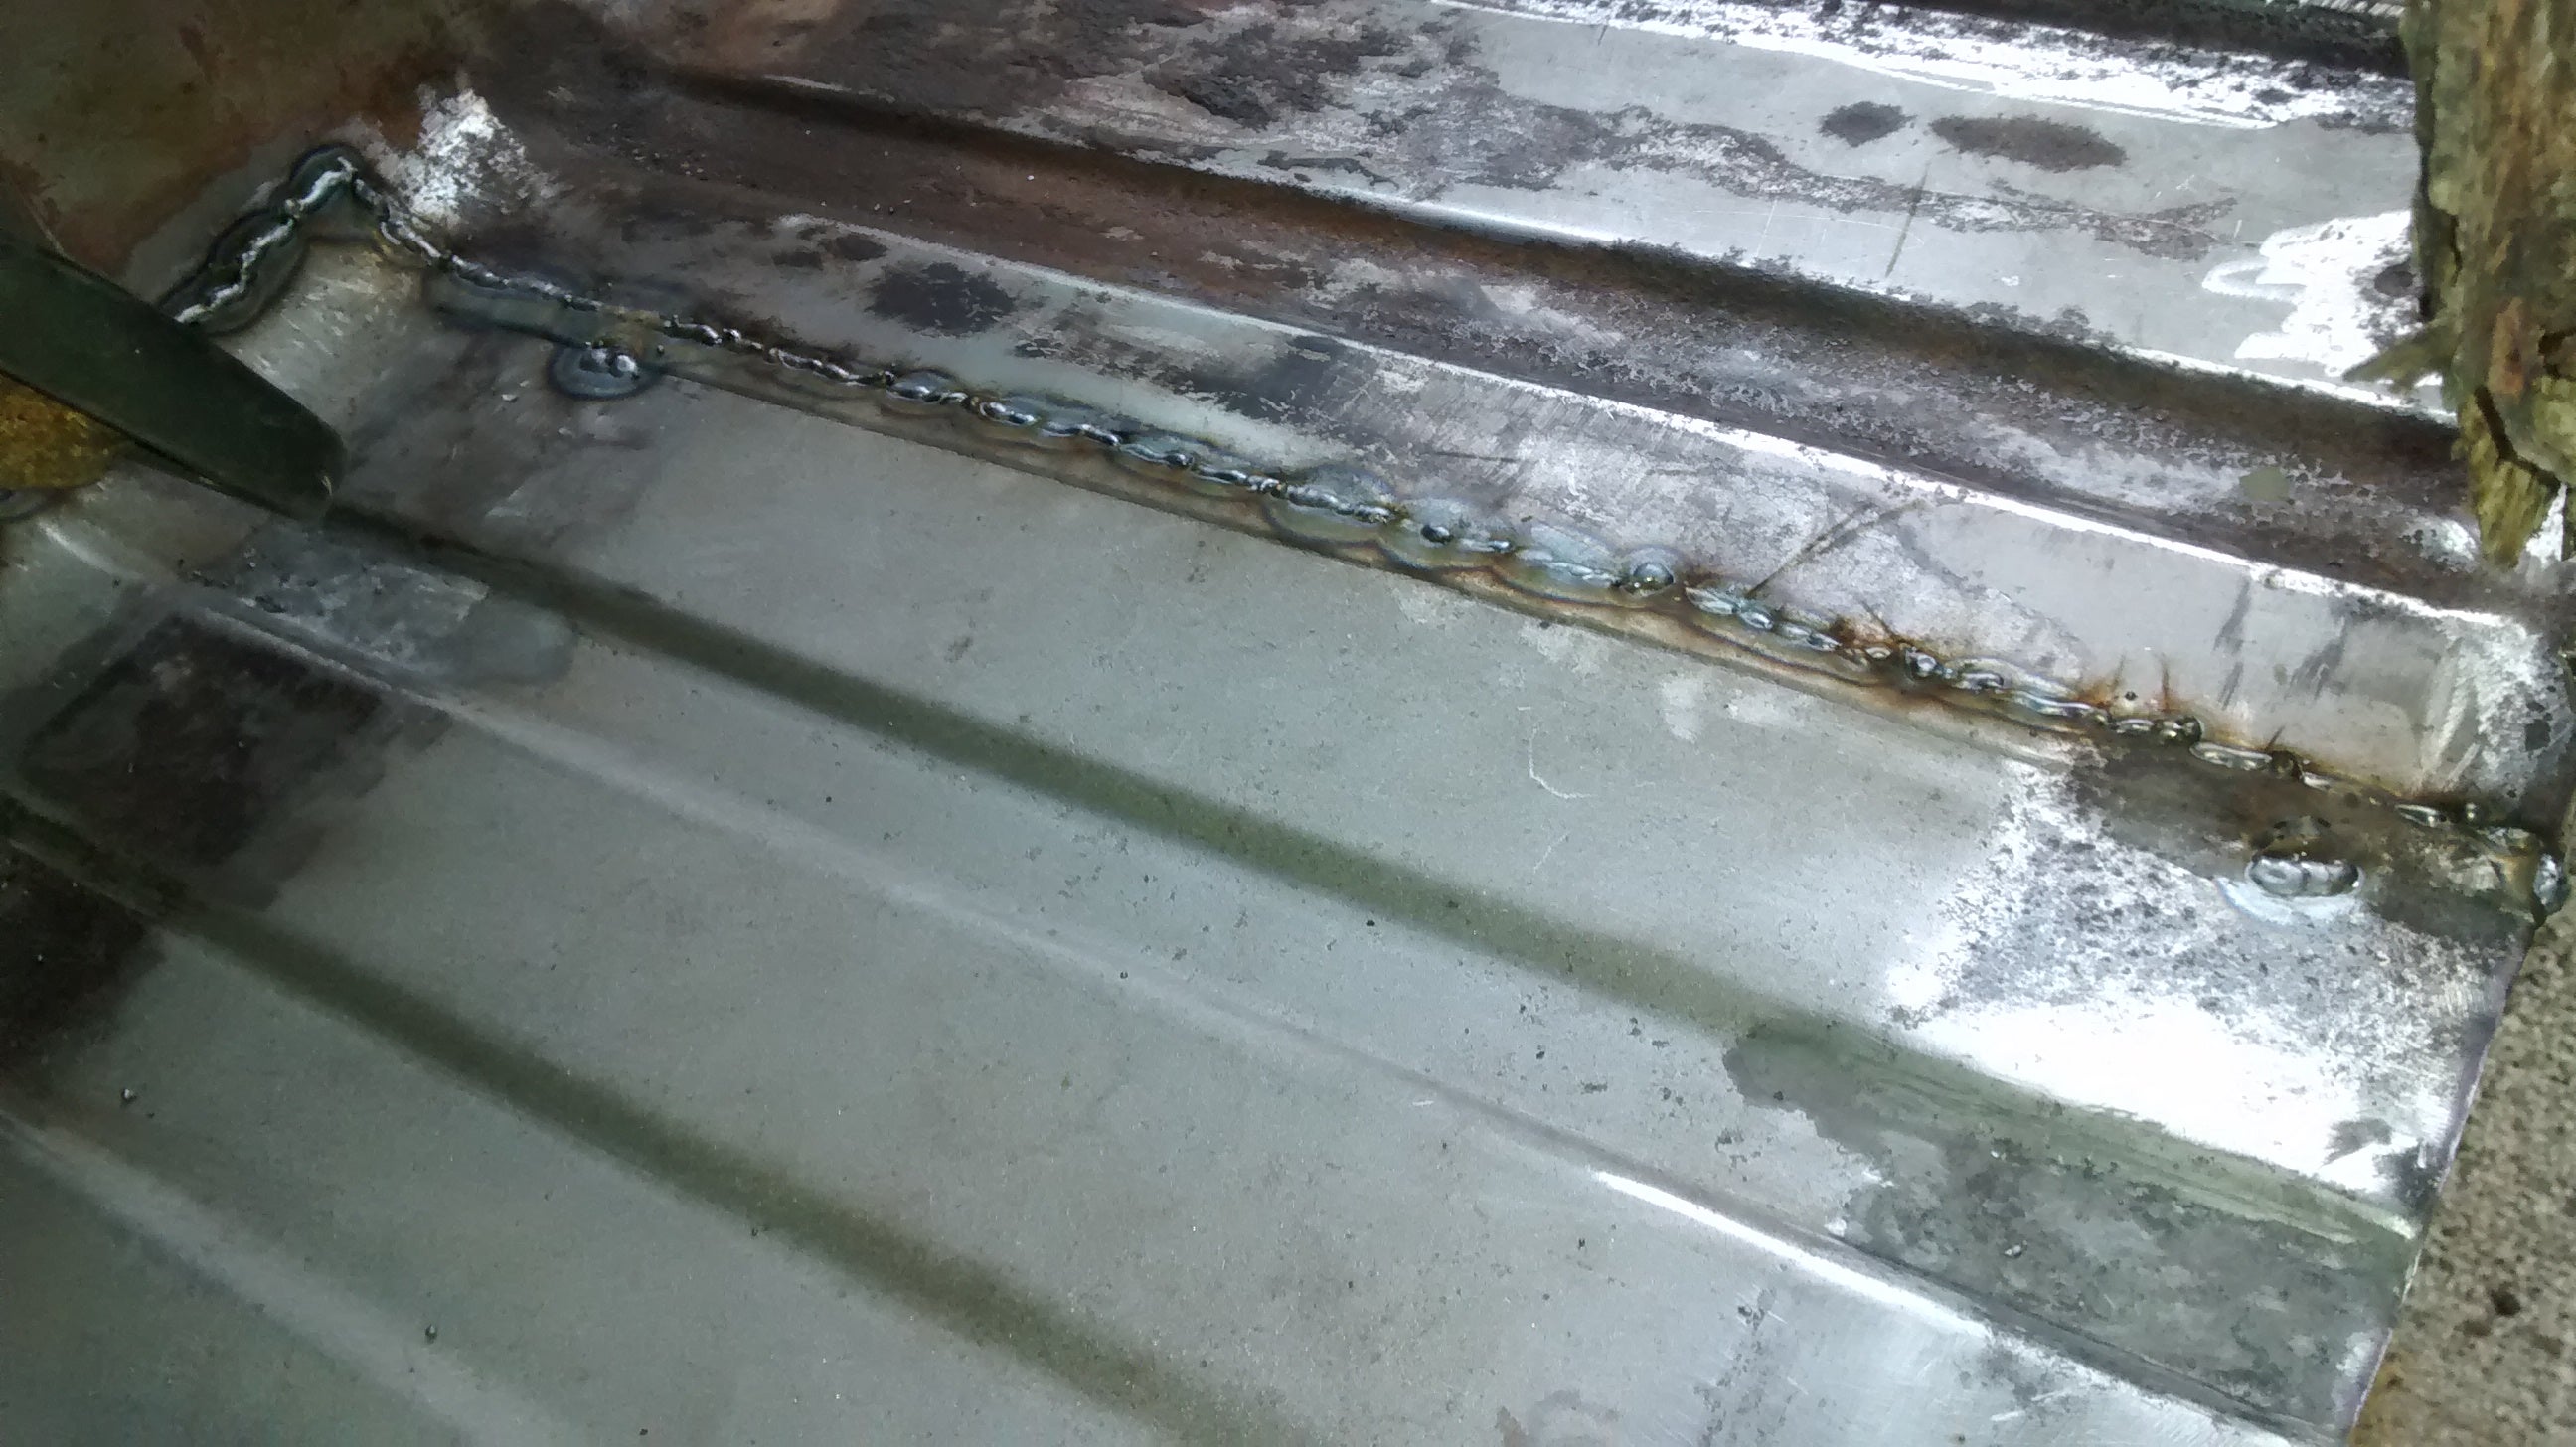
Welded.
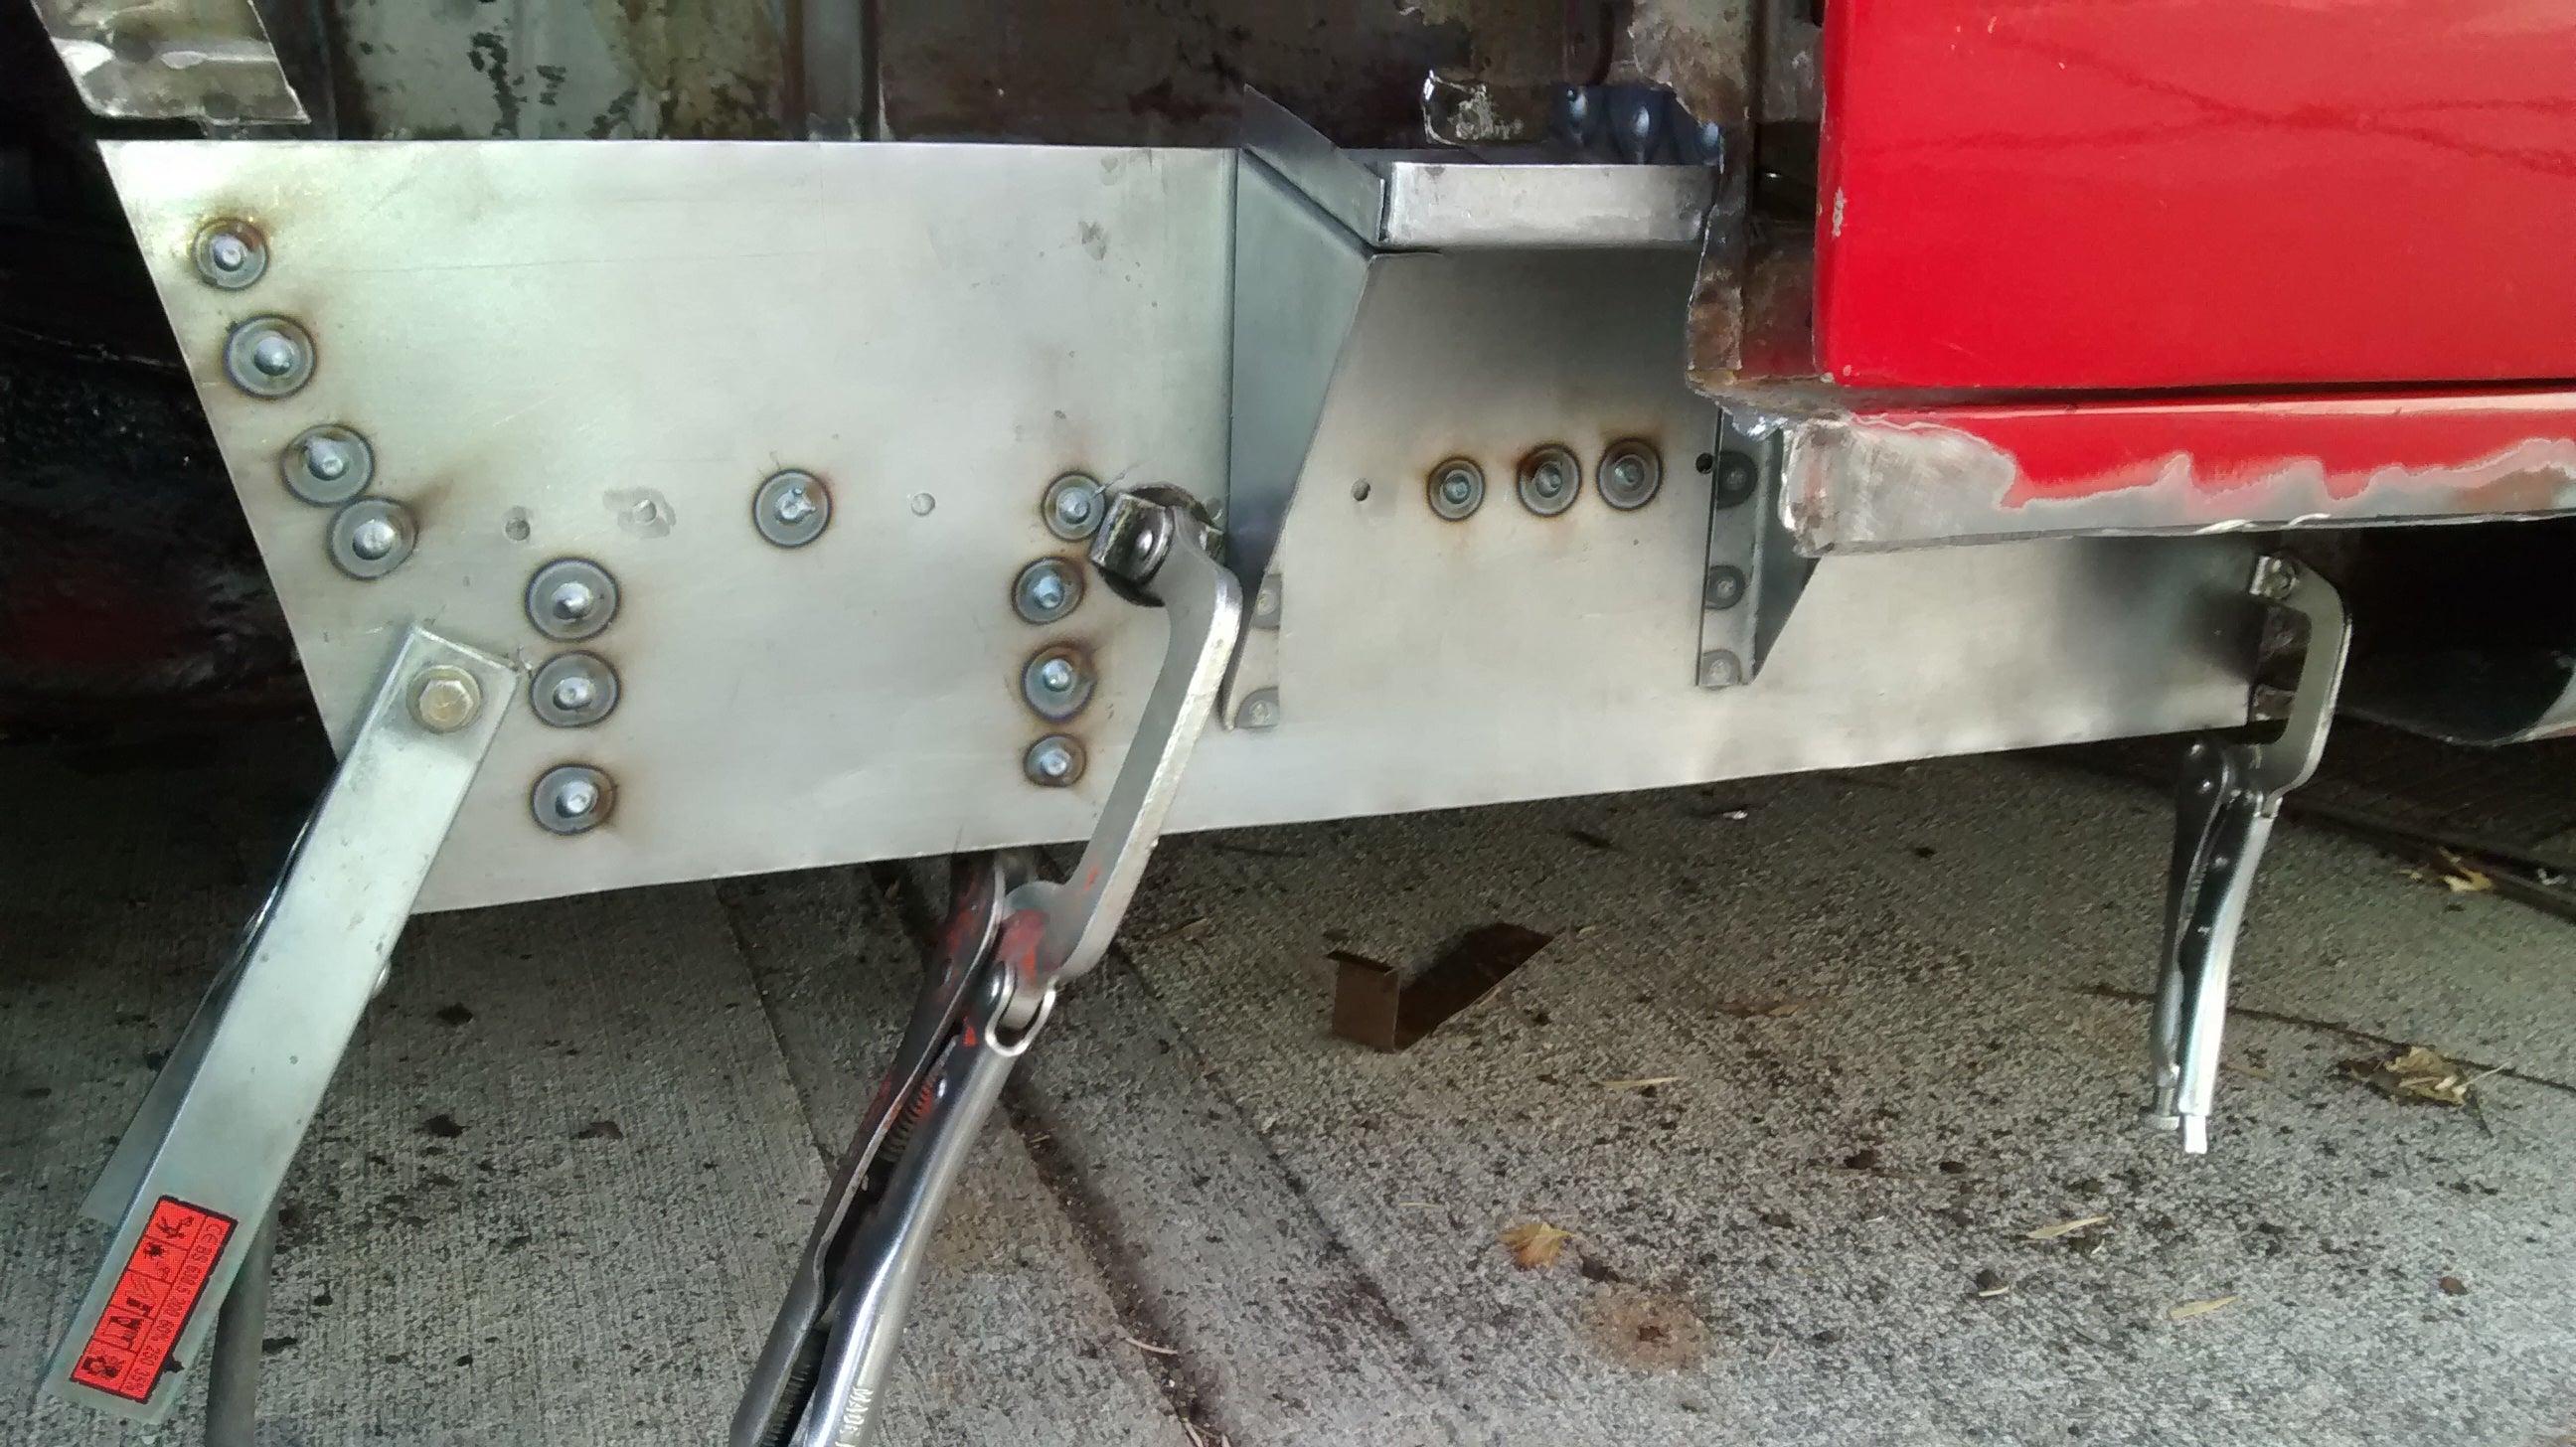
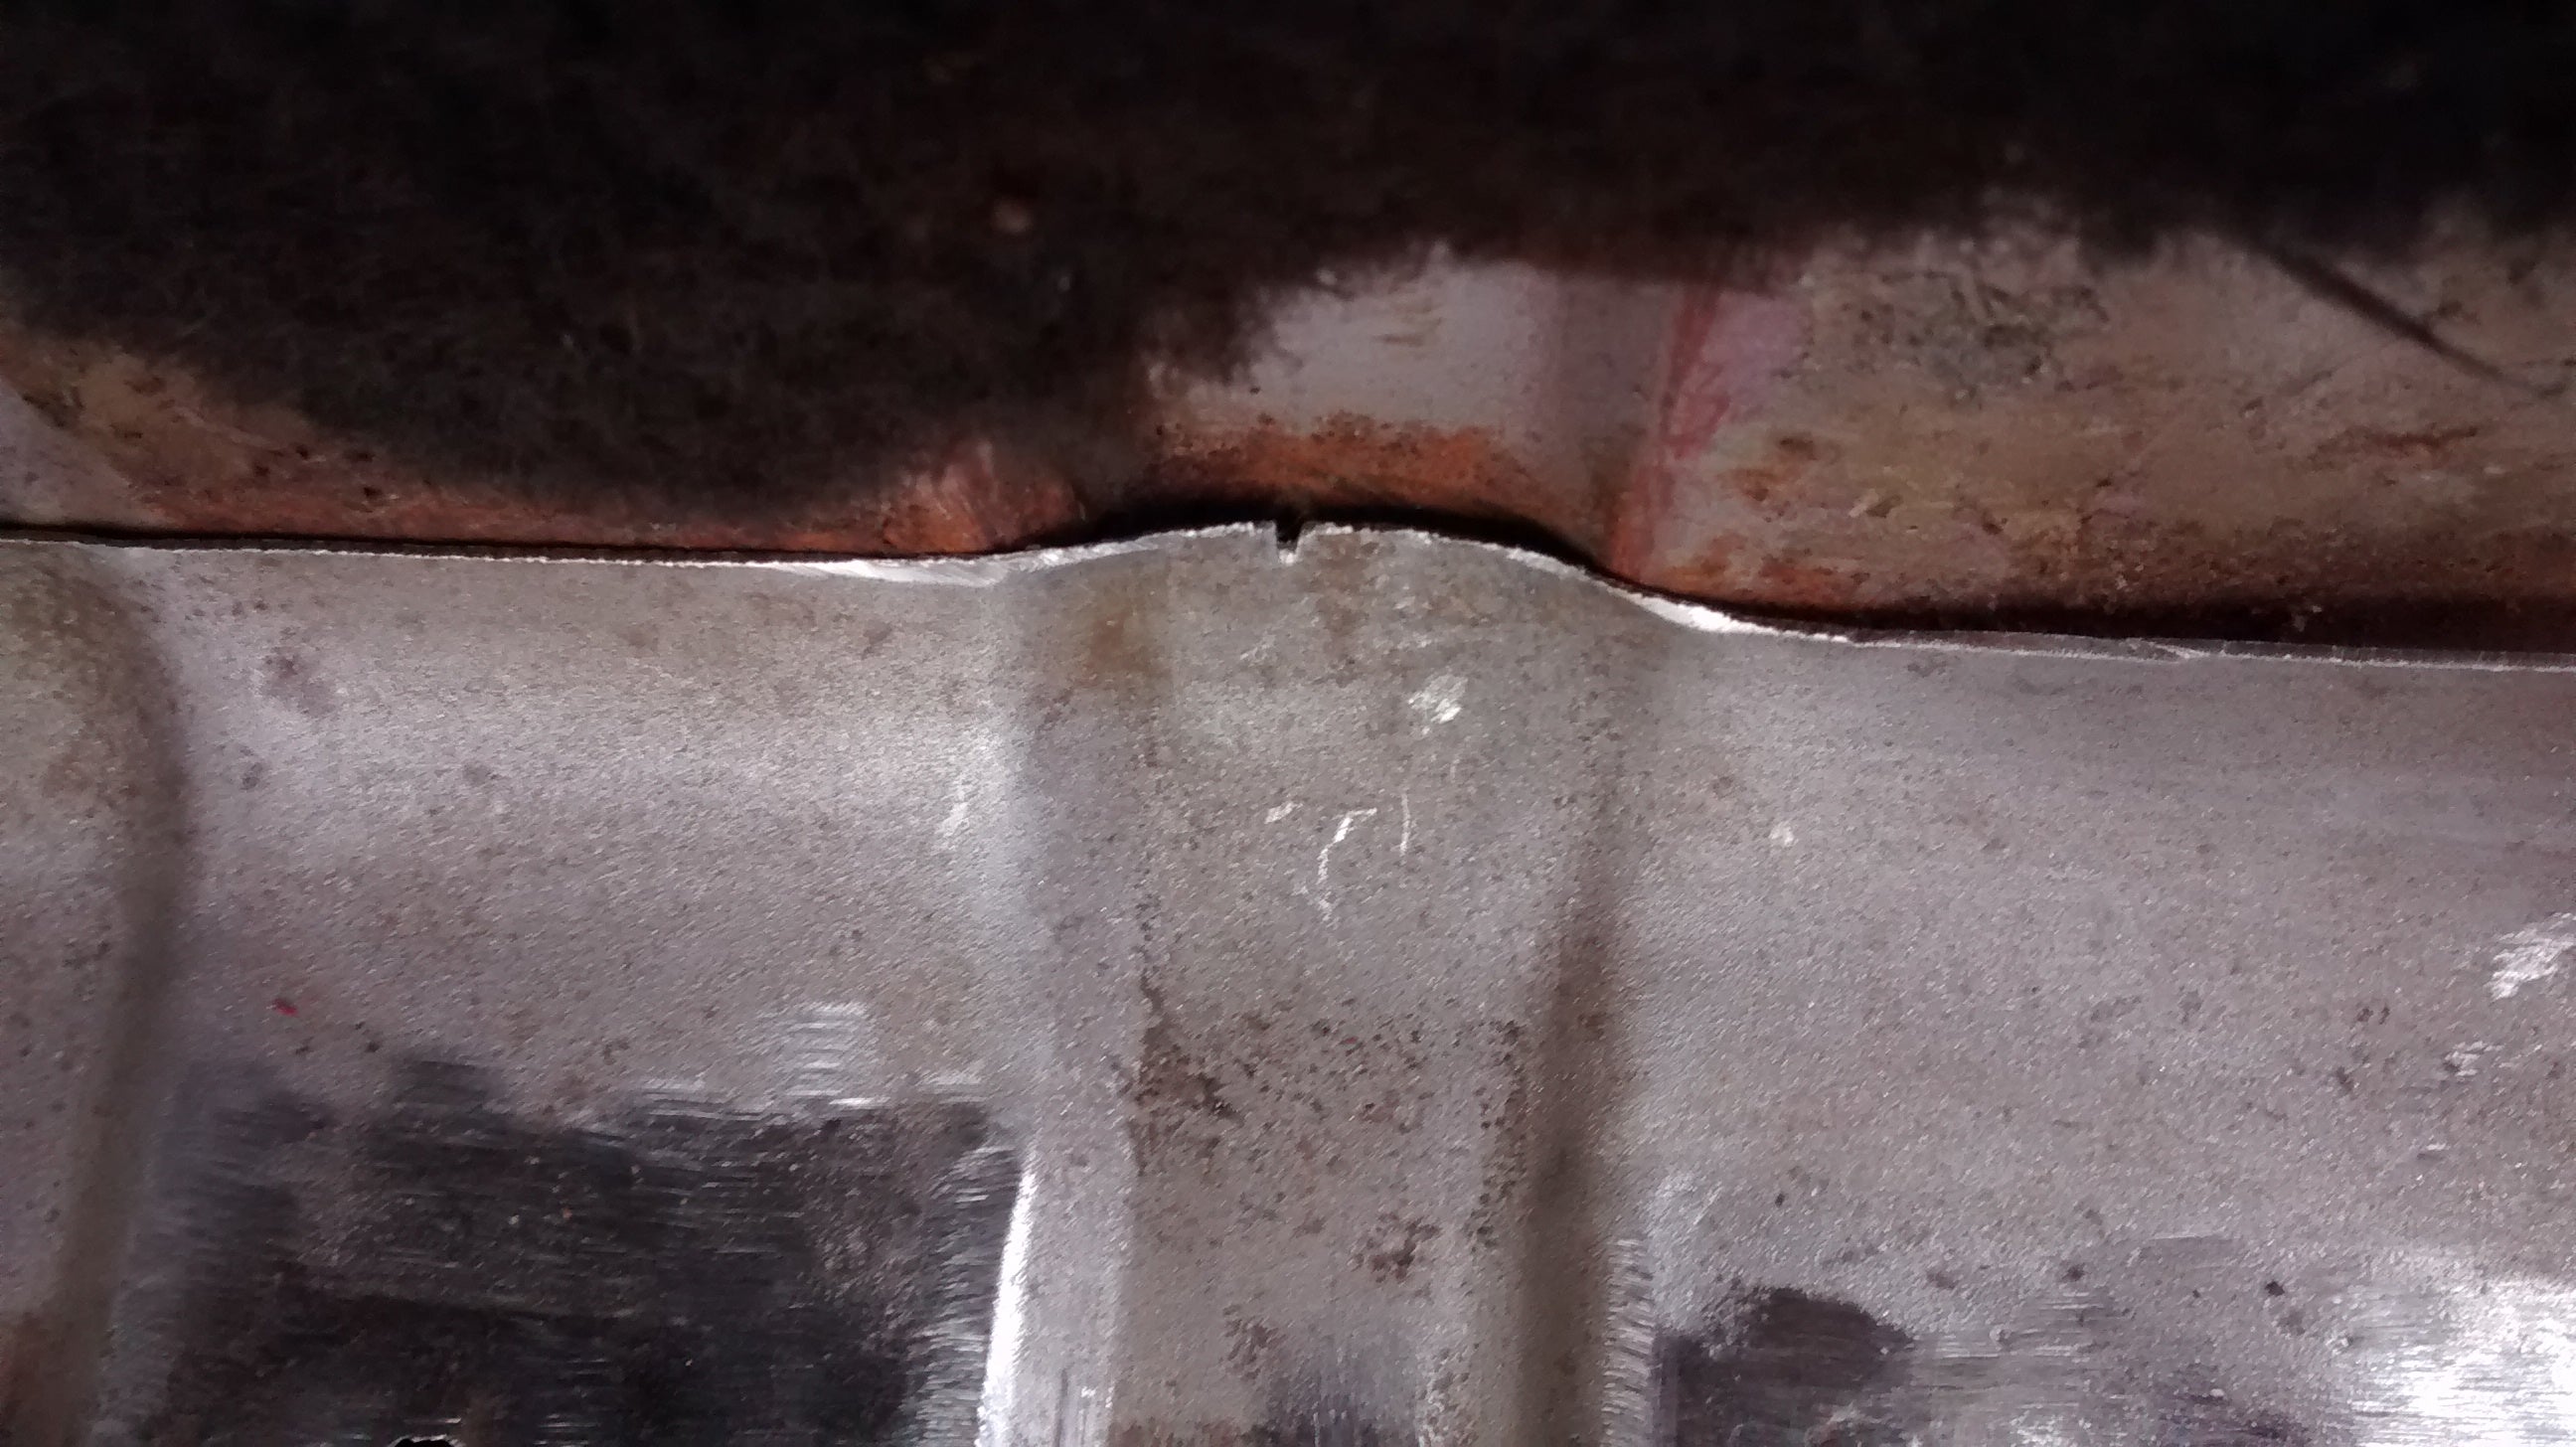
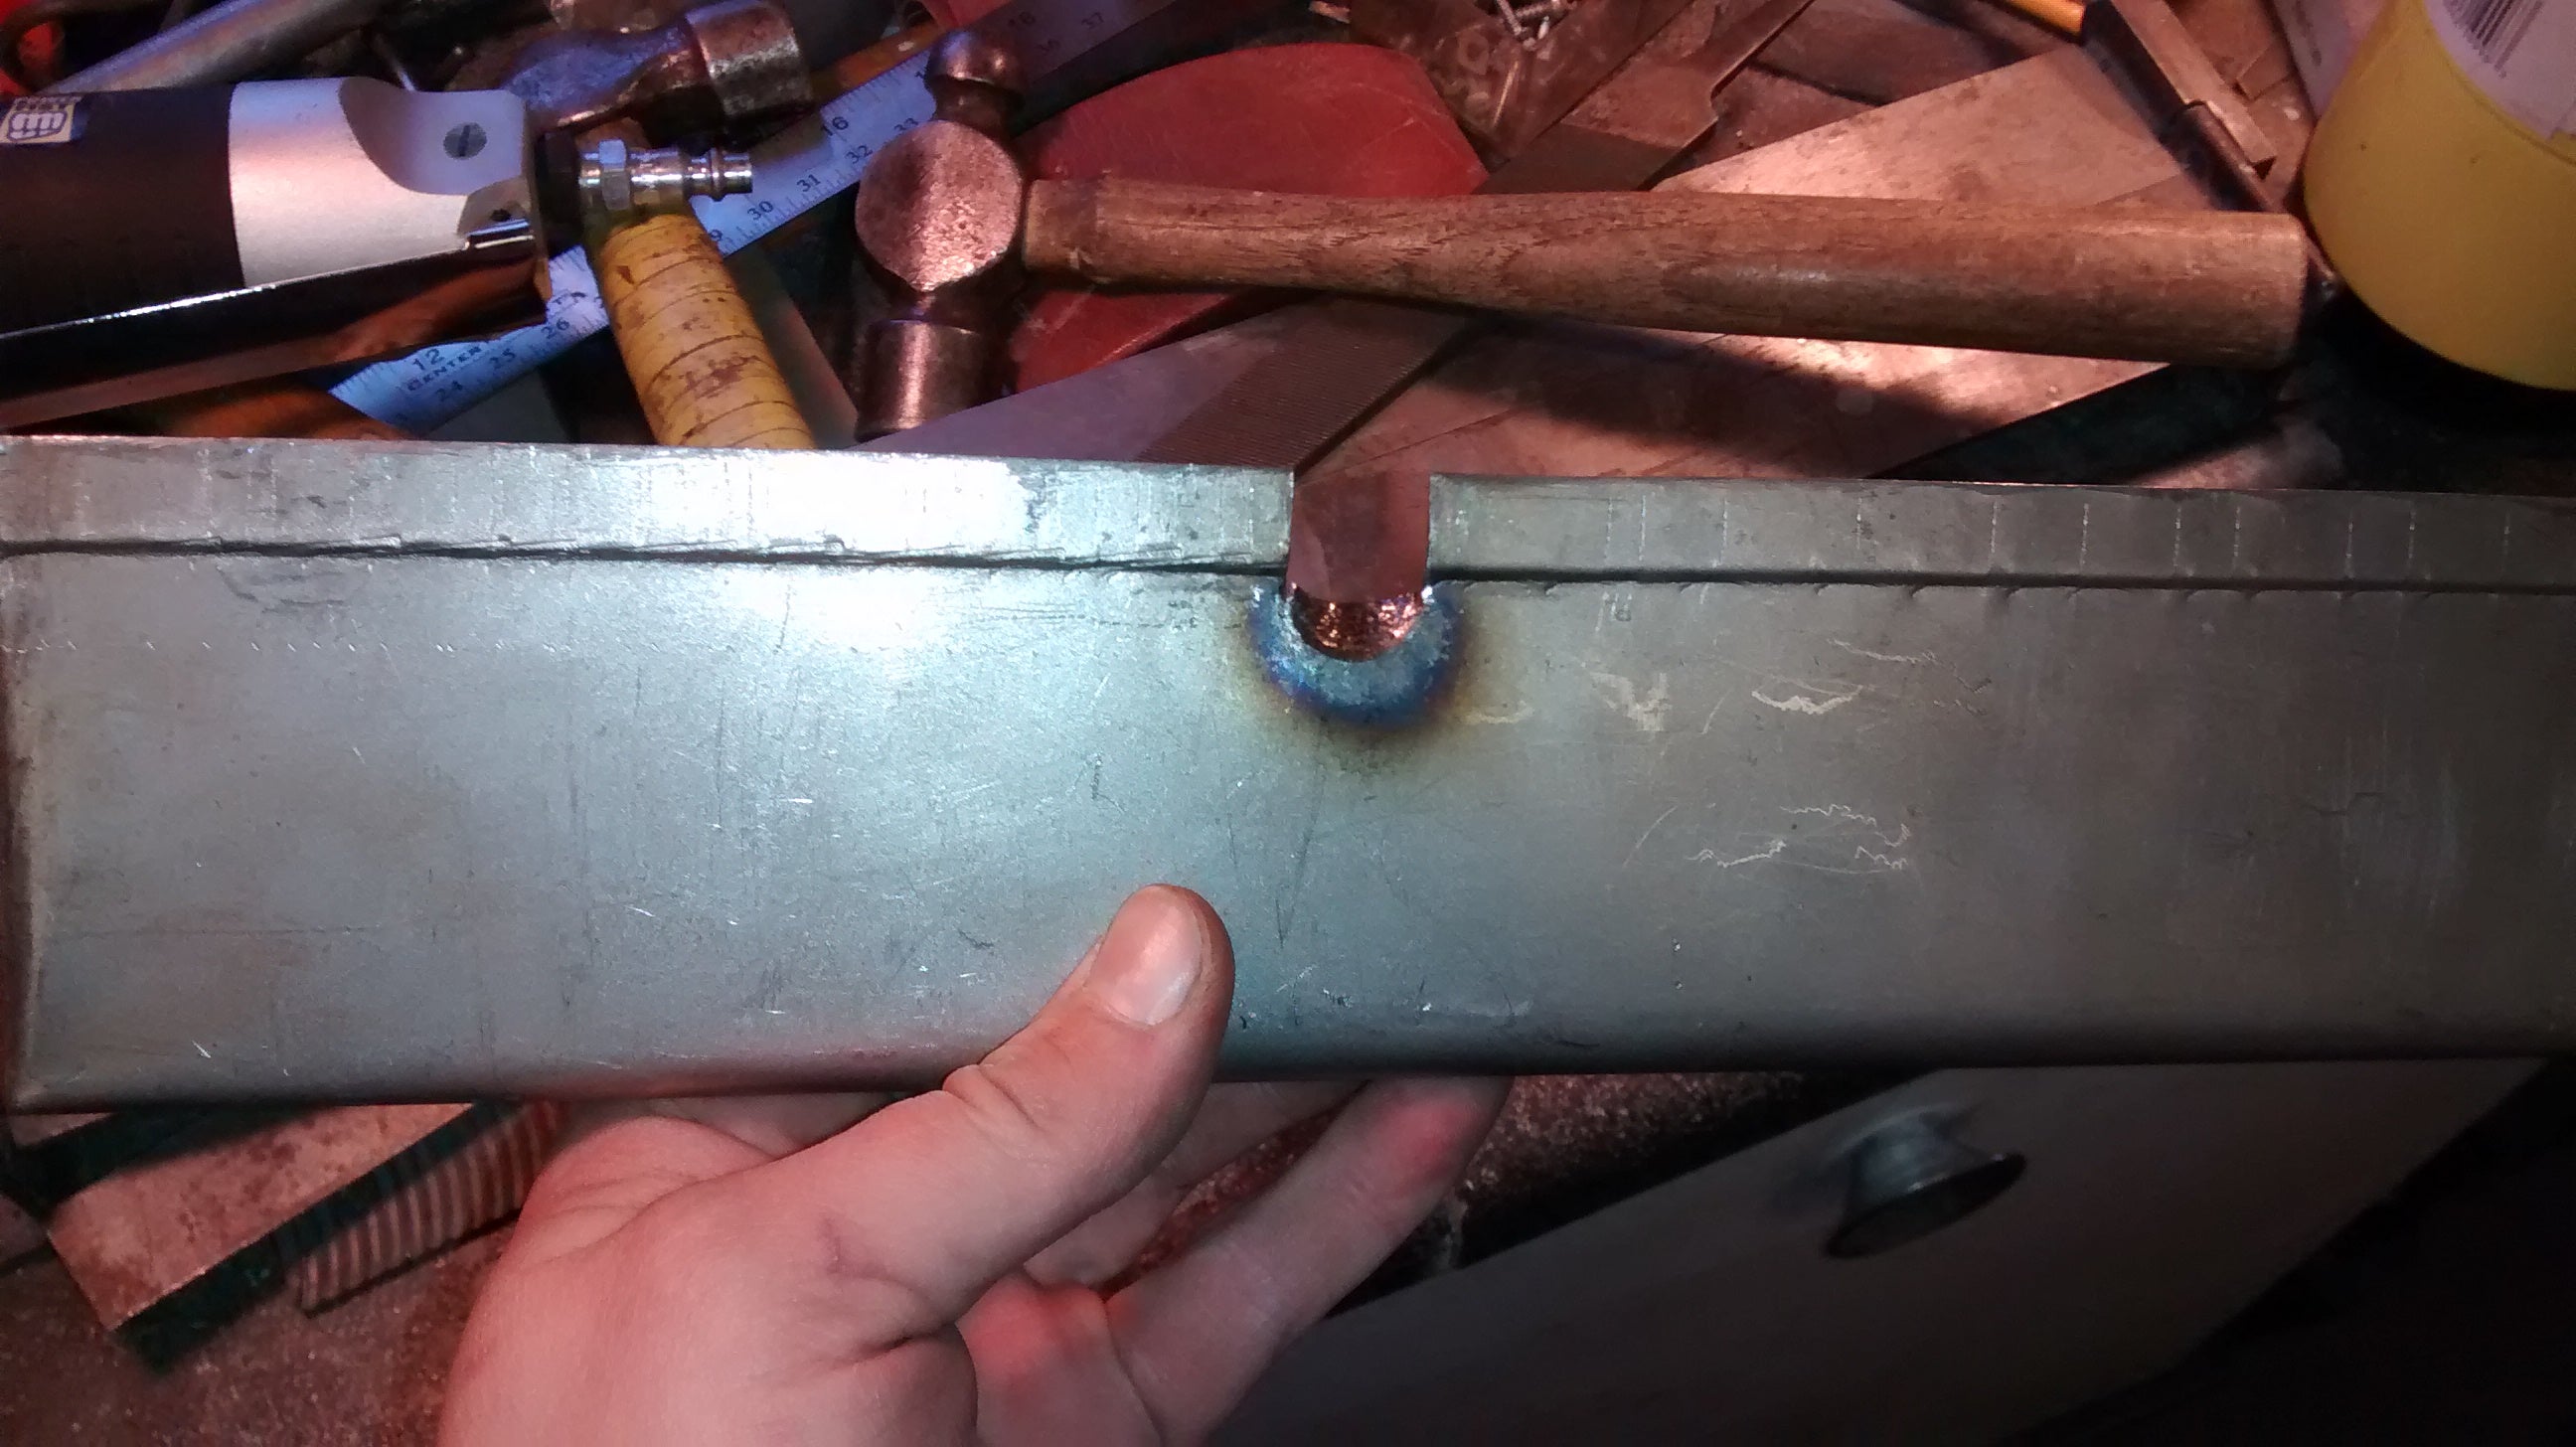
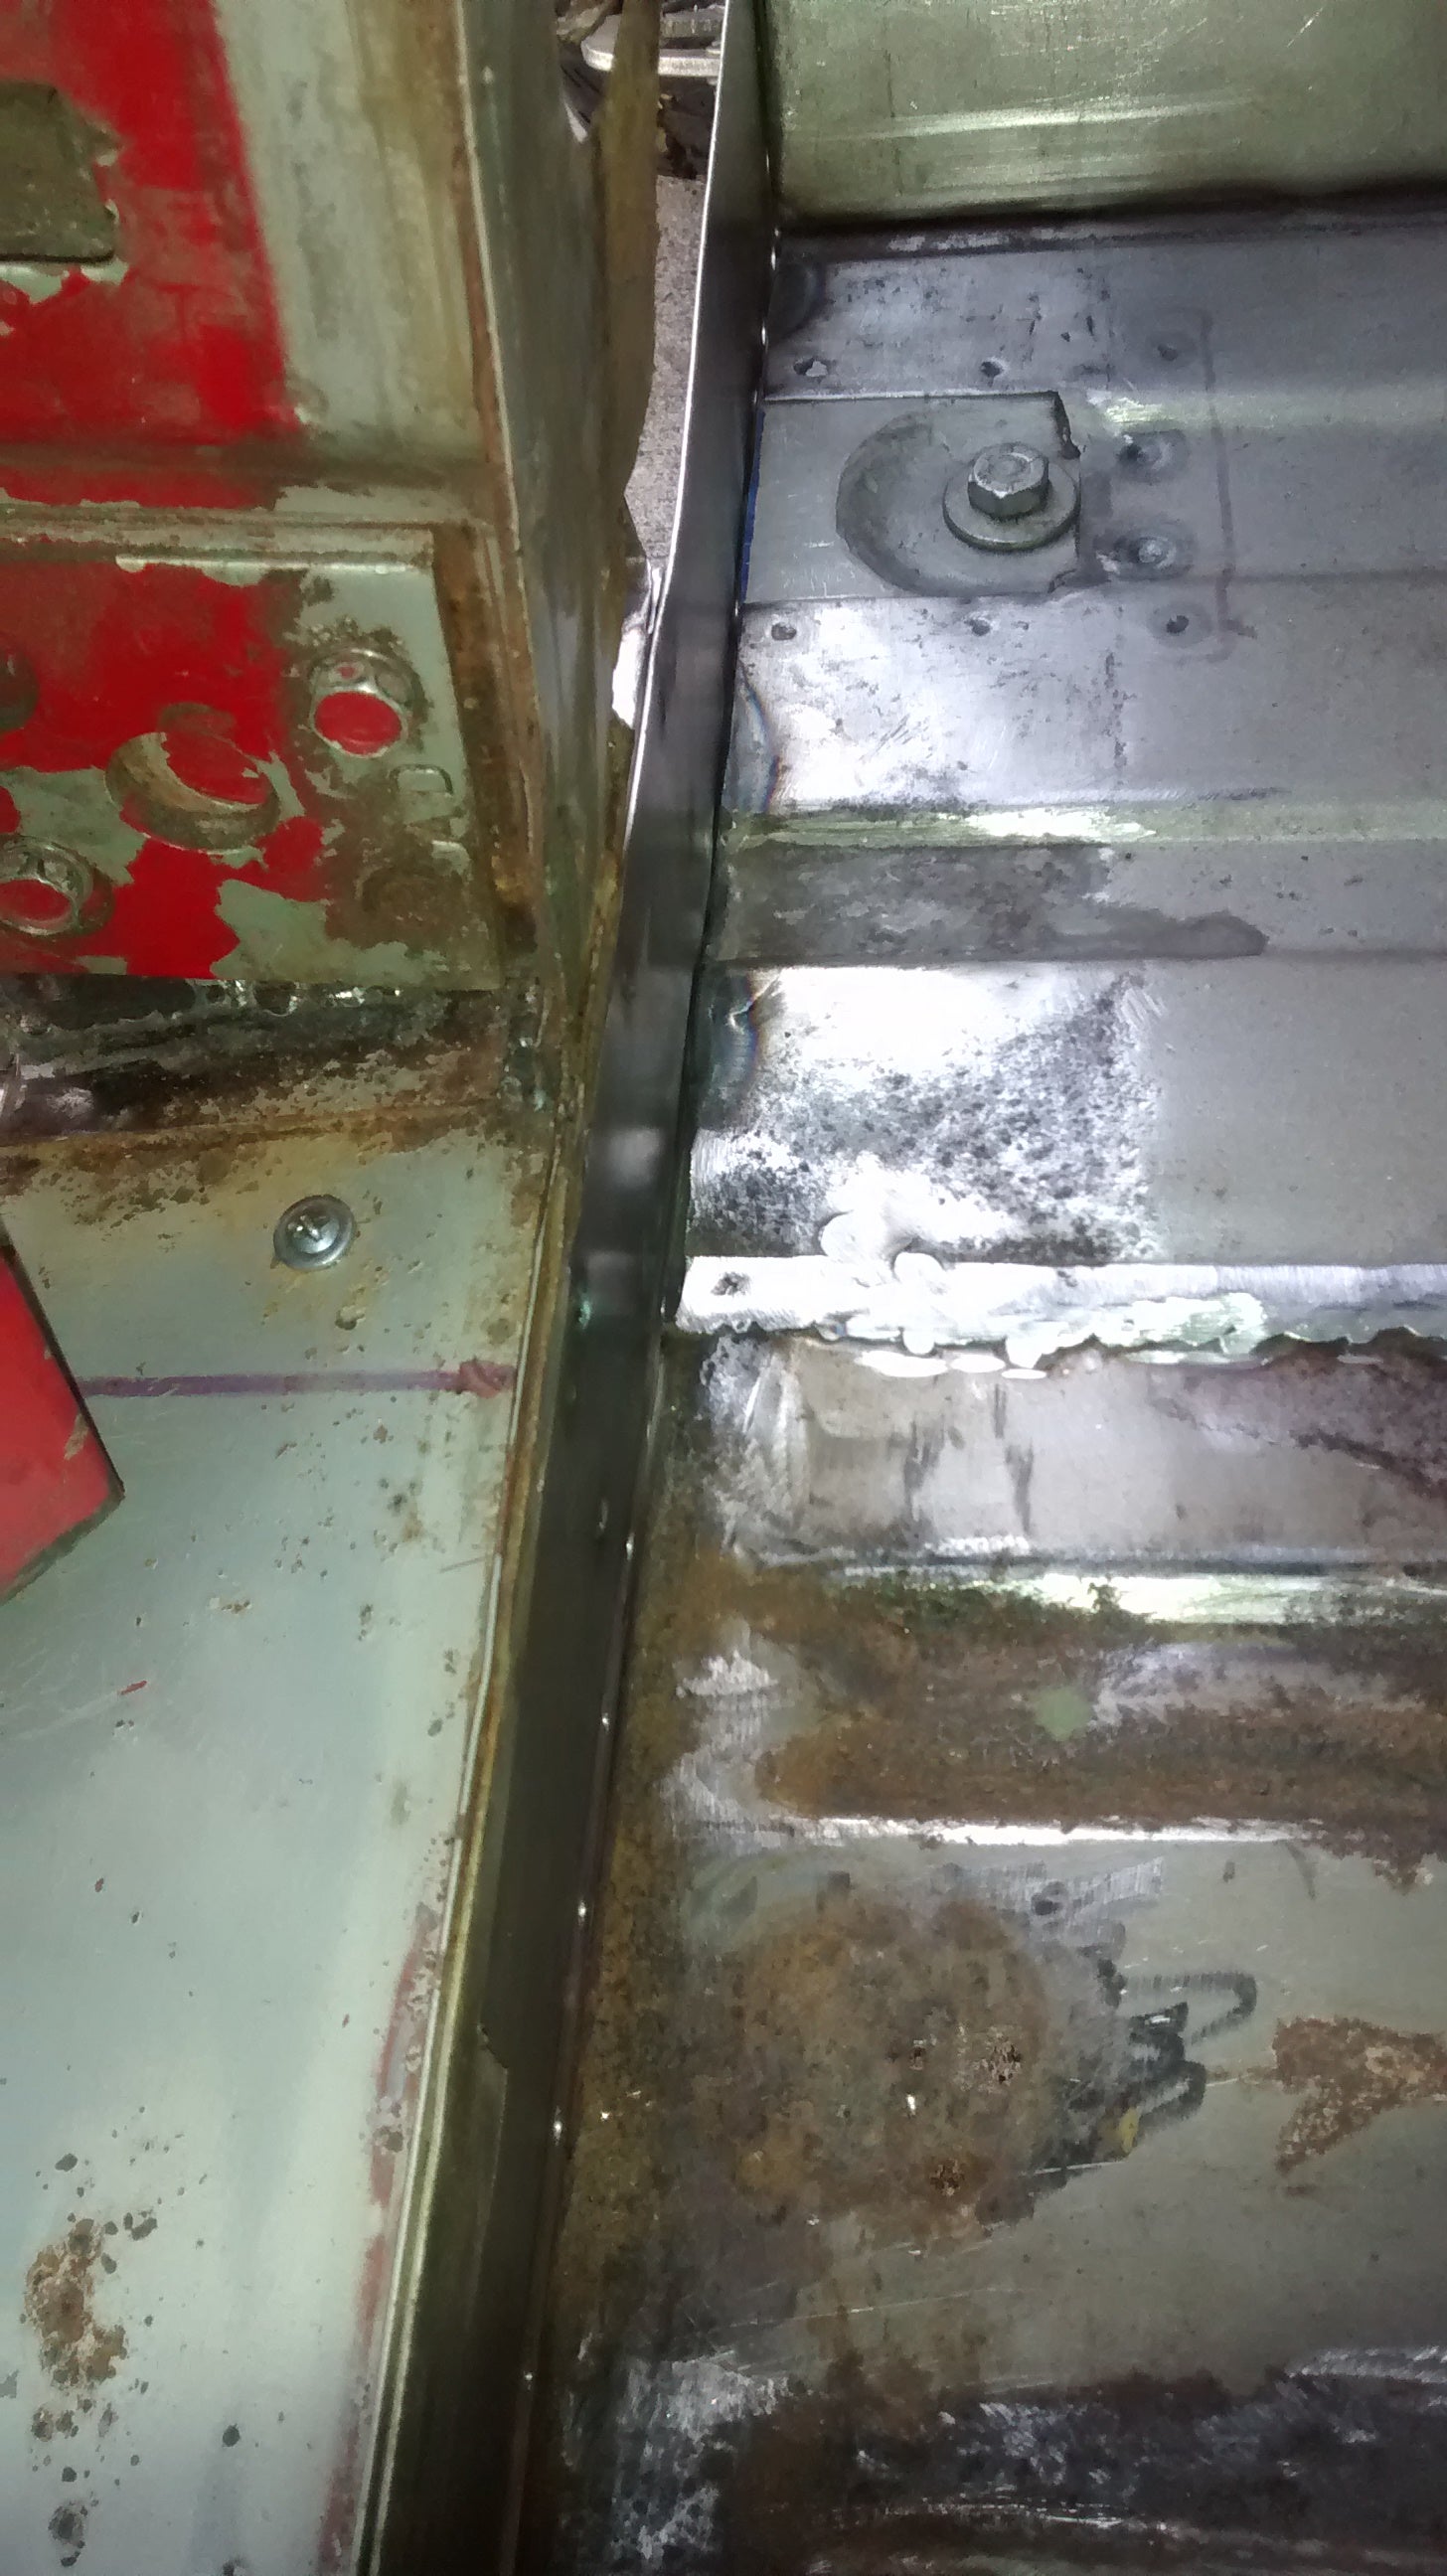
The inner edge was also seam welded to the original rocker/floor, which I guess I forgot to get a shot of, but here’s how well it all fit!
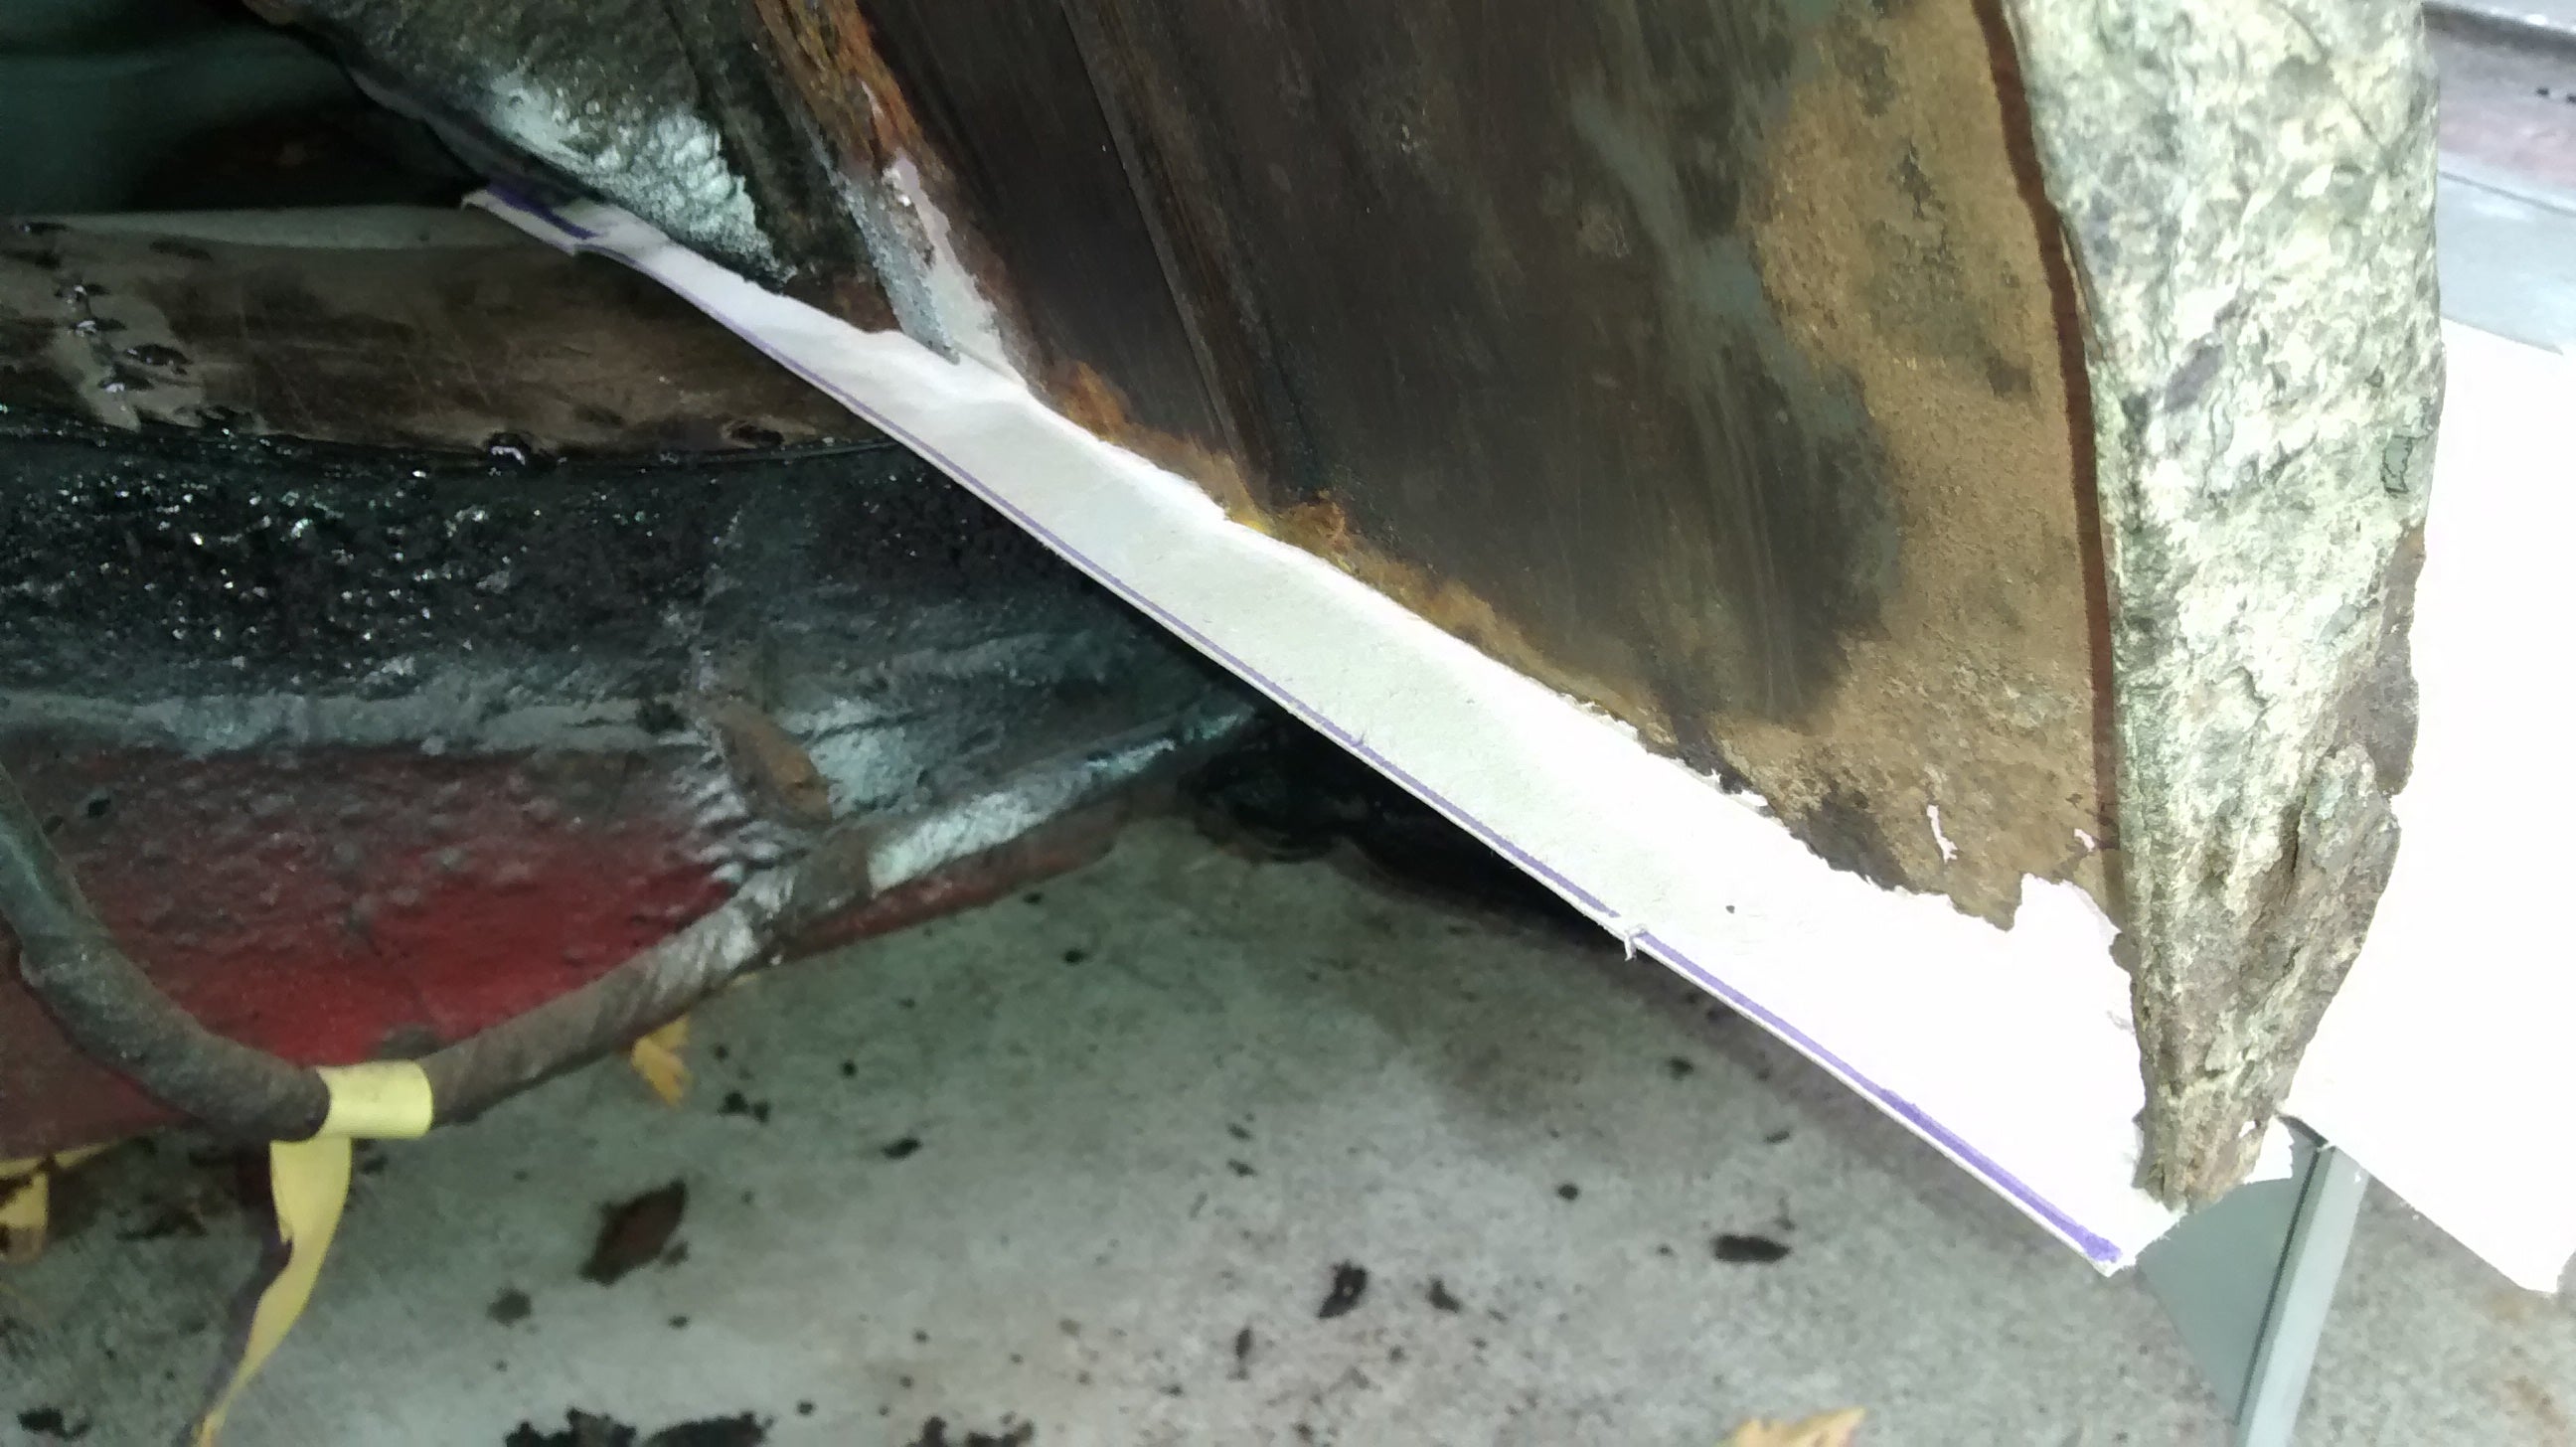
Thanks for tuning in folks, needless to say, I am ecstatic about being able to sit in my car and make vroom noises, instead of talking like Fred Flintstone. I know that my welding is by no means perfect, and most of my fab work might look a little hokey, but hey, I’m making it with mostly hammers and tin snips. Tune in next time, where I tackle the door posts, here’s a teaser:
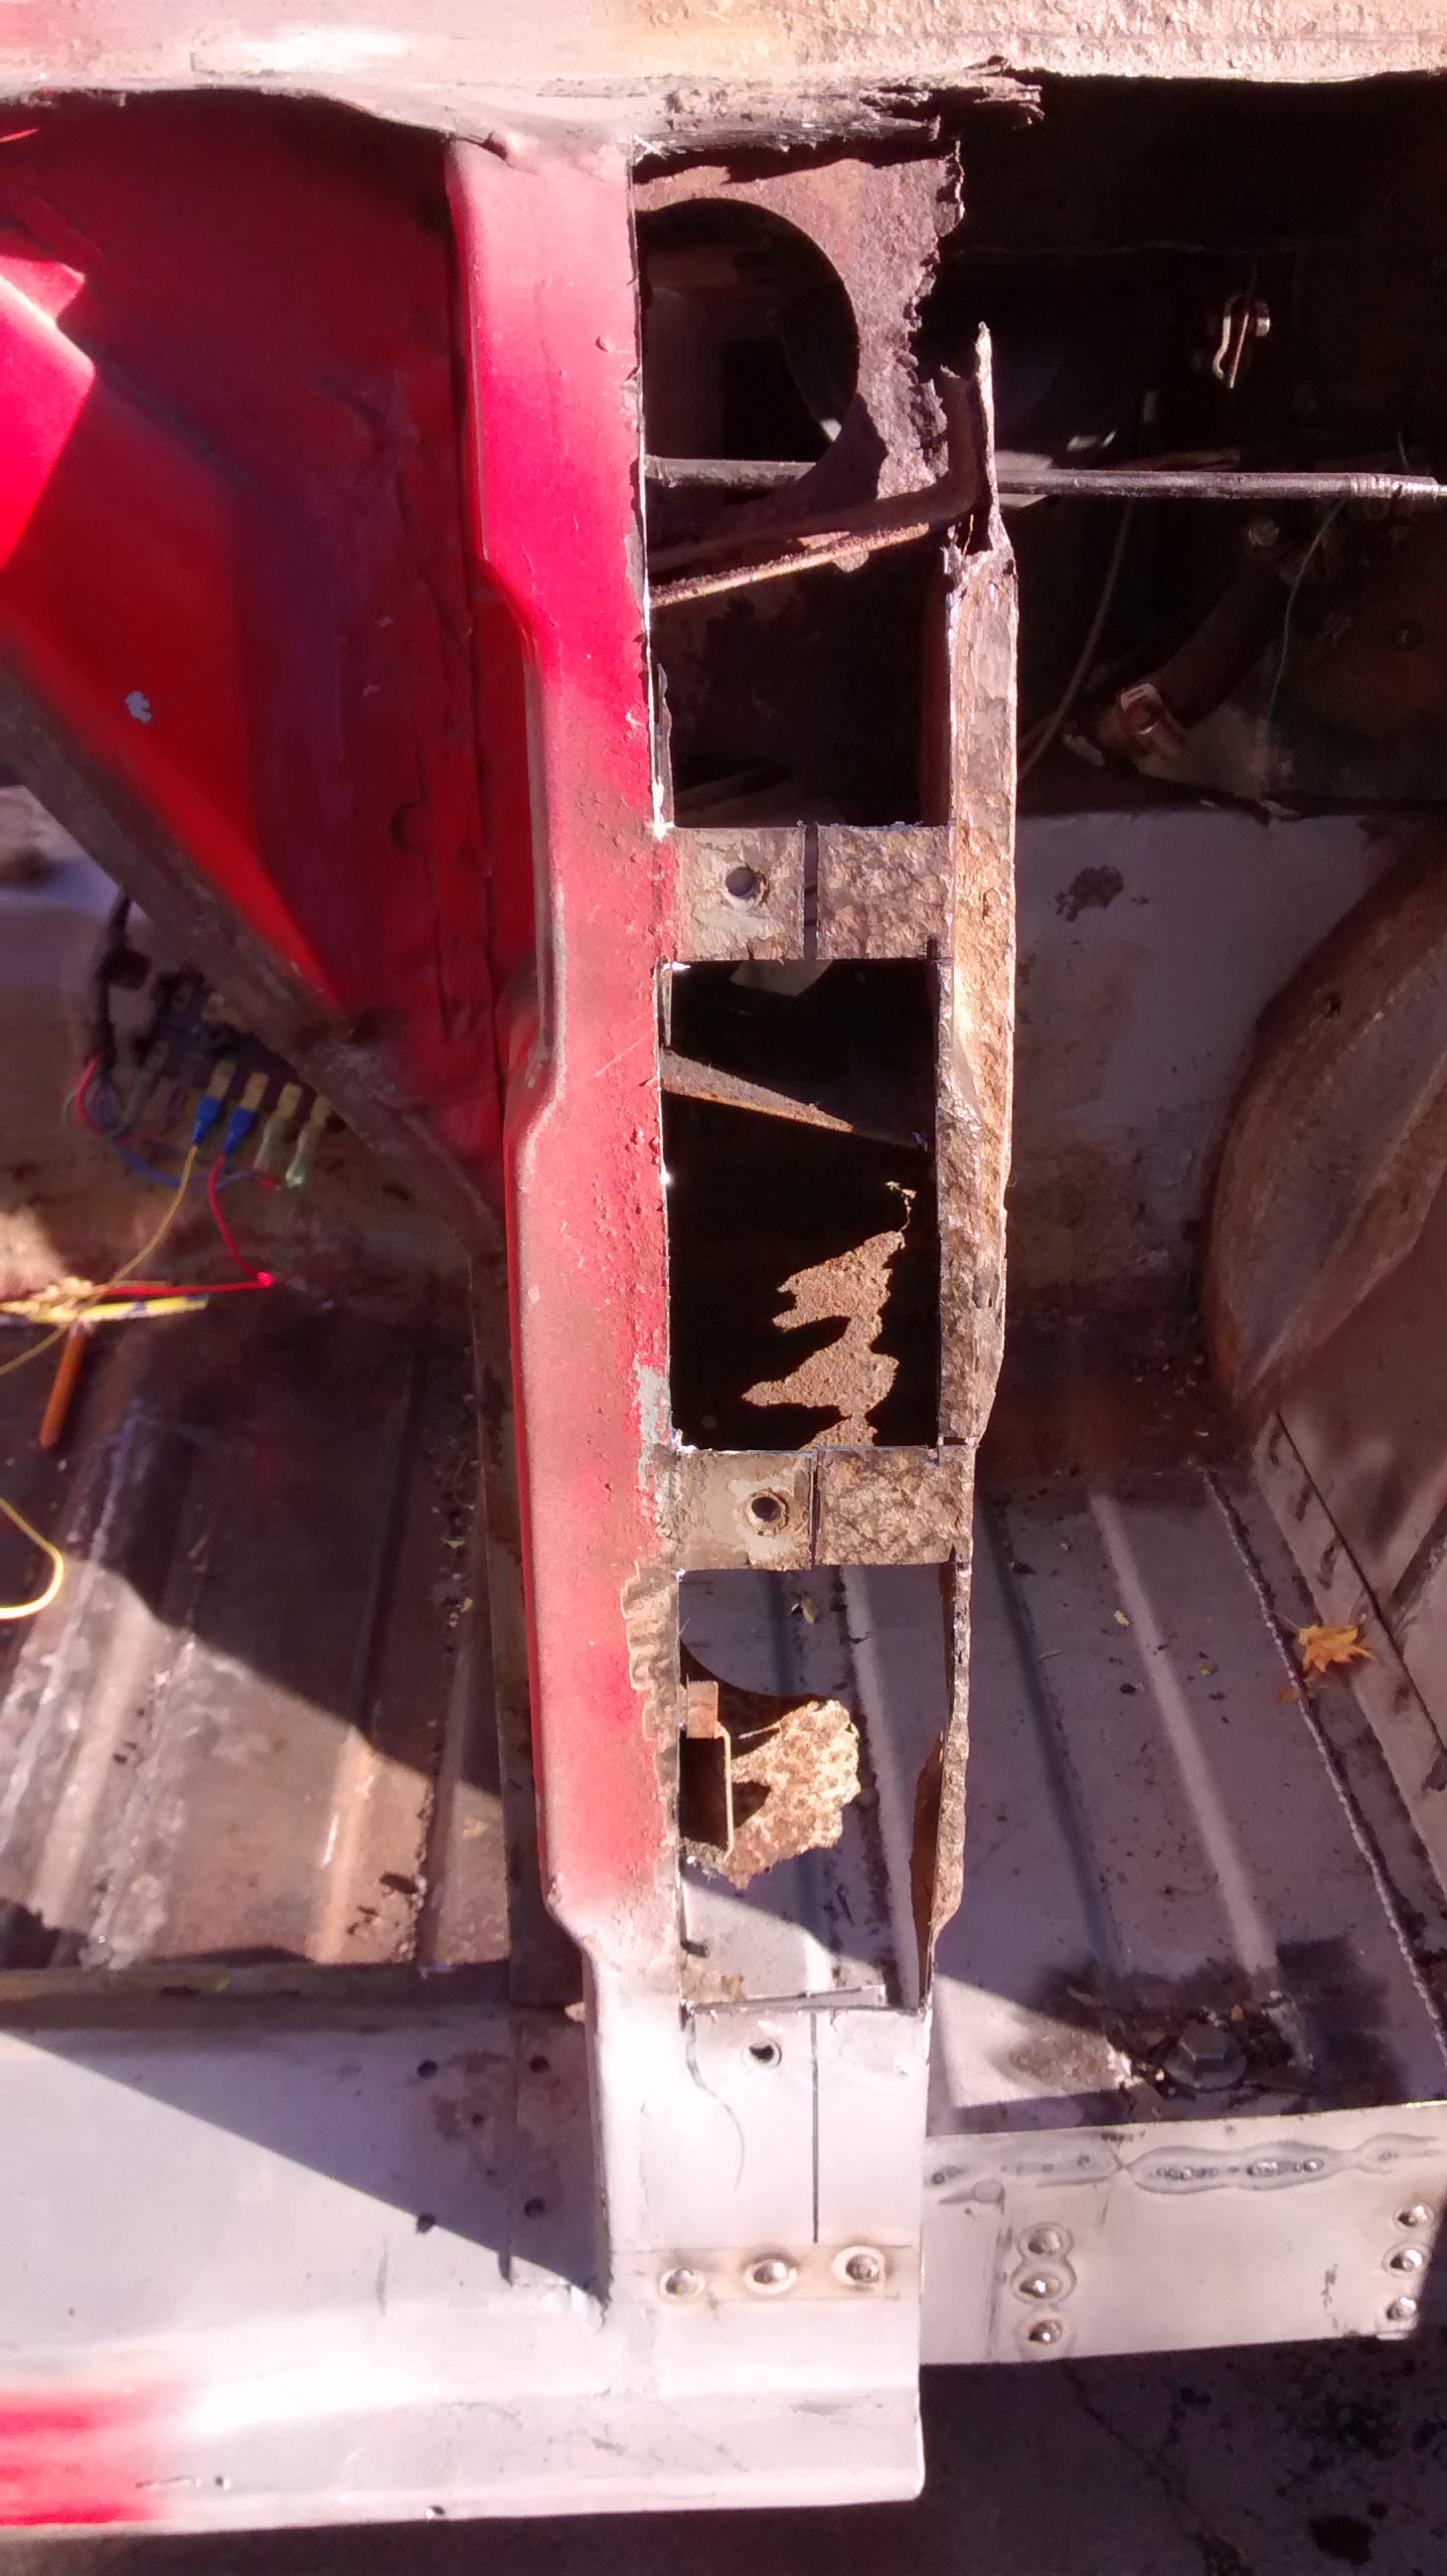
Yikes. Until next time, Oppo.
 RallyWrench
> GenuineAlexReid - The Reidus
RallyWrench
> GenuineAlexReid - The Reidus
11/16/2015 at 18:18 |
|
Wow, quite the project. Good progress, keep it up!
|
GenuineAlexReid - The Reidus
> RallyWrench
11/16/2015 at 18:19 |
|
Thanks man! It’s taken me 11 months and a lot of help to get to this step.
 Spoon II
> GenuineAlexReid - The Reidus
Spoon II
> GenuineAlexReid - The Reidus
11/16/2015 at 18:26 |
|
Looking good!
 Highlander-Datsuns are Forever
> GenuineAlexReid - The Reidus
Highlander-Datsuns are Forever
> GenuineAlexReid - The Reidus
11/16/2015 at 18:29 |
|
Your dedication is amazing. I used to work on old z cars and it was a common truth that the mechanical work was considered easy compared to the body and frame (if there was any left) work.
 MM54
> GenuineAlexReid - The Reidus
MM54
> GenuineAlexReid - The Reidus
11/16/2015 at 18:50 |
|
Awesome!
 desertdog5051
> GenuineAlexReid - The Reidus
desertdog5051
> GenuineAlexReid - The Reidus
11/16/2015 at 19:13 |
|
I say nice work. Welding looks acceptable to me. (but I am no expert) But I have welded car sheet metal and it is not easy.
 sdwarf36
> GenuineAlexReid - The Reidus
sdwarf36
> GenuineAlexReid - The Reidus
11/16/2015 at 19:38 |
|
You’re doing great! And doing it all outdoors? Wow!
|
GenuineAlexReid - The Reidus
> desertdog5051
11/16/2015 at 20:51 |
|
It tends to burn through quite easily as well, because the original steel is so thin.
|
GenuineAlexReid - The Reidus
> sdwarf36
11/16/2015 at 20:52 |
|
Thank you! I was doing it all outdoors up until yesterday, when I got a spot in my Dad’s garage, so it won’t have to sit out in the snow all winter.
 Quattro-luvr, Powered by Datsun & Stinger
> GenuineAlexReid - The Reidus
Quattro-luvr, Powered by Datsun & Stinger
> GenuineAlexReid - The Reidus
12/14/2015 at 17:15 |
|
WOW, WOW, WOW! I just saw this. Dang you’re doing a lot of great work!
|
GenuineAlexReid - The Reidus
> Quattro-luvr, Powered by Datsun & Stinger
12/15/2015 at 02:38 |
|
Thanks man! I just watched your startup video, exciting stuff! I’m hoping to do another update soon when I get my act together.